前言:今天介绍一SpringBoot的Starter,并手写一个自己的Starter,在SpringBoot项目中,有各种的Starter提供给开发者使用,Starter则提供各种API,这样使开发SpringBoot项目变得简单。实际上Starter简单来说就是Spring+SpringMVC开发的。话不多说开始撸代码
首先在idea中创建SpringBoot项目,并首先创建一个BeautyProperties类,代码代码如下:
package com.mystarter;

import org.springframework.boot.context.properties.ConfigurationProperties;

@ConfigurationProperties(prefix = "beauty")
public class BeautyProperties {
    private String name;
    private Integer age;
    public String getName() {
        return name;
    }
    public void setName(String name) {
        this.name = name;
    }
    public Integer getAge() {
        return age;
    }
    public void setAge(Integer age) {
        this.age = age;
    }
}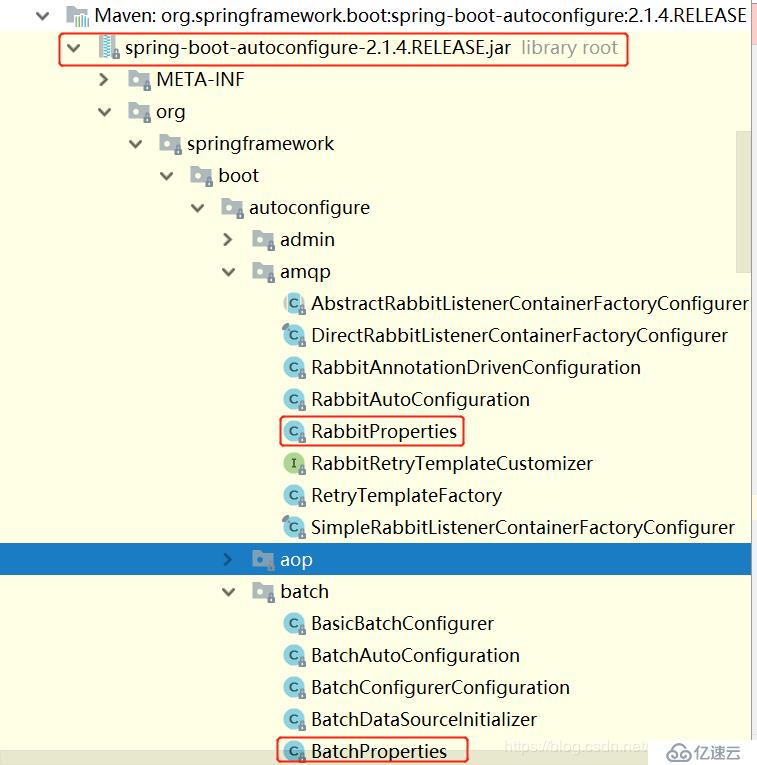
@ConfigurationProperties(
prefix = "spring.rabbitmq"
)
public class RabbitProperties {
private String host = "localhost";
private int port = 5672;
private String username = "guest";
private String password = "guest";
private final RabbitProperties.Ssl ssl = new RabbitProperties.Ssl();
private String virtualHost;
private String addresses;
package com.mystarter;public class ActionService {
private String name;

private Integer age;

public String sayHello() {
    return "my name is "+ name +",I am "+ age +" years old";
}

public Integer getAge() {
    return age;
}

public void setAge(Integer age) {
    this.age = age;
}

public String getName() {
    return name;
}

public void setName(String name) {
    this.name = name;
}
}
 - 最后再创建一个类ActionServiceAutoConfiguration,这个类是重点,代码如下:
 - @Configuration注解表明这是一个配置类
 - @EnableConfigurationProperties(BeautyProperties.class)表明开启@ConfigurationProperties这个注解,使这个注解生效
 - @ConditionalOnClass(ActionService.class)条件判断注解,表明有这个类ActionService,条件才生效,即配置才生效。
 - 通过@Autowired将BeautyProperties 类自动注入IOC容器中
 - @Bean将返回的值注入到容器中
package com.mystarter;
import org.springframework.beans.factory.annotation.Autowired;
import org.springframework.boot.autoconfigure.condition.ConditionalOnClass;
import org.springframework.boot.context.properties.EnableConfigurationProperties;
import org.springframework.context.annotation.Bean;
import org.springframework.context.annotation.Configuration;
@Configuration@EnableConfigurationProperties(BeautyProperties.class)
br/>@EnableConfigurationProperties(BeautyProperties.class)
public class ActionServiceAutoConfiguration {
@Autowired
BeautyProperties beautyProperties;

@Bean
ActionService helloService() {
    ActionService helloService = new ActionService();
    helloService.setName(beautyProperties.getName());
    helloService.setAge(beautyProperties.getAge());
    return helloService;
}
}
- 然后再resources文件夹下的application.properties文件中,加入如下配置,作为使用这个Starter时候,没有设置相关值的时候作为默认值注入到配置类中
beauty.name=李依依默认
beauty.age=18
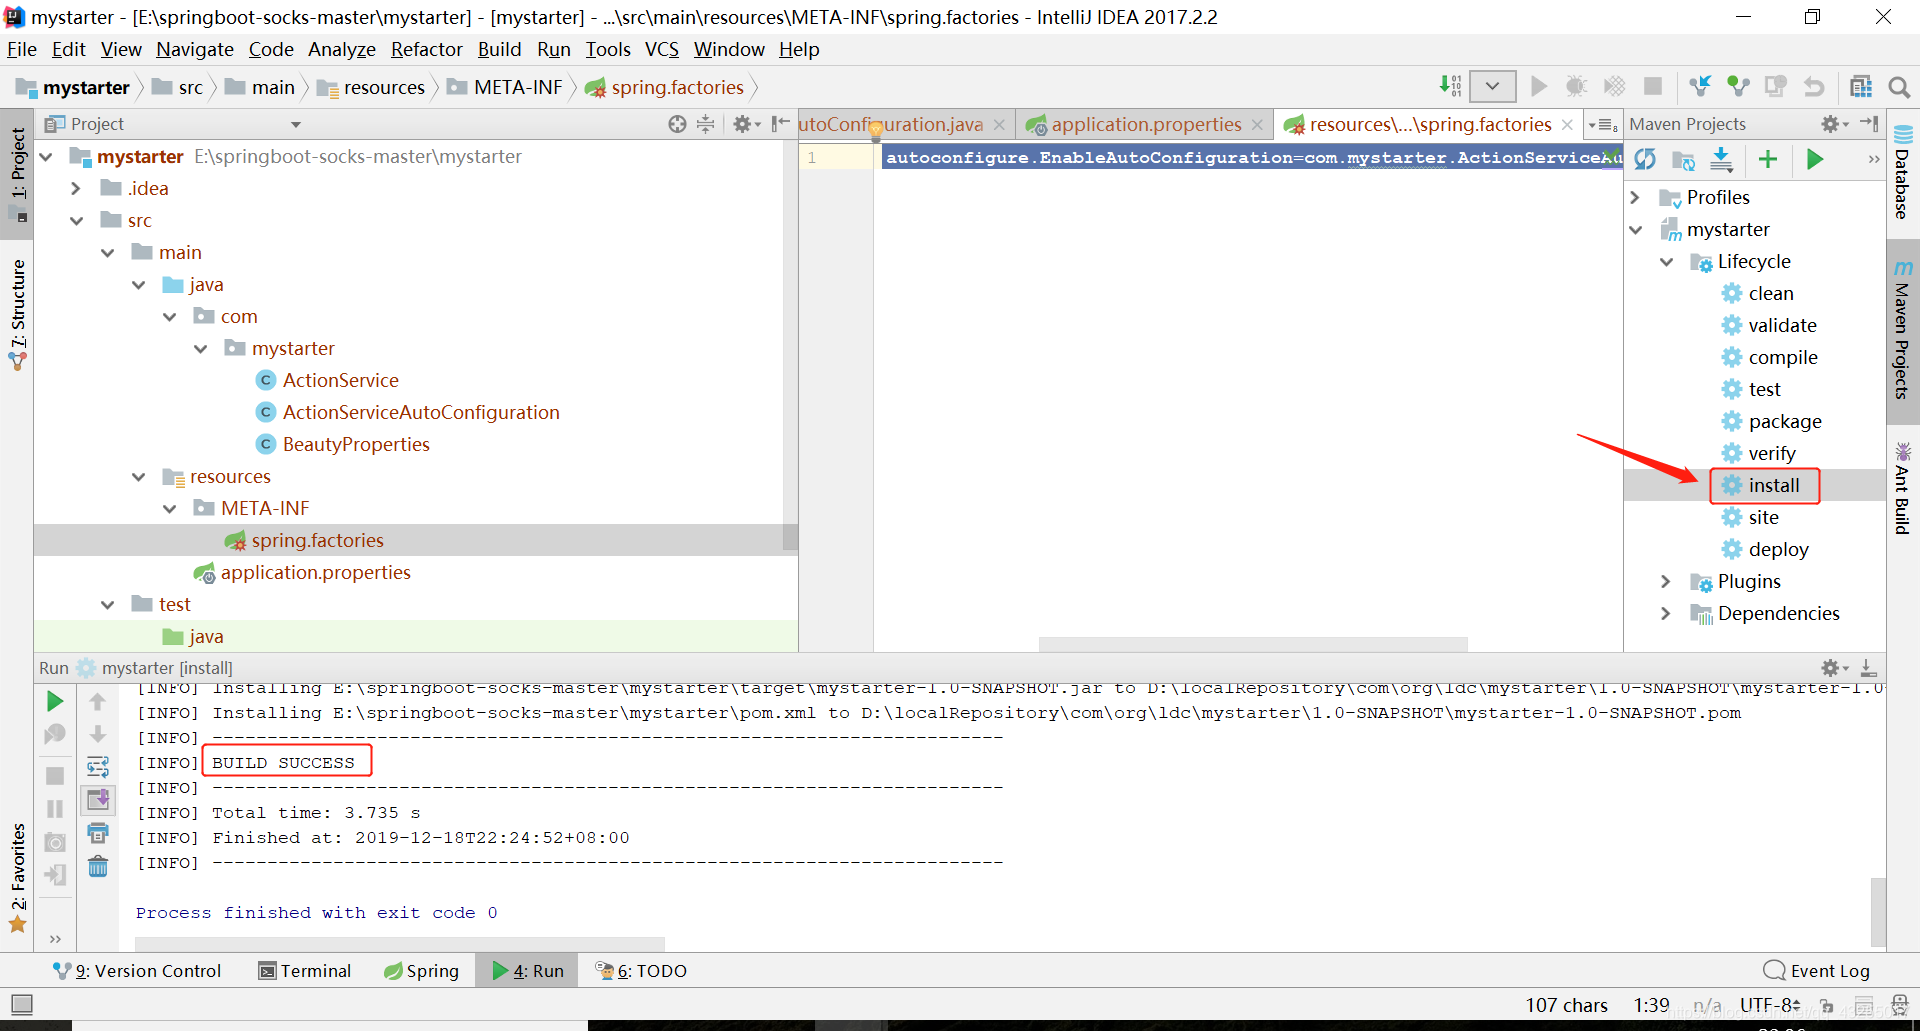
- 最后再resources中新建一个META-INF文件夹,然后在新建一个文件spring.factories,这个名字和文件夹的名字不能改,加入配置如下,这个表明指定自动配置的类的全路径,自动配置的时候就找到这个全路径,实例化这个对象到容器中
org.springframework.boot.autoconfigure.EnableAutoConfiguration=com.mystarter.ActionServiceAutoConfiguration
- 最后一步点击install,出现Build Success说明这个Starter已经安装到本地maven仓库中,可以被别人引用
## 2.测试Starter
新建一个SpringBoot工程,在application.properties的文件中加入如下配置:
beauty.name=李依依
beauty.age=24
在pom文件中引入依赖,如下:
<dependency>
<groupId>com.org.ldc</groupId>
<artifactId>mystarter</artifactId>
<version>1.0-SNAPSHOT</version>
</dependency>
然后测试,如下代码
package com.org.ldc.mystarter;
import com.mystarter.HelloService;
import org.junit.jupiter.api.Test;
import org.springframework.beans.factory.annotation.Autowired;
import org.springframework.boot.test.context.SpringBootTest;
import org.springframework.test.context.junit4.SpringRunner;
@SpringBootTest
class TestmystarterApplicationTests {
@Autowired
HelloService helloService;

@Test
public void contextLoads() {
    System.out.println(helloService.sayHello());
}
}
执行测试,出现如下,说明创建成功

>更多的教程请关注:非科班的科班,路过有空的大佬们点个赞,谢谢大家免责声明:本站发布的内容(图片、视频和文字)以原创、转载和分享为主,文章观点不代表本网站立场,如果涉及侵权请联系站长邮箱:is@yisu.com进行举报,并提供相关证据,一经查实,将立刻删除涉嫌侵权内容。


