这篇文章主要介绍了Java Fluent Mybatis怎么构建项目与实现代码生成的相关知识,内容详细易懂,操作简单快捷,具有一定借鉴价值,相信大家阅读完这篇Java Fluent Mybatis怎么构建项目与实现代码生成文章都会有所收获,下面我们一起来看看吧。
看一下官方给出的特性图

给出对几个特性乍一看还是很全面的,其中比较吸引我的是两点。
1、从图中给出的语法,和sql十分相近,不仔细看还以为是直接sql语句扔了上来。看上去就比较实用。
2、No xml&mapper,虽然mybatis-plus已经做到实用 IService接口实现大部分的sql操作
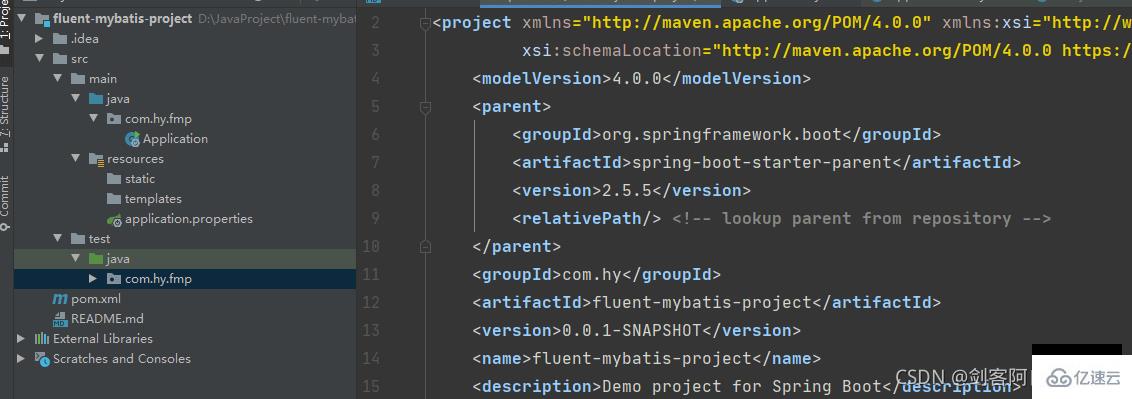
springboot搭建一项目的过程就不过多赘述了,这里说下我实用的springboot版本
<parent>
        <groupId>org.springframework.boot</groupId>
        <artifactId>spring-boot-starter-parent</artifactId>
        <version>2.5.5</version>
        <relativePath/> <!-- lookup parent from repository -->
    </parent>
代码结构如下:
<properties>
    <fluent-mybatis.version>1.8.7</fluent-mybatis.version>
</properties>
<dependencies>
    <!-- 引入fluent-mybatis 运行依赖包, scope为compile -->
    <dependency>
        <groupId>com.github.atool</groupId>
        <artifactId>fluent-mybatis</artifactId>
        <version>${fluent-mybatis.version}</version>
    </dependency>
    <!-- 引入fluent-mybatis-processor, scope设置为provider 编译需要,运行时不需要 -->
    <dependency>
        <groupId>com.github.atool</groupId>
        <artifactId>fluent-mybatis-processor</artifactId>
        <scope>provided</scope>
        <version>${fluent-mybatis.version}</version>
    </dependency>
</dependencies>
完整maven依赖如下
<?xml version="1.0" encoding="UTF-8"?>
<project xmlns="http://maven.apache.org/POM/4.0.0" xmlns:xsi="http://www.w3.org/2001/XMLSchema-instance"
         xsi:schemaLocation="http://maven.apache.org/POM/4.0.0 https://maven.apache.org/xsd/maven-4.0.0.xsd">
    <modelVersion>4.0.0</modelVersion>
    <parent>
        <groupId>org.springframework.boot</groupId>
        <artifactId>spring-boot-starter-parent</artifactId>
        <version>2.5.5</version>
        <relativePath/> <!-- lookup parent from repository -->
    </parent>
    <groupId>com.hy</groupId>
    <artifactId>fluent-mybatis-project</artifactId>
    <version>0.0.1-SNAPSHOT</version>
    <name>fluent-mybatis-project</name>
    <description>Demo project for Spring Boot</description>
    <properties>
        <java.version>1.8</java.version>
        <fluent-mybatis.version>1.8.7</fluent-mybatis.version>
    </properties>
    <dependencies>
        <dependency>
            <groupId>org.springframework.boot</groupId>
            <artifactId>spring-boot-starter-web</artifactId>
        </dependency>

        <dependency>
            <groupId>org.springframework.boot</groupId>
            <artifactId>spring-boot-devtools</artifactId>
            <scope>runtime</scope>
            <optional>true</optional>
        </dependency>
        <dependency>
            <groupId>org.springframework.boot</groupId>
            <artifactId>spring-boot-configuration-processor</artifactId>
            <optional>true</optional>
        </dependency>
        <dependency>
            <groupId>org.projectlombok</groupId>
            <artifactId>lombok</artifactId>
            <optional>true</optional>
        </dependency>
        <dependency>
            <groupId>org.springframework.boot</groupId>
            <artifactId>spring-boot-starter-test</artifactId>
            <scope>test</scope>
        </dependency>
        <dependency>
            <groupId>org</groupId>
            <artifactId>jaudiotagger</artifactId>
            <version>2.0.1</version>
        </dependency>
        <dependency>
            <groupId>com.google.guava</groupId>
            <artifactId>guava</artifactId>
            <version>30.1.1-jre</version>
        </dependency>
        <dependency>
            <groupId>cn.hutool</groupId>
            <artifactId>hutool-all</artifactId>
            <version>5.5.2</version>
        </dependency>
        <!-- 引入fluent-mybatis 运行依赖包, scope为compile -->
        <dependency>
            <groupId>com.github.atool</groupId>
            <artifactId>fluent-mybatis</artifactId>
            <version>${fluent-mybatis.version}</version>
        </dependency>
        <!-- 引入fluent-mybatis-processor, scope设置为provider 编译需要,运行时不需要 -->
        <dependency>
            <groupId>com.github.atool</groupId>
            <artifactId>fluent-mybatis-processor</artifactId>
            <scope>provided</scope>
            <version>${fluent-mybatis.version}</version>
        </dependency>
        <dependency>
            <groupId>org.mybatis.spring.boot</groupId>
            <artifactId>mybatis-spring-boot-starter</artifactId>
            <version>2.2.0</version>
        </dependency>

        <dependency>
            <groupId>mysql</groupId>
            <artifactId>mysql-connector-java</artifactId>
            <scope>runtime</scope>
        </dependency>
    </dependencies>

    <build>
        <plugins>
            <plugin>
                <groupId>org.springframework.boot</groupId>
                <artifactId>spring-boot-maven-plugin</artifactId>
                <configuration>
                    <excludes>
                        <exclude>
                            <groupId>org.projectlombok</groupId>
                            <artifactId>lombok</artifactId>
                        </exclude>
                    </excludes>
                </configuration>
            </plugin>
        </plugins>
    </build>

</project>在数据库创建一张测试表,表比较简单,先试试看。sql如下:
CREATE TABLE `test_fluent_mybatis` (
  `id` int NOT NULL AUTO_INCREMENT COMMENT '自增主键',
  `name` varchar(255) DEFAULT NULL COMMENT '姓名',
  `age` int DEFAULT NULL COMMENT '年龄',
  `create_time` datetime DEFAULT NULL COMMENT '创建时间',
  `del_flag` int DEFAULT NULL COMMENT '是否删除',
  PRIMARY KEY (`id`)
) ENGINE=InnoDB DEFAULT CHARSET=utf8mb4 COLLATE=utf8mb4_0900_ai_ci;
注意:放到测试代码包中。结构如下图:
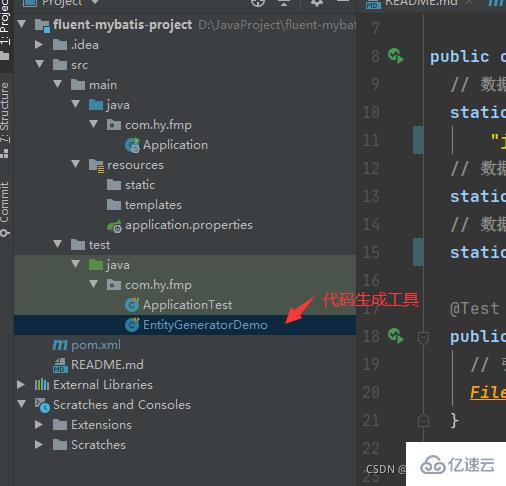
代码生成工具类代码,先按照官方给的简单样例来,如下:
package com.hy.fmp;
import cn.org.atool.generator.FileGenerator;
import cn.org.atool.generator.annotation.Table;
import cn.org.atool.generator.annotation.Tables;
import org.junit.jupiter.api.Test;
public class EntityGeneratorDemo {
// 数据源 url
static final String url =
"jdbc:mysql://192.168.0.16:3306/test?useUnicode=true&characterEncoding=utf8";
// 数据库用户名
static final String username = "root";
// 数据库密码
static final String password = "123456";
@Test
public void generate() throws Exception {
// 引用配置类,build方法允许有多个配置类
FileGenerator.build(Empty.class);
}
@Tables(
// 设置数据库连接信息
url = url,
username = username,
password = password,
// 设置entity类生成src目录, 相对于 user.dir
srcDir = "src/main/java",
// 设置entity类的package值
basePack = "com.hy.fmp.fluent",
// 设置dao接口和实现的src目录, 相对于 user.dir
daoDir = "src/main/java",
// 设置哪些表要生成Entity文件
tables = {@Table(value = {"test_fluent_mybatis"})})
static class Empty { // 类名随便取, 只是配置定义的一个载体
}
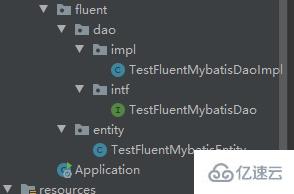
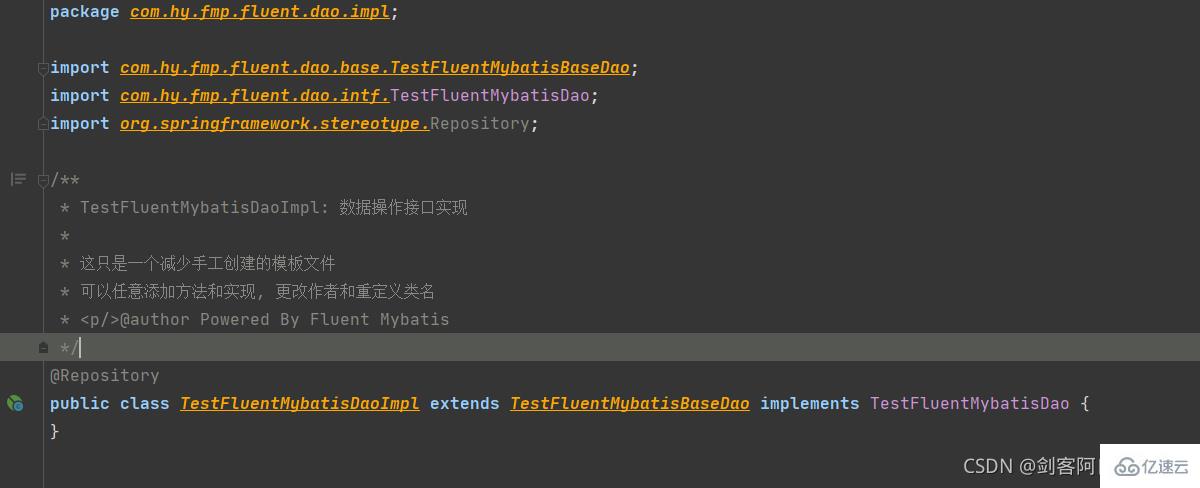
}执行代码生成工具,看看都生成了些什么。

可以看到生成的包如下。
这里有个坑,看下面的截图
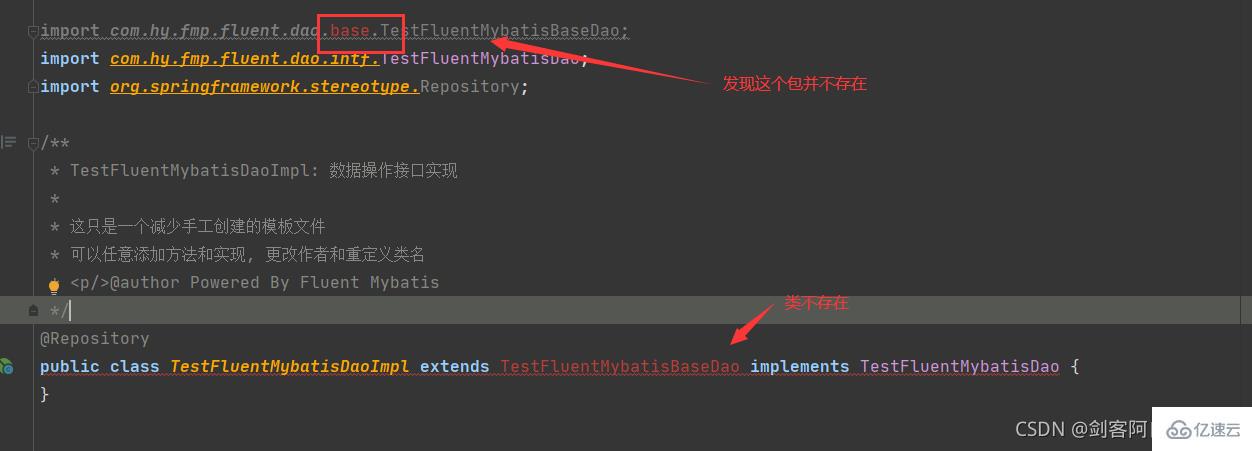
其实官方给了解决方法,只是没有对此说明。

简而言之就是你需要使用maven编译一下,所以我们compile一下。

编译结束后我们可以在target中,找到报错包位置中的编译文件。
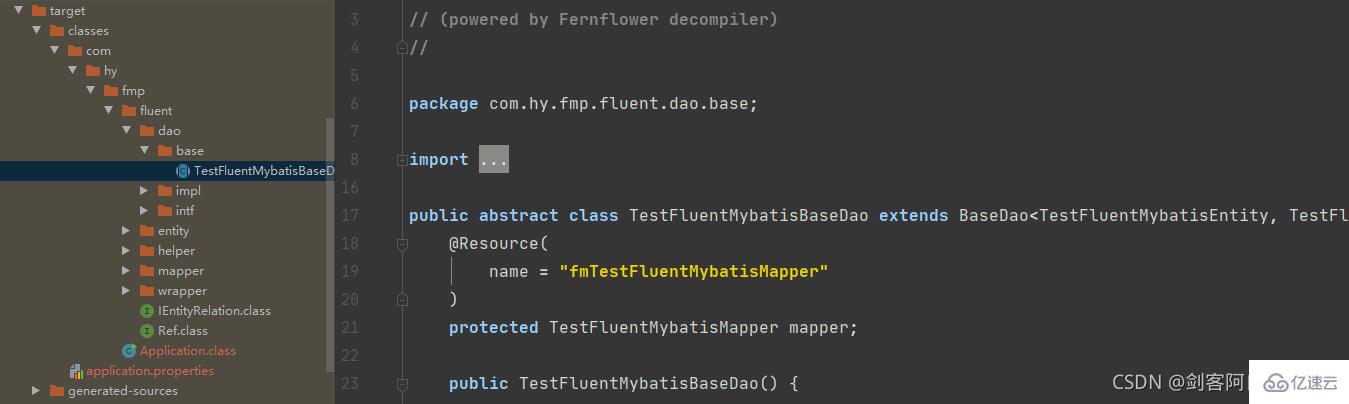
之前报错的类已经不再报错了。完美。
关于“Java Fluent Mybatis怎么构建项目与实现代码生成”这篇文章的内容就介绍到这里,感谢各位的阅读!相信大家对“Java Fluent Mybatis怎么构建项目与实现代码生成”知识都有一定的了解,大家如果还想学习更多知识,欢迎关注亿速云行业资讯频道。
免责声明:本站发布的内容(图片、视频和文字)以原创、转载和分享为主,文章观点不代表本网站立场,如果涉及侵权请联系站长邮箱:is@yisu.com进行举报,并提供相关证据,一经查实,将立刻删除涉嫌侵权内容。


