这篇文章将为大家详细讲解有关python中opencv旋转图片怎么用,小编觉得挺实用的,因此分享给大家做个参考,希望大家阅读完这篇文章后可以有所收获。
在图像处理中,有的时候会有对图片进行角度旋转的处理,尤其是在计算机视觉中对于图像扩充,旋转角度扩充图片是一种常见的处理。这种旋转图片的应用场景也比较多,比如用户上传图片是竖着的时候,不好进行处理,也需要对其进行旋转,以便后续算法处理。常见的旋转处理有两种方式,一种是转化为numpy矩阵后,对numpy矩阵进行处理,另外一种是使用opencv自带的函数进行各种变换处理,以实现旋转角度的结果。

旋转中常用的函数有以下几个函数
cv2.transpose: 对图像矩阵进行转置处理
img = cv2.imread(origin_img_path)
img_transpose = cv2.transpose(img)
cv2.imshow('transpose', img_transpose)
cv2.waitKey(0)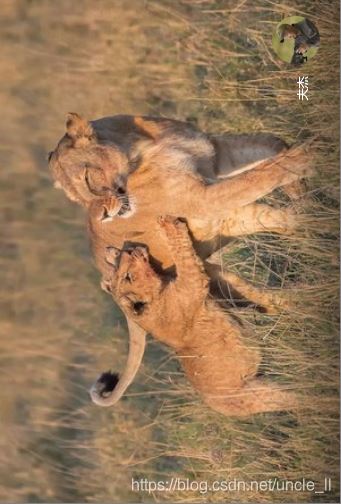
cv2.flip : 对图像矩阵进行翻转处理,参数可以设置为1,0,-1,分别对应着水平翻转、垂直翻转、水平垂直翻转。
img = cv2.imread(origin_img_path)
img_flip = cv2.flip(img, 1)
cv2.imshow('flip', img_flip)
cv2.waitKey(0)
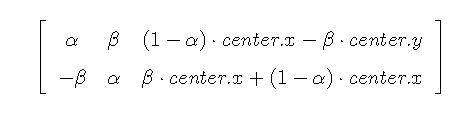
cv2.getRotationMatrix2D: 构建旋转矩阵M,后续旋转时候只需要与旋转矩阵进行乘积即可完成旋转操作
旋转矩阵M
img = cv2.imread(origin_img_path)
rows, cols = img.shape
# 这里的第一个参数为旋转中心,第二个为旋转角度,第三个为旋转后的缩放因子
# 可以通过设置旋转中心,缩放因子以及窗口大小来防止旋转后超出边界的问题
M = cv2.getRotationMatrix2D((cols/2,rows/2),45,0.6)
cv2.warpAffine: 对图像进行仿射变换,一般进行平移或者旋转操作
img = cv2.imread(origin_img_path)
cv2.warpAffine(img, M,(lengh,lengh),borderValue=(255,255,255))  # M为上面的旋转矩阵
numpy实现旋转一般是使用numpy.rot90对图像进行90度倍数的旋转操作
官方介绍:
numpy.rot90(m, k=1, axes=(0, 1))[source]Rotate an array by 90 degrees in the plane specified by axes.
Rotation direction is from the first towards the second axis.
k: Number of times the array is rotated by 90 degrees.
关键参数k表示旋转90度的倍数,k的取值一般为1、2、3,分别表示旋转90度、180度、270度;k也可以取负数,-1、-2、-3。k取正数表示逆时针旋转,取负数表示顺时针旋转。
逆时针
使用opencv函数的转置操作+翻转操作实现旋转
使用numpy.rot90实现
def rotateAntiClockWise90(img_file):  # 逆时针旋转90度
	img = cv2.imread(img_file)
    trans_img = cv2.transpose(img)
    img90 = cv2.flip(trans_img, 0)
    cv2.imshow("rotate", img90)
    cv2.waitKey(0)
    return img90

def totateAntiClockWise90ByNumpy(img_file):  # np.rot90(img, -1) 逆时针旋转90度
    img = cv2.imread(img_file)
    img90 = np.rot90(img, -1)
    cv2.imshow("rotate", img90)
    cv2.waitKey(0)
    return img90
顺时针
def rotateClockWise90(self, img_file):
	img = cv2.imread(img_file)
    trans_img = cv2.transpose( img )
    img90 = cv2.flip(trans_img, 1)
    cv2.imshow("rotate", img90)
    cv2.waitKey(0)
    return img90

def totateClockWise90ByNumpy(img_file):  # np.rot90(img, 1) 顺时针旋转90度
    img = cv2.imread(img_file)
    img90 = np.rot90(img, 1)
    cv2.imshow("rotate", img90)
    cv2.waitKey(0)
    return img90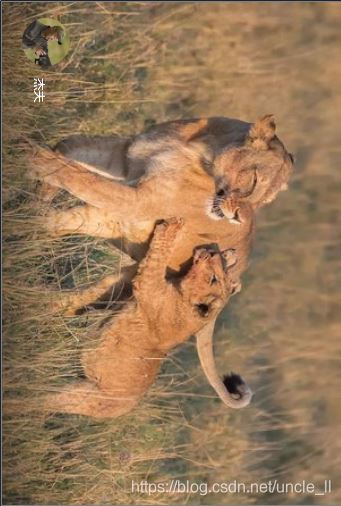
旋转180度、270度
使用numpy.rot90实现旋转180度、270度
180度
img180 = np.rot90(img, 2)
cv2.imshow("rotate", img180)
cv2.waitKey(0)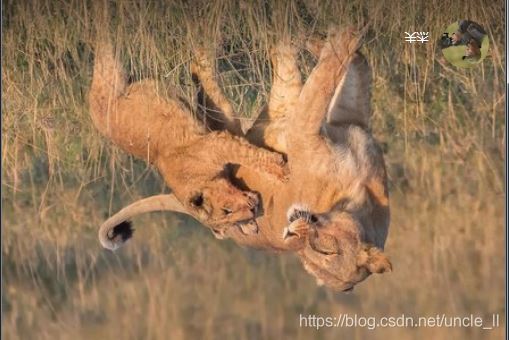
270 度
img270 = np.rot90(img, 3)
cv2.imshow("rotate", img270)
cv2.waitKey(0)
旋转任意角度,以任意色值填充背景
import cv2
from math import *
import numpy as np

# 旋转angle角度,缺失背景白色(255, 255, 255)填充
def rotate_bound_white_bg(image, angle):
    # grab the dimensions of the image and then determine the
    # center
    (h, w) = image.shape[:2]
    (cX, cY) = (w // 2, h // 2)

    # grab the rotation matrix (applying the negative of the
    # angle to rotate clockwise), then grab the sine and cosine
    # (i.e., the rotation components of the matrix)
    # -angle位置参数为角度参数负值表示顺时针旋转; 1.0位置参数scale是调整尺寸比例(图像缩放参数),建议0.75
    M = cv2.getRotationMatrix2D((cX, cY), -angle, 1.0)
    cos = np.abs(M[0, 0])
    sin = np.abs(M[0, 1])

    # compute the new bounding dimensions of the image
    nW = int((h * sin) + (w * cos))
    nH = int((h * cos) + (w * sin))

    # adjust the rotation matrix to take into account translation
    M[0, 2] += (nW / 2) - cX
    M[1, 2] += (nH / 2) - cY

    # perform the actual rotation and return the image
    # borderValue 缺失背景填充色彩,此处为白色,可自定义
    return cv2.warpAffine(image, M, (nW, nH),borderValue=(255,255,255))
    # borderValue 缺省,默认是黑色(0, 0 , 0)
    # return cv2.warpAffine(image, M, (nW, nH))

img = cv2.imread("dog.png")
imgRotation = rotate_bound_white_bg(img, 45)

cv2.imshow("img",img)
cv2.imshow("imgRotation",imgRotation)
cv2.waitKey(0)
45度
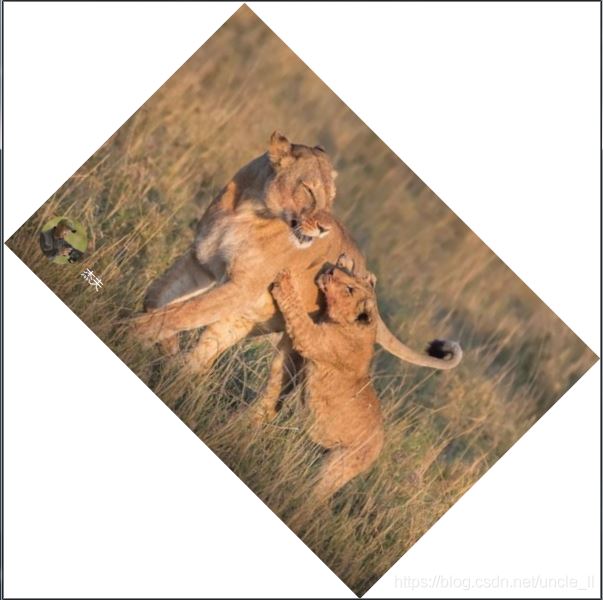
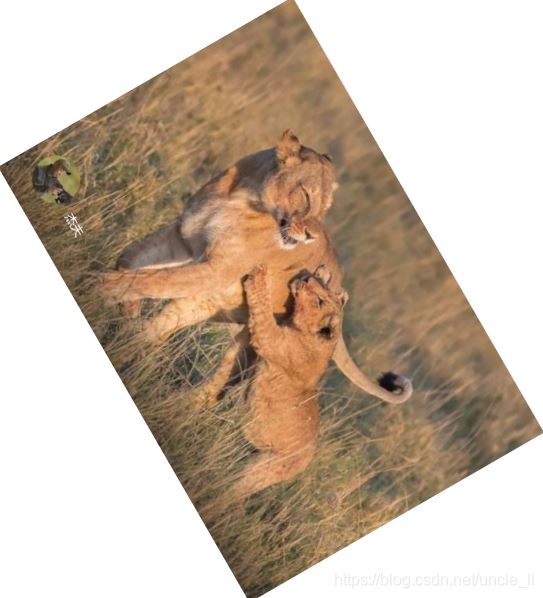
60度
关于“python中opencv旋转图片怎么用”这篇文章就分享到这里了,希望以上内容可以对大家有一定的帮助,使各位可以学到更多知识,如果觉得文章不错,请把它分享出去让更多的人看到。
免责声明:本站发布的内容(图片、视频和文字)以原创、转载和分享为主,文章观点不代表本网站立场,如果涉及侵权请联系站长邮箱:is@yisu.com进行举报,并提供相关证据,一经查实,将立刻删除涉嫌侵权内容。


