vm.$delete()
vm.$delete用法见官网。
为什么需要Vue.delete()?
在ES6之前, JS没有提供方法来侦测到一个属性被删除了, 因此如果我们通过delete删除一个属性, Vue是侦测不到的, 因此不会触发数据响应式。
见下面的demo。
<!DOCTYPE html>
<html lang="en">
 <head>
  <meta charset="UTF-8" />
  <meta name="viewport" content="width=device-width, initial-scale=1.0" />
  <meta http-equiv="X-UA-Compatible" content="ie=edge" />
  <title>Vue Demo</title>
  <script src="https://cdn.jsdelivr.net/npm/vue"></script>
 </head>
 <body>
  <div id="app">
   名字: {{ user.name }} 年纪: {{ user.age }}
   <button @click="addUserAgeField">删除一个年纪字段</button>
  </div>
  <script>
   const app = new Vue({
    el: "#app",
    data: {
     user: {
      name: "test",
      age: 10
     }
    },
    mounted() {},
    methods: {
     addUserAgeField() {
      // delete this.user.age; // 这样是不起作用, 不会触发数据响应式更新
      this.$delete(this.user, 'age') // 应该使用
     }
    }
   });
  </script>
 </body>
</html>
源码分析内部实现
源码位置vue/src/core/instance/state.js的stateMixin方法
export function stateMixin (Vue: Class<Component>) {
  ...

  Vue.prototype.$set = set
  Vue.prototype.$delete = del

  ...

}
然后查看del函数位置, vue/src/core/observer/index.js。
/**
 * Delete a property and trigger change if necessary.
 * target: 将被删除属性的目标对象, 可以是对象/数组
 * key: 删除属性
 */
export function del (target: Array<any> | Object, key: any) {
 // 非生产环境下, 不允许删除一个原始数据类型, 或者undefined, null
 if (process.env.NODE_ENV !== 'production' &&
  (isUndef(target) || isPrimitive(target))
 ) {
  warn(`Cannot delete reactive property on undefined, null, or primitive value: ${(target: any)}`)
 }
 // 如果target是数组, 并且key是一个合法索引,通过数组的splcie方法删除值, 并且还能触发数据的响应(数组拦截器截取到变化到元素, 通知依赖更新数据)
 if (Array.isArray(target) && isValidArrayIndex(key)) {
  target.splice(key, 1)
  return
 }
 // 获取ob
 const ob = (target: any).__ob__
 // target._isVue: 不允许删除Vue实例对象上的属性
 // (ob && ob.vmCount): 不允许删除根数据对象的属性,触发不了响应
 if (target._isVue || (ob && ob.vmCount)) {
  process.env.NODE_ENV !== 'production' && warn(
   'Avoid deleting properties on a Vue instance or its root $data ' +
   '- just set it to null.'
  )
  return
 }
 // 如果属性压根不在对象上, 什么都不做处理
 if (!hasOwn(target, key)) {
  return
 }
 // 走到这一步说明, target是对象, 并且key在target上, 直接使用delete删除
 delete target[key]
 // 如果ob不存在, 说明target本身不是响应式数据,
 if (!ob) {
  return
 }
 // 存在ob, 通过ob里面存储的Dep实例的notify方法通知依赖更新
 ob.dep.notify()
}
工具函数
// 判断是否v是未定义
export function isUndef (v: any): boolean %checks {
 return v === undefined || v === null
}

// 判断v是否是原始数据类型(基本数据类型)
export function isPrimitive (value: any): boolean %checks {
 return (
  typeof value === 'string' ||
  typeof value === 'number' ||
  // $flow-disable-line
  typeof value === 'symbol' ||
  typeof value === 'boolean'
 )
}

// 判断对象上是否有属性
const hasOwnProperty = Object.prototype.hasOwnProperty
export function hasOwn (obj: Object | Array<*>, key: string): boolean {
 return hasOwnProperty.call(obj, key)
}
关于__ob__属性, 在很多源码地方我们都会看到类似这样获取ob(Observer实例)
const ob = (target: any).__ob__
牢记只要数据被observe过就会打上这个私有属性, 是在Observer类的构造器里面发生的
export class Observer {
  constructor (value: any) {
  this.value = value
  // 依赖是存在Observe上的dep属性, 再次通知依赖更新时候我们一般使用__ob__.dep.notify()
  this.dep = new Dep()
  this.vmCount = 0
  // 定义__ob__
  def(value, '__ob__', this)
  if (Array.isArray(value)) {
   if (hasProto) {
    protoAugment(value, arrayMethods)
   } else {
    copyAugment(value, arrayMethods, arrayKeys)
   }
   this.observeArray(value)
  } else {
   this.walk(value)
  }
  }
  ...

}
Vue.use()
大家都知道这个方法是用来安装插件的, 是全局api。
具体使用见官网。
通过Vue.use()源码+Vuex部分源码分析插件的安装过程
Vue.use()什么时候被绑在Vue原型上
源码位置: vue/src/core/index.js
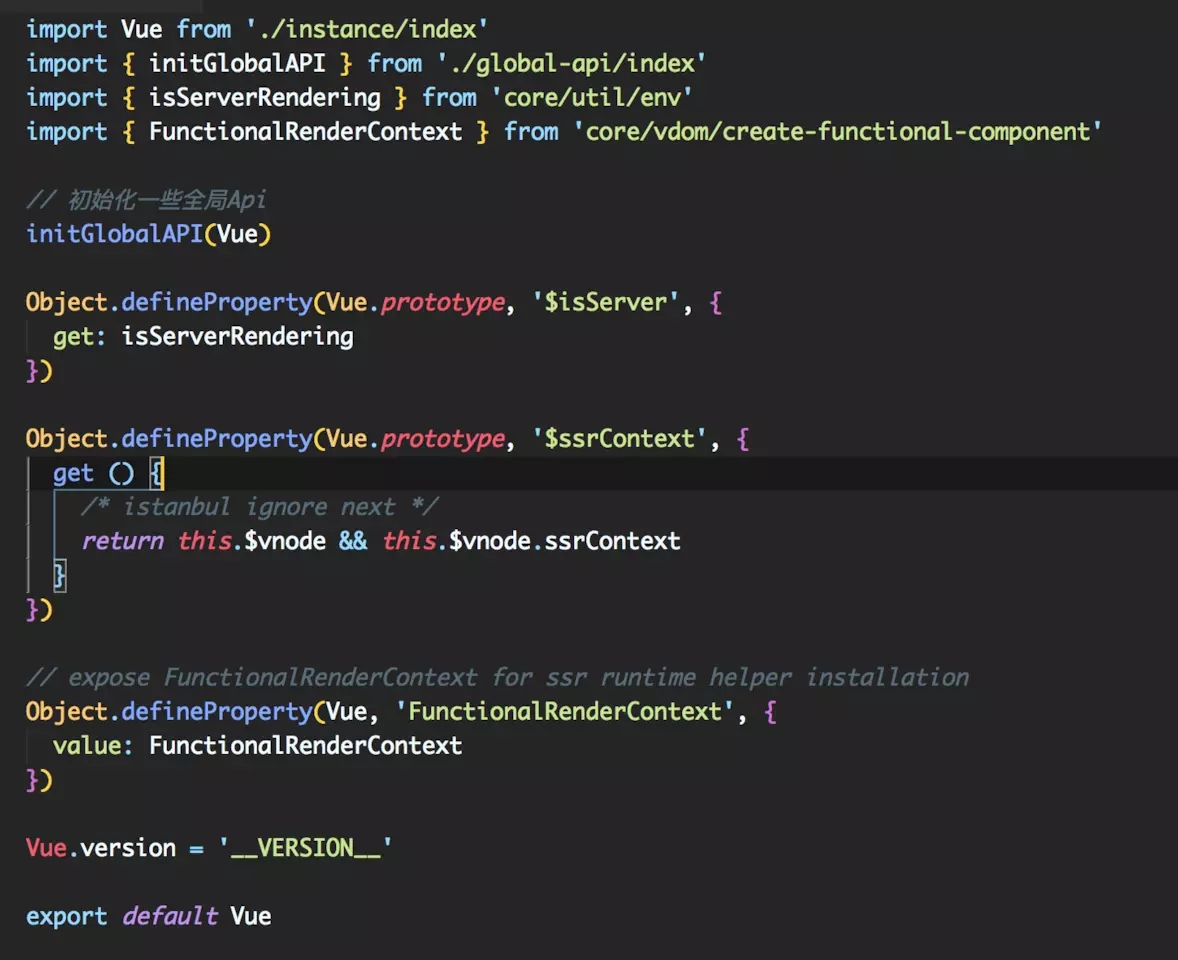
Vue
initGlobalAPI()
源码位置: vue/src/core/global-api/index.js
export function initGlobalAPI (Vue: GlobalAPI) {
  ...
  // 初始化use()
  initUse(Vue)
  ...

}
initUse()
源码位置: vue/src/core/global-api/use.js
export function initUse (Vue: GlobalAPI) {
 // 这里的Vue是构造器函数.
 // 通过以下源码:
 // vue-dev/src/core/global-api/index.js initGlobalAPI()中
 // vue-dev/src/core/index.js 这里执行了initGlobalAPI() => 初始化一些全局api
 // Vue.use(): 安装Vue.js的插件
 // 如果插件是一个对象,必须提供 install 方法
 // 如果插件是一个函数,它会被作为 install 方法
 // install 方法调用时,会将 Vue 作为参数传入
 Vue.use = function (plugin: Function | Object) {
  // installedPlugins存储install后的插件
  const installedPlugins = (this._installedPlugins || (this._installedPlugins = []))
  if (installedPlugins.indexOf(plugin) > -1) {
   // 同一个插件只会安装一次
   return this
  }
  // additional parameters
  // 除了插件外的其他参数 Vue.use(MyPlugin, { someOption: true })
  const args = toArray(arguments, 1)
  // 往args存储Vue构造器, 供插件的install方法使用
  args.unshift(this)
  // 分情况执行插件的install方法, 把this(Vue), 参数抛回给install方法
  // 所以我们常说, install这个方法的第一个参数是 Vue 构造器,第二个参数是一个可选的选项对象:
  if (typeof plugin.install === 'function') {
   // plugin是一个对象
   plugin.install.apply(plugin, args)
  } else if (typeof plugin === 'function') {
   // plugin是一个函数
   plugin.apply(null, args)
  }
  // install之后会存储该插件避免重复安装
  installedPlugins.push(plugin)
  return this
 }
}
Vuex源码
我们都知道开发一个Vue.js 的插件应该暴露一个 install 方法。这个方法的第一个参数是 Vue 构造器,第二个参数是一个可选的选项对象:
那么我们首先就是看Vuex的install方法是怎么实现的
源码位置: vuex-dev/src/store.js
let Vue // bind on install

// install: 装载vuex到vue, Vue.use(Vuex)也是执行install方法
// 关于Vue.use()源码. vue-dev/src/core/global-api/use.js
export function install (_Vue) {
 if (Vue && _Vue === Vue) {
  if (process.env.NODE_ENV !== 'production') {
   console.error(
    '[vuex] already installed. Vue.use(Vuex) should be called only once.'
   )
  }
  return
 }
 // 首次安装插件, 会把局部的Vue缓存到全局的window.Vue. 主要为了避免重复调用Vue.use()
 Vue = _Vue
 applyMixin(Vue)
}
applyMixin()
源码位置: vuex/src/mixin.js
export default function (Vue) {
 const version = Number(Vue.version.split('.')[0])

 if (version >= 2) {
  // 如果是2.x.x以上版本,注入一个全局mixin, 执行vueInit方法
  Vue.mixin({ beforeCreate: vuexInit })
 } else {
  // override init and inject vuex init procedure
  // for 1.x backwards compatibility.
  // 重写Vue原型上的_init方法, 注入vueinit方法 _init方法见 vue-dev/src/core/instance/init.js
  const _init = Vue.prototype._init // 作为缓存变量
  Vue.prototype._init = function (options = {}) {
   options.init = options.init
    ? [vuexInit].concat(options.init)
    : vuexInit
   // 重新执行_init
   _init.call(this, options)
  }
 }

 /**
  * Vuex init hook, injected into each instances init hooks list.
  */
 // 注入store到Vue构造器
 function vuexInit () {
  // 这里的this. 指的是Vue构造器
  /**
   * new Vue({
   *  ...,
   *  store,
   *  route
   * })
   */
  // options: 就是new Vue(options)
  // 源码见 vue-dev/src/core/instance/init.js initMixin方法
  const options = this.$options
  // store injection
  // store是我们使用new Vuex.Store(options)的实例
  // 注入store到Vue构造函数上的$store属性上, 所以我们在Vue组件里面使用this.$store来使用
  if (options.store) {
   // options.store为真说明是根节点root
   this.$store = typeof options.store === 'function'
    ? options.store()
    : options.store
  } else if (options.parent && options.parent.$store) {
   // 子组件直接从父组件中获取$store,这样就保证了所有组件都公用了全局的同一份store
   this.$store = options.parent.$store
  }
 }
}
至于install方法Vuex是如果执行的?
export class Store {
 constructor (options = {}) {
  // 浏览器环境下安装vuex
  if (!Vue && typeof window !== 'undefined' && window.Vue) {
   install(window.Vue)
  }
  ...
 }
}
以上就是本文的全部内容,希望对大家的学习有所帮助,也希望大家多多支持亿速云。
免责声明:本站发布的内容(图片、视频和文字)以原创、转载和分享为主,文章观点不代表本网站立场,如果涉及侵权请联系站长邮箱:is@yisu.com进行举报,并提供相关证据,一经查实,将立刻删除涉嫌侵权内容。


