这篇文章将为大家详细讲解有关Vue中怎么实现非父子组件通信,文章内容质量较高,因此小编分享给大家做个参考,希望大家阅读完这篇文章后对相关知识有一定的了解。
组件是Vue核心的一块内容,组件之间的通信也是很基本的开发需求。组件通信又包括父组件向子组件传数据,子组件向父组件传数据,非父子组件间的通信。前两种通信Vue的文档都说的很清楚,但是第三种文档上确只有下面的几句
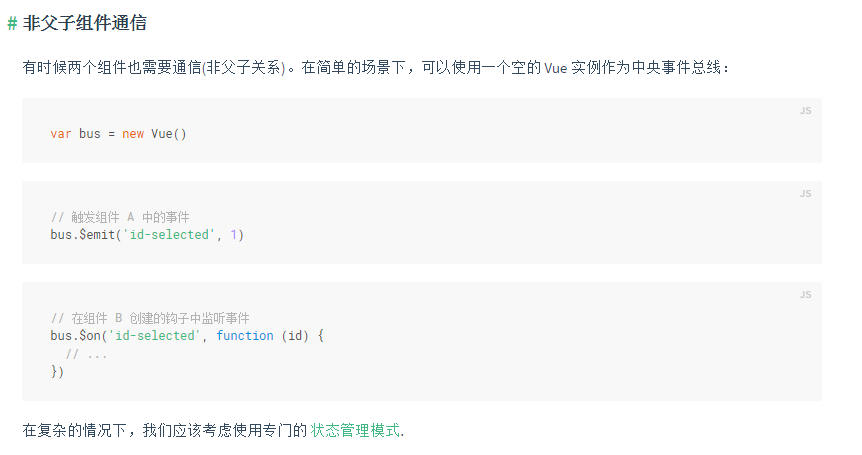
具体如何去实现却没有很详细的说明,于是自己试着进行了实现。先看下简单的通信效果:
就是点击了一个组件,另一个组件的数字递加。
html如下:
<div id="app">
  <component-a></component-a>
  <component-b></component-b>
</div>
再来看一下如何实现每一个组件:
var bus = new Vue() //首先建立一个空的Vue实例作为事件的中转

  Vue.component('component-a',{
    template: `<div><button @click="incrementB">{{masgA}}</button></div>`, //添加点击事件incrementB ,因为点击A需要增加B
    data ()  {
      return {
        masgA : 0
      }
    },
    methods: {
      incrementB: function () { //增加B的事件
        bus.$emit('incrementB') //中转站bus 触发incrementB事件
      }
    },
    mounted: function () {
      var _this = this
      bus.$on('incrementA',function(){ //中转站bus自定义increamentA事件用来增加msgA,这个事件最终由组件B进行触发
        _this.masgA ++
      })
       //bus.$on('incrementA',()=>{ //这里也可以用箭头函数,就不会有_this这个变量了,因为箭头函数不会改变this指向
       // this.masgA ++
       //})
    }
  })
从上面的代码可以看出真正的改变方法是通过bus里注册监听事件来实现的,同理代component-b也是一样
Vue.component('component-b',{
    template: `<div><button @click="incrementA">{{masgB}}</button></div>`,
    data ()  {
      return {
        masgB : 0
      }
    },
    methods: {
      incrementA: function () {
        bus.$emit('incrementA')
      }
    },
    mounted: function(){
      bus.$on('incrementB',() => {
        this.masgB ++
      })
    }
  })
完整代码如下,可直接复制运行
<!DOCTYPE html>
<html lang="en">
<head>
  <meta charset="UTF-8">
  <title>非父子组件通信</title>
</head>
<body>
  <div id="app">
    <component-a></component-a>
    <component-b></component-b>
  </div>
  <script src="https://unpkg.com/vue/dist/vue.js"></script>
</body>
<script>
  var bus = new Vue() //首先建立一个空的Vue实例作为事件的中转

  Vue.component('component-a',{
    template: `<div><button @click="incrementB">{{masgA}}</button></div>`, //添加点击事件
    data ()  {
      return {
        masgA : 0
      }
    },
    methods: {
      incrementB: function () {
        bus.$emit('incrementB')
      }
    },
    mounted: function () {
      var _this = this
      bus.$on('incrementA',function(){
        _this.masgA ++
      })
      bus.$on('incrementA',()=>{
        this.masgA ++
      })
    }
  })

  Vue.component('component-b',{
    template: `<div><button @click="incrementA">{{masgB}}</button></div>`,
    data ()  {
      return {
        masgB : 0
      }
    },
    methods: {
      incrementA: function () {
        bus.$emit('incrementA')
      }
    },
    mounted: function(){
      bus.$on('incrementB',() => {
        this.masgB ++
      })
    }
  })

  var vm = new Vue({
    el: "#app"
  })
</script>
同时也可以看出这么做仅有两个组件就有些麻烦,事件的流向不是很清晰,所以在出现复杂的场景时需要使用VueX进行管理。
关于Vue中怎么实现非父子组件通信就分享到这里了,希望以上内容可以对大家有一定的帮助,可以学到更多知识。如果觉得文章不错,可以把它分享出去让更多的人看到。
免责声明:本站发布的内容(图片、视频和文字)以原创、转载和分享为主,文章观点不代表本网站立场,如果涉及侵权请联系站长邮箱:is@yisu.com进行举报,并提供相关证据,一经查实,将立刻删除涉嫌侵权内容。


