本文介绍了iOS Swift开发之日历插件开发示例,分享给大家,具体如下:
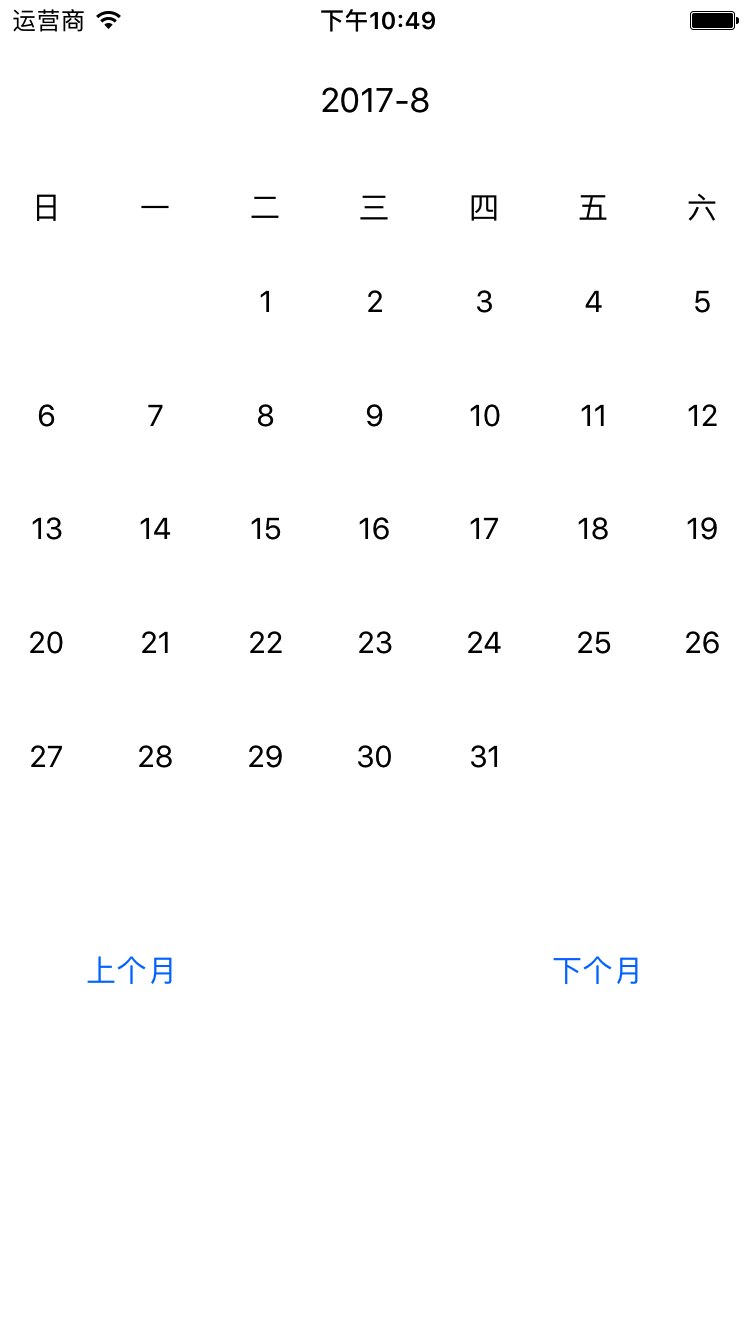
效果图
0x01 如何获取目前日期
关于日期,苹果给出了 Date 类,初始化一个 Date 类
let date = Date()
打印出来就是当前系统的日期和时间
那么如何单独获得当前年份,月份呢?
var date: [Int] = []
let calendar: Calendar = Calendar(identifier: .gregorian)
var comps: DateComponents = DateComponents()
comps = calendar.dateComponents([.year, .month, .day], from: Date())
date.append(comps.year!)
date.append(comps.month!)
date.append(comps.day!)
苹果提供一个 Calendar 的类,其初始化参数 identifier 是选择日历类型,Calendar 中有一个 Component 存放一些与日历有关的参数(如:day, month, year, weekday 等等,详见文档),于是date[0],date[1],date[2]分别为当前的 year, month 和 day
0x02 如何获取所需月份的相关信息
写一个日历插件,首先要考虑的是当前月份第一天是周几,每个月有多少天,如何获取?
直接上代码
  func getCountOfDaysInMonth(year: Int, month: Int) -> (count: Int, week: Int) {
    let dateFormatter = DateFormatter()
    dateFormatter.dateFormat = "yyyy-MM"
    let date = dateFormatter.date(from: String(year)+"-"+String(month))
    let calendar: Calendar = Calendar(identifier: .gregorian)

    let range = calendar.range(of: .day, in: .month, for: date!)
    let week = calendar.component(.weekday, from: date!)
    return ((range?.count)!, week)
  }
DateFormatter 可以提供一个日期的格式,自定义说明符如下
EEEE: 代表一天的全名,比如Monday.使用1-3个E就代表简写,比如Mon.
MMMM: 代表一个月的全名,比如July.使用1-3个M就代表简写,比如Jul.
dd: 代表一个月里的几号,比如07或者30.
yyyy: 代表4个数字表示的年份,比如2016.
HH: 代表2个数字表示的小时,比如08或17.
mm: 代表2个数字表示的分钟,比如01或59.
ss: 代表2个数字表示的秒,比如2016.
zzz: 代表3个字母表示的时区,比如GTM(格林尼治标准时间,GMT+8为北京所在的时区,俗称东八区)
GGG: BC或者AD, 即公元前或者公元
calendar.range(of: .day, in: .month, for: date!) 这是 Calendar 的一个方法, of是一个小component,in是一个大component,可以给出小component在大component的范围,range.count就是这个月的天数;
weekday给出某一天是星期几,若只给出月份,则为该月第一天为周几
0x03 日历的开发
这里我们选择使用 CollectionView,首先向storyboard中拖入一个CollectionView,然后在ViewController中添加CollectionView的协议
extension ViewController: UICollectionViewDelegate, UICollectionViewDataSource {
  // 返回Section的数量
  func numberOfSections(in collectionView: UICollectionView) -> Int {
    return 0
  }
  // 返回Item的数量
  func collectionView(_ collectionView: UICollectionView, numberOfItemsInSection section: Int) -> Int {
    return 0
  }
  // 返回Cell
  func collectionView(_ collectionView: UICollectionView, cellForItemAt indexPath: IndexPath) -> UICollectionViewCell {
    let cell = collectionView.dequeueReusableCell(withReuseIdentifier: "dateItem", for: indexPath) as! dateCollectionViewCell
    return cell
  }
}
这三个函数是必须写上的,numberOfSections返回Section的数量,numberOfItemInSection返回Section中Item的数量,cellForItemAt返回一个cell
最需要注意的是,在ViewController中的viewDidLoad函数中,必须添加如下
override func viewDidLoad() {
    super.viewDidLoad()
    // Do any additional setup after loading the view, typically from a nib.
    // 这两句话很重要!!!
    CalendarCollectionView.dataSource = self
    CalendarCollectionView.delegate = self
  }
这里我们设置两个Section,第一个存放“一二三四五六日”,第二个存放日期
那么Item数量就要分类考虑,Section为1时为7,Section为2时呢?为了简化,我们就return 42个。
那么cell也需要分类考虑
extension ViewController: UICollectionViewDelegate, UICollectionViewDataSource {
  // 返回Section的数量
  func numberOfSections(in collectionView: UICollectionView) -> Int {
    return 2
  }
  // 返回Item的数量
  func collectionView(_ collectionView: UICollectionView, numberOfItemsInSection section: Int) -> Int {
    if section == 0 {
      return weekArray.count
    } else {
      return 42
    }
  }
  // 返回Cell
  func collectionView(_ collectionView: UICollectionView, cellForItemAt indexPath: IndexPath) -> UICollectionViewCell {
    let cell = collectionView.dequeueReusableCell(withReuseIdentifier: "dateItem", for: indexPath) as! dateCollectionViewCell
    if indexPath.section == 0 {
      cell.textLabel.text = weekArray[indexPath.row]
    } else {
      var daysArray: [String] = []
      // 第一天之前的空白区域
      for number in 0..<firstDayOfMonth-1 {
        daysArray.append("")
      }
      for number in firstDayOfMonth-1...firstDayOfMonth+numberOfTheMonth-2 {
        daysArray.append(String(number-firstDayOfMonth+2))
      }
      // 最后一天后的空白区域
      for number in firstDayOfMonth+numberOfTheMonth-2...41 {
        daysArray.append("")
      }
      cell.textLabel.text = daysArray[indexPath.row]
    }
    return cell
  }
}
显示上个月和下个月只需在按钮的Action中month-1,再判断一下month是否在1...12范围内。以上一个月为例
@IBAction func lastMonth(_ sender: UIButton) {
    if month == 1 {
      year -= 1
      month = 12
    }else {
      month -= 1
    }
    dateDisplayLabel.text = String(year)+"-"+String(month)
    firstDayOfMonth = date.getCountOfDaysInMonth(year: year, month: month).week
    numberOfTheMonth = date.getCountOfDaysInMonth(year: year, month: month).count
    CalendarCollectionView.reloadData()
  }
以上就是本文的全部内容,希望对大家的学习有所帮助,也希望大家多多支持亿速云。
免责声明:本站发布的内容(图片、视频和文字)以原创、转载和分享为主,文章观点不代表本网站立场,如果涉及侵权请联系站长邮箱:is@yisu.com进行举报,并提供相关证据,一经查实,将立刻删除涉嫌侵权内容。


