假定我们正在运行某个应用程序,此应用程序需要用户在应用程序中提交大量图片文件,那么对于系统管理员来说手动审核这些图片是很消耗时间的,并且对于图片的审核也许并不是即时的。为了解决这一问题,这篇文章将向大家演示如何使用Azure Function和Cognitive Services来对上传到应用程序的图片进行自动化审核。
再正式开始今天的实验之前我们先带大家了解一下本次实验所有到的一些Azure功能:
l Azure Function:Azure Functions是一种无服务器计算服务,使您可以按需运行代码,而无需显式配置或管理基础结构。使用Azure Functions运行脚本或代码片段以响应各种事件
l Cognitive Services:Azure Cognitive Services是API,SDK和服务,可帮助开发人员构建智能应用程序,而无需直接的AI或数据科学技能或知识。Azure认知服务扩展了微软不断发展的机器学习API产品组合,使开发人员能够轻松添加认知功能 - 例如情感和视频检测; 面部,语言和视觉识别; 和语言和语言理解 - 进入他们的应用程序
l Content Moderator:Azure Content Moderator API是一种认知服务,可检查文本,图像和视频内容,查找可能具有***性,风险或其他不良内容的材料。找到此类材料后,该服务会对内容应用适当的标签(标记)。然后,您的应用可以处理已标记的内容,以符合法规或维护用户的预期环境。
l Azure Blob Storage:Azure Blob存储是Microsoft针对云的对象存储解决方案。Blob存储优化用于存储大量非结构化数据。非结构化数据是不遵循特定数据模型或定义的数据,例如文本或二进制数据。
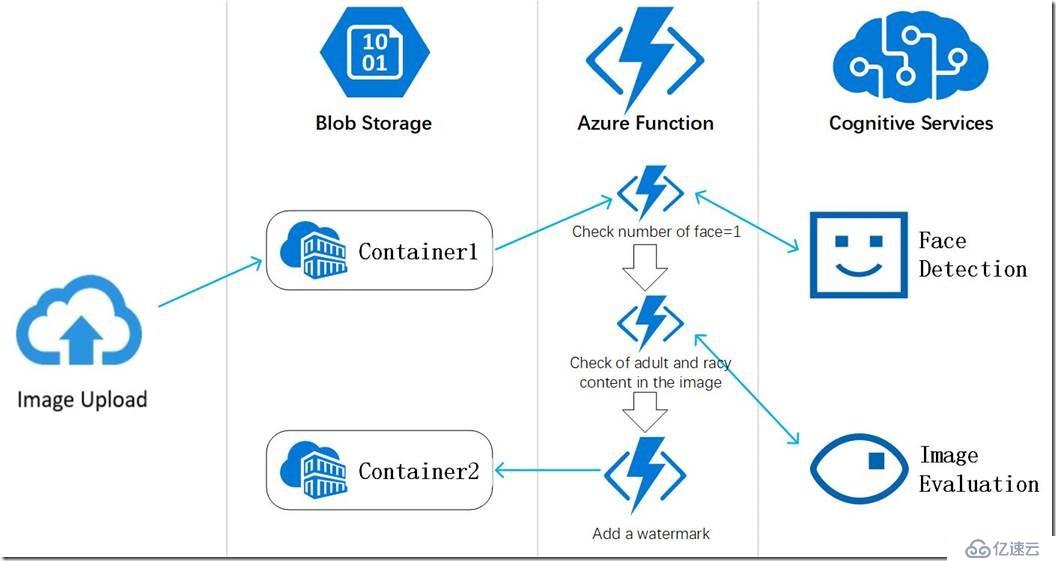
下面是我们今天实验的基本拓扑:
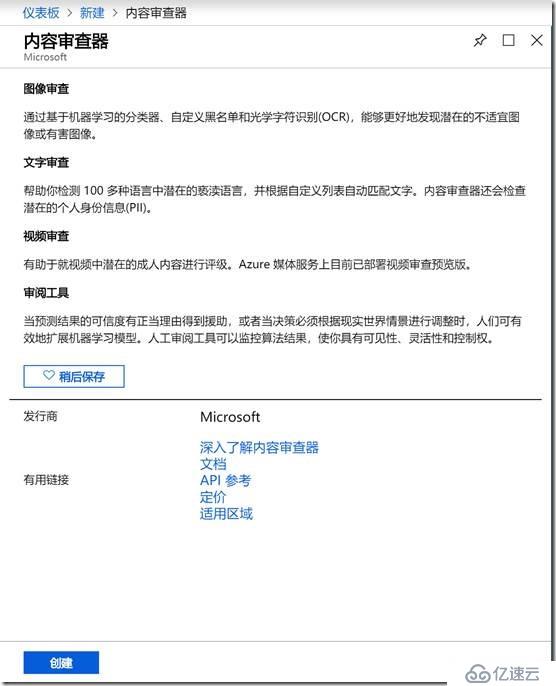
创建Content Moderator
点击“新建”—“Content Moderator”—“创建”:
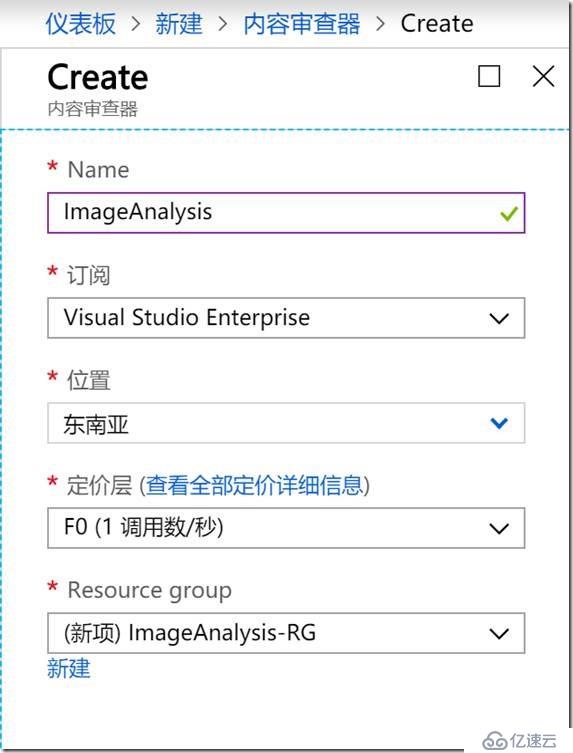
输入相关信息,点击创建:
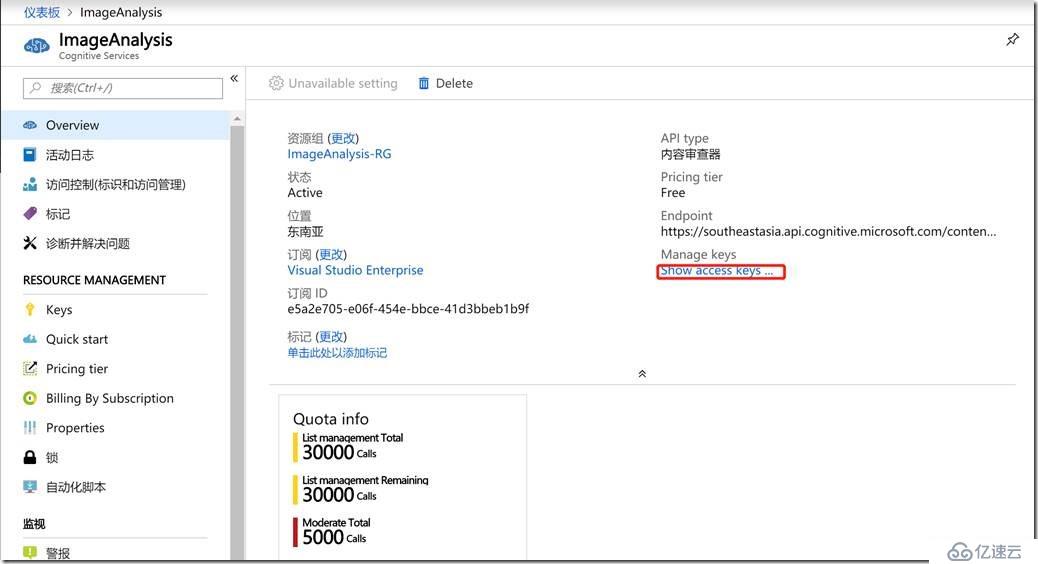
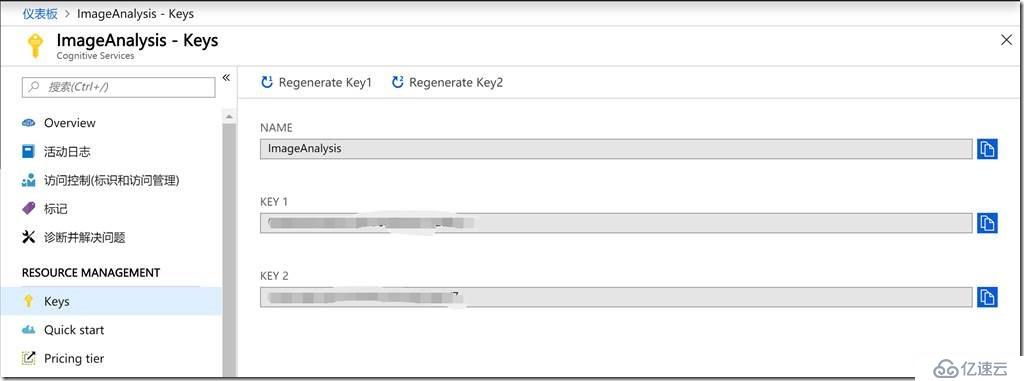
创建完成,如下图所示,我们点击“Show access keys并将此值记录下来”:
创建Function App和Storage
创建Function App
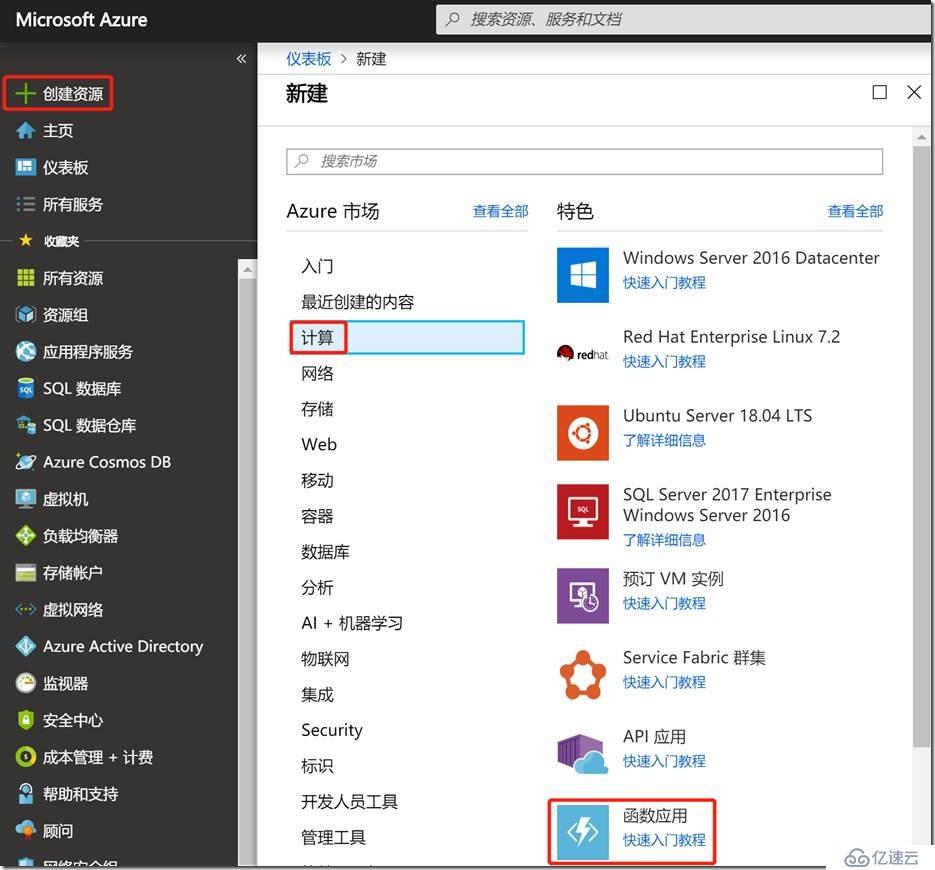
点击“新建”—“计算”—“Function App”:
输入如下参数,点击创建:

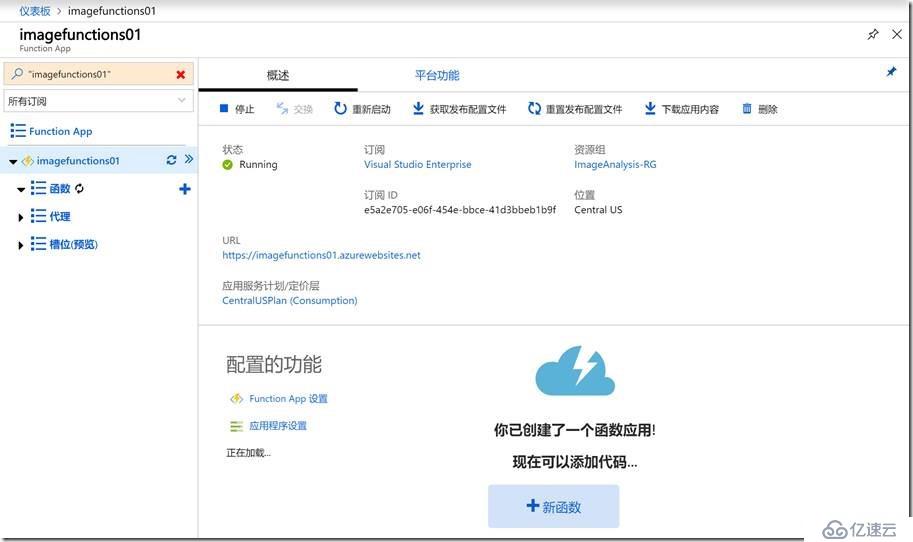
创建成功,如下图所示:
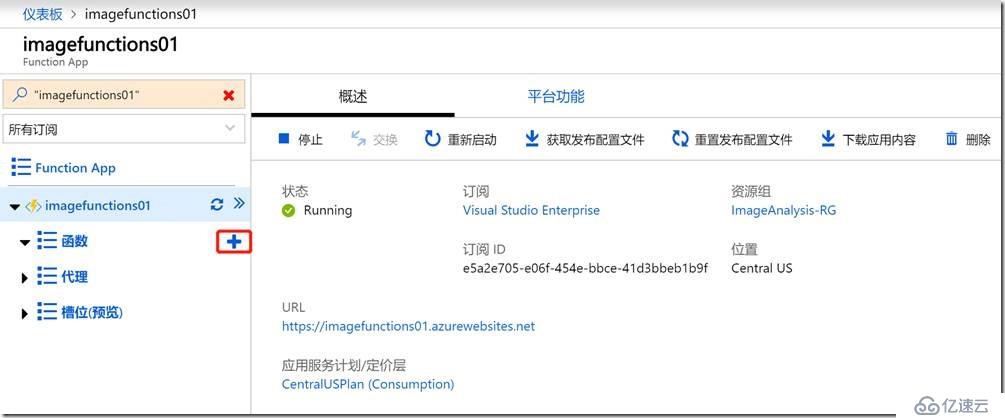
点击“新建Function”:
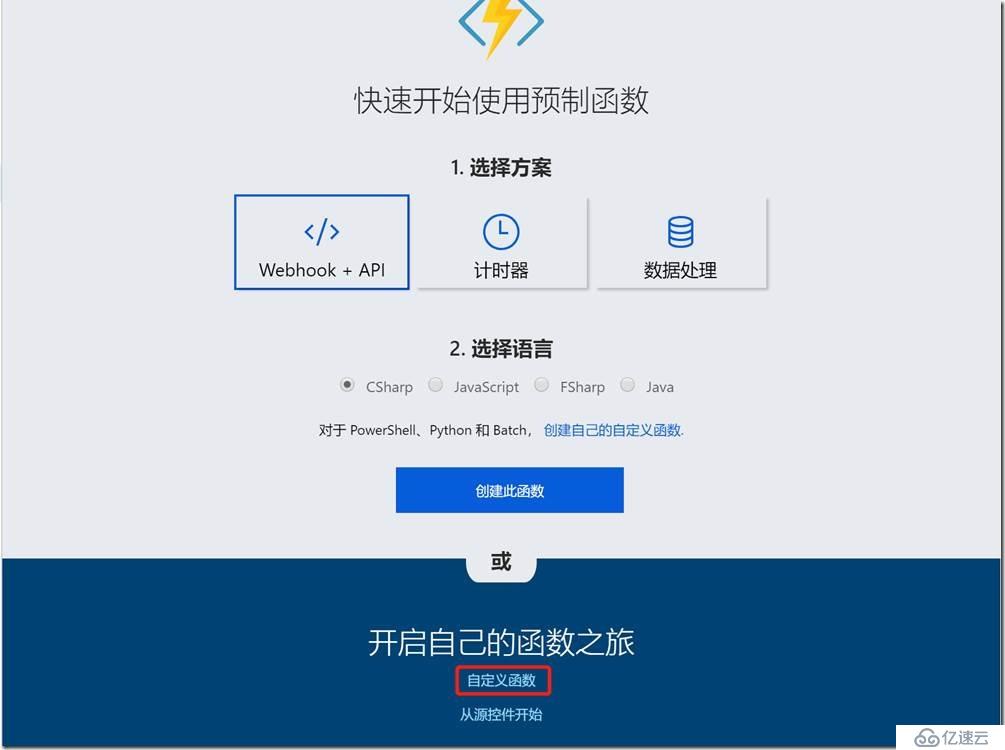
在此选择“自定义Function”:
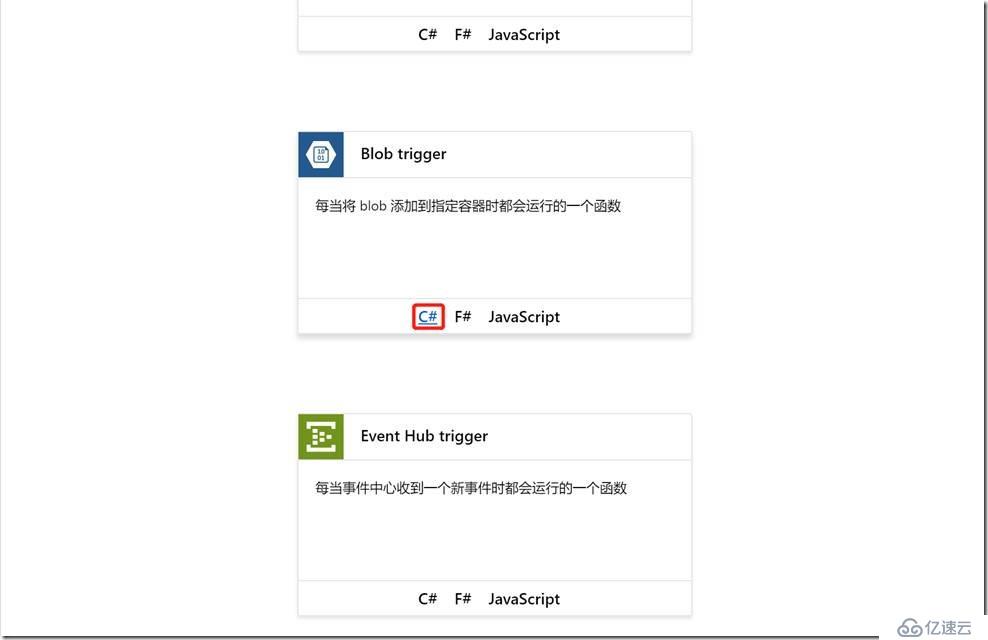
选择“Blob trigger”—“C#”:
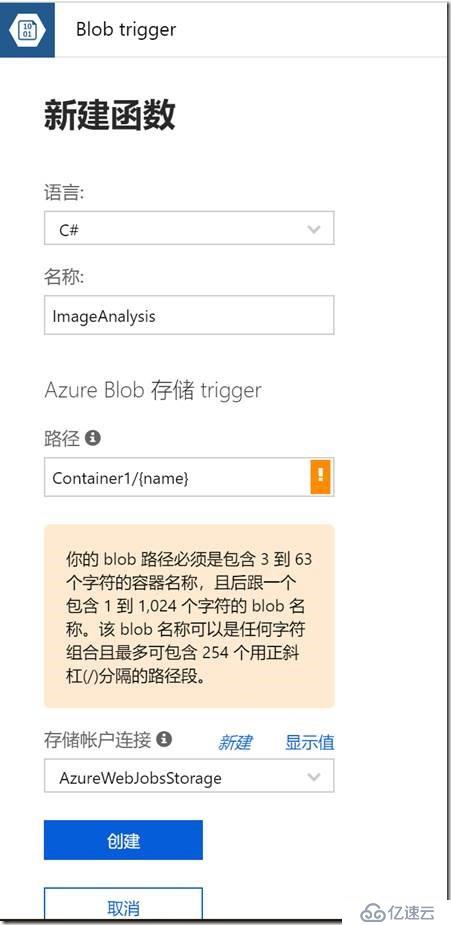
修改名称和路径,点击创建:
创建成功,如下图所示:
点击“集成”—“+新建输出”:

选择“Azure Blob存储”:
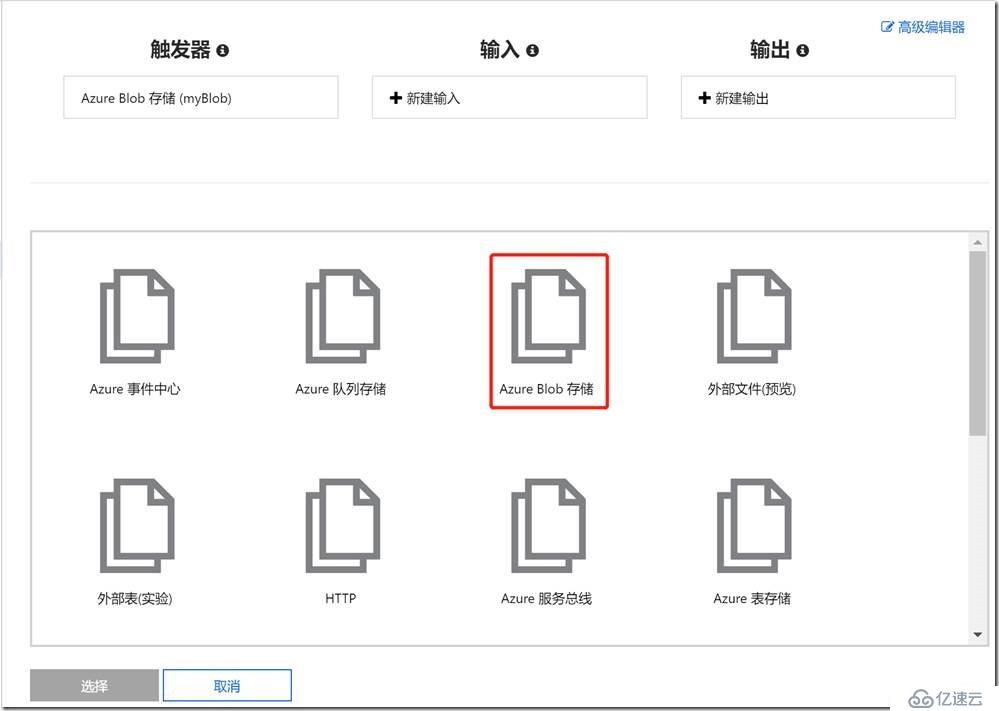
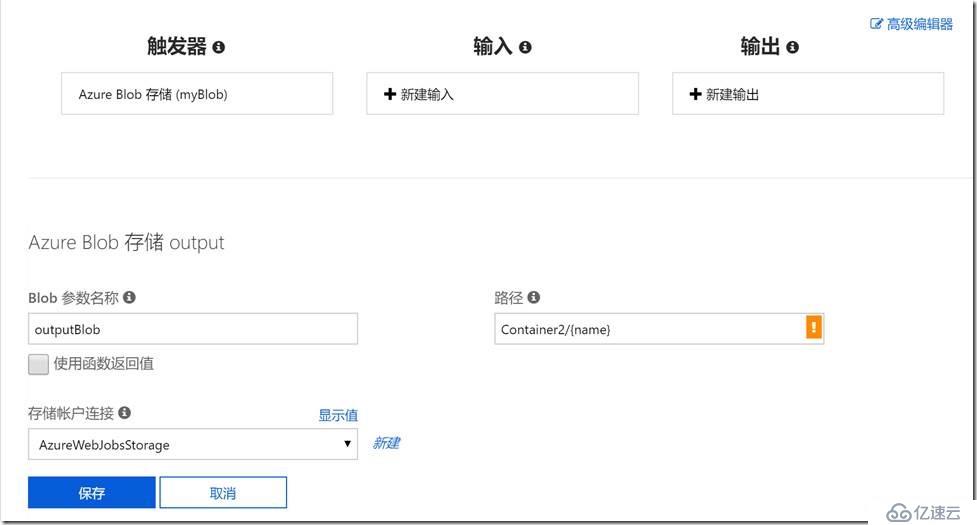
将路径修改为“Container1/{name}”,点击保存:
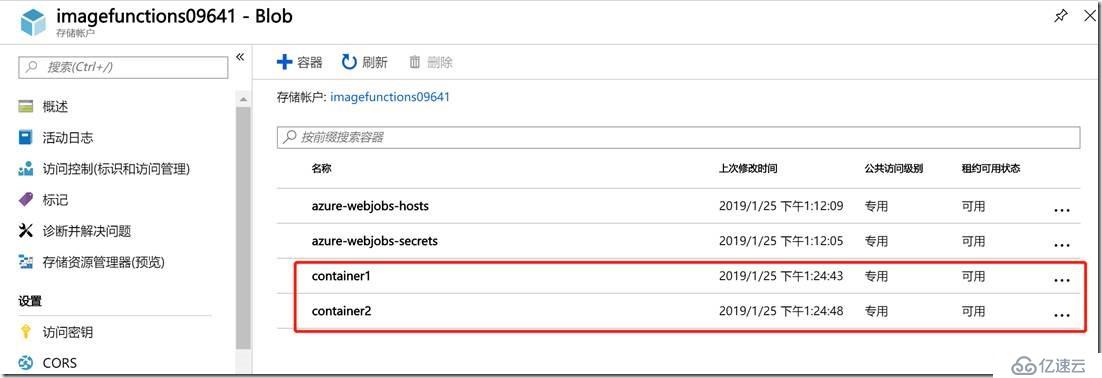
配置Storage
创建container1和container2,如下图所示:
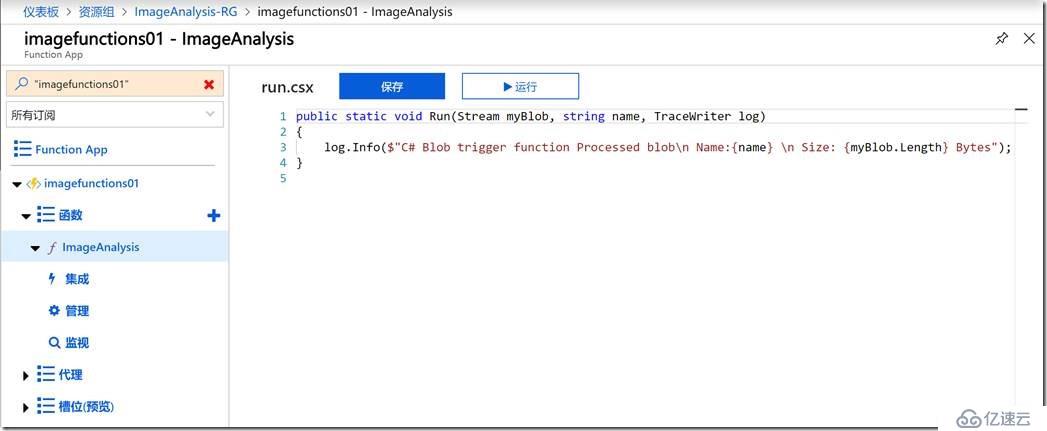
配置Function + Cognitive Services实现图片自动审核:
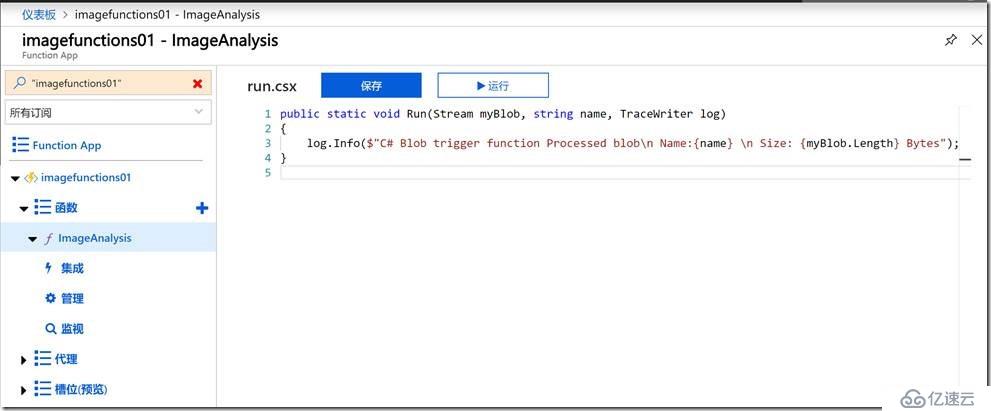
打开我们之前创建的Function,点击“ImageAnalysis”:
将之前创建Content Moderator时所保存的Key替换到如下位置:
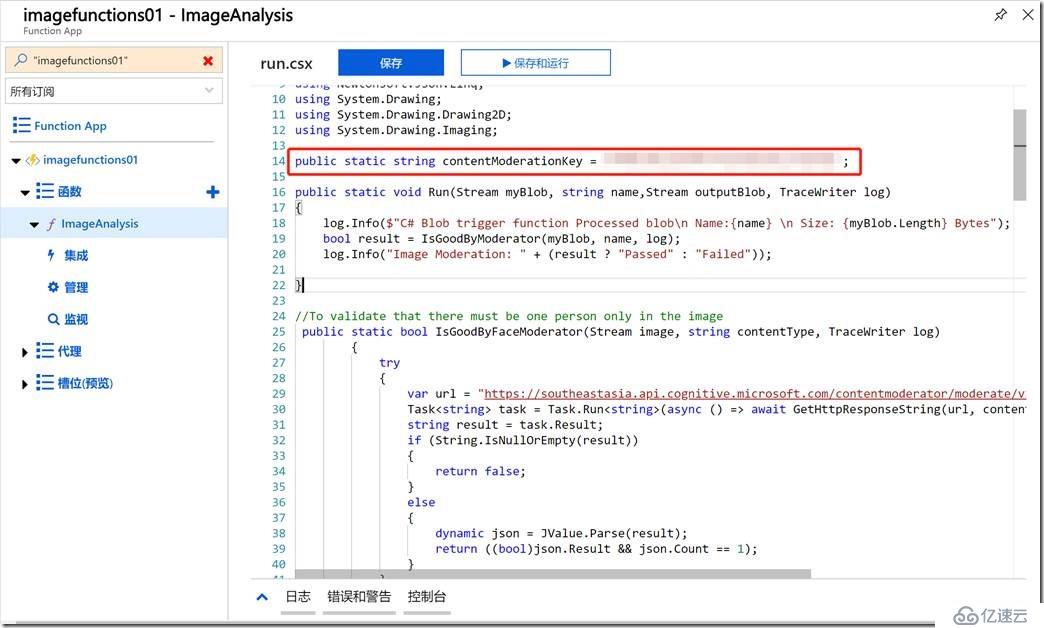
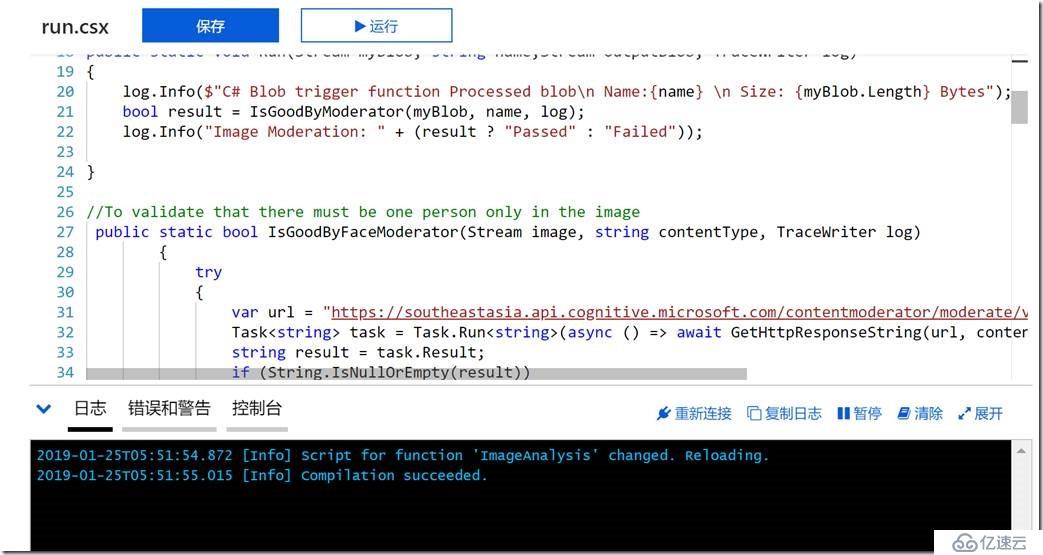
点击保存:
测试功能
测试“无效“图片:
上传“无效“图片到Container1,如下图所示:
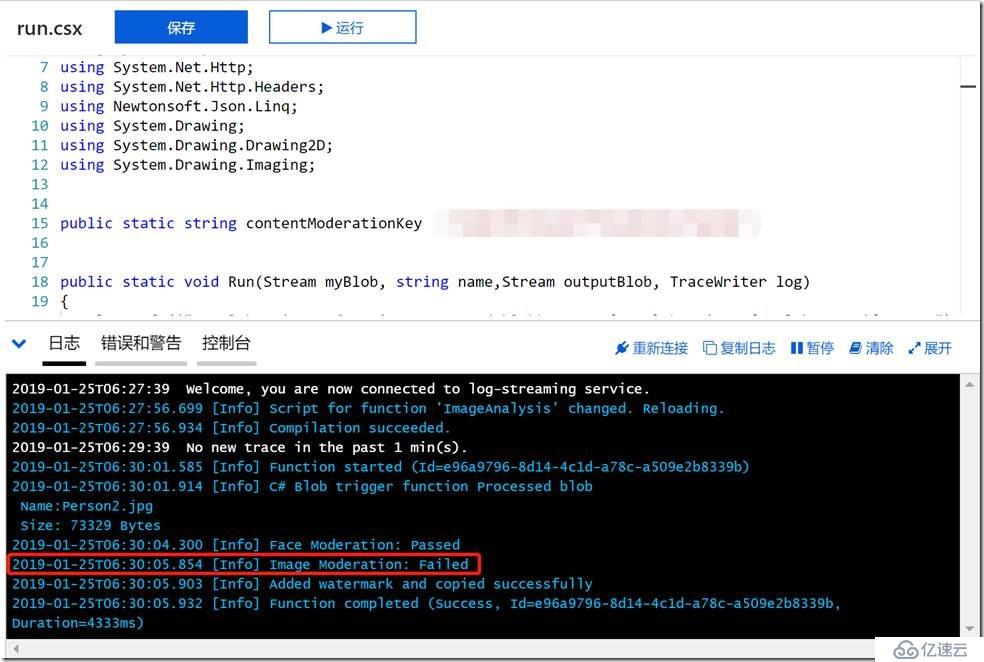
图片上传完成,我们可以看到如下Log:
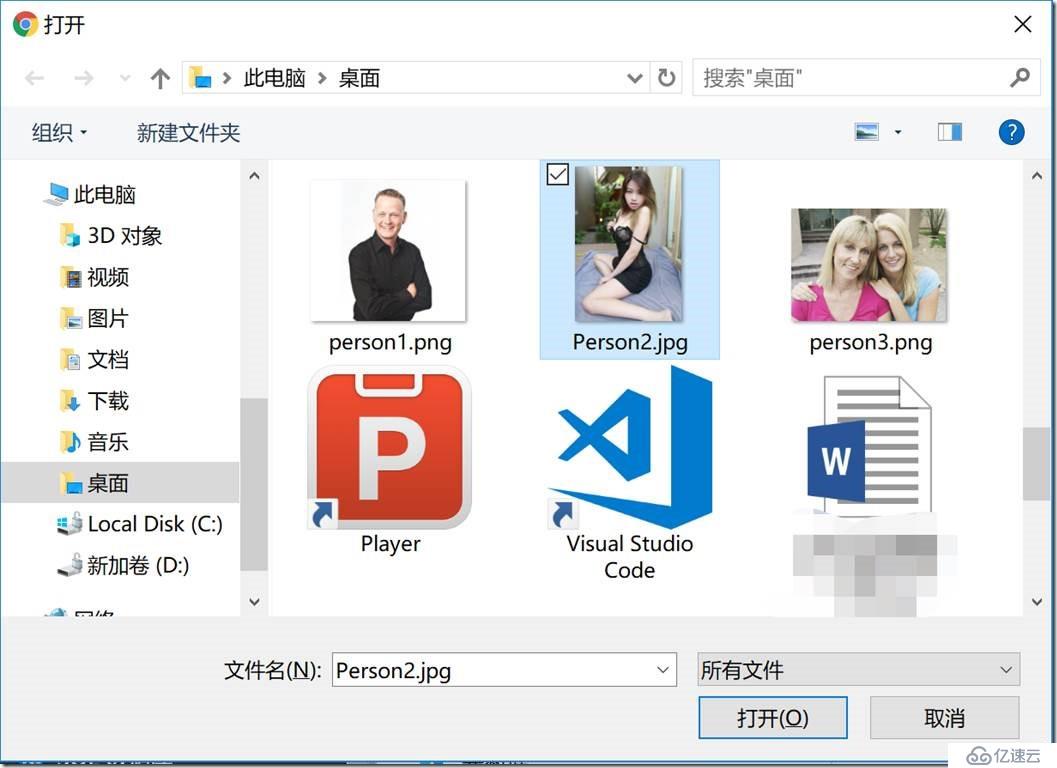
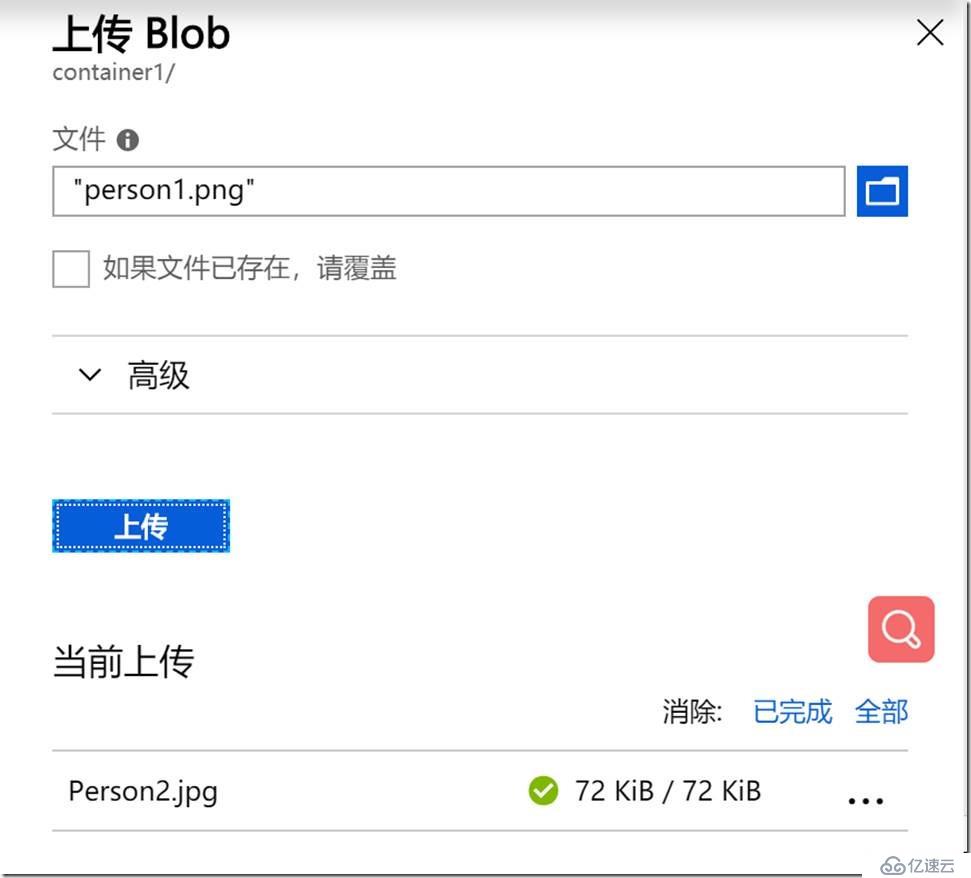
上传“有效“图片
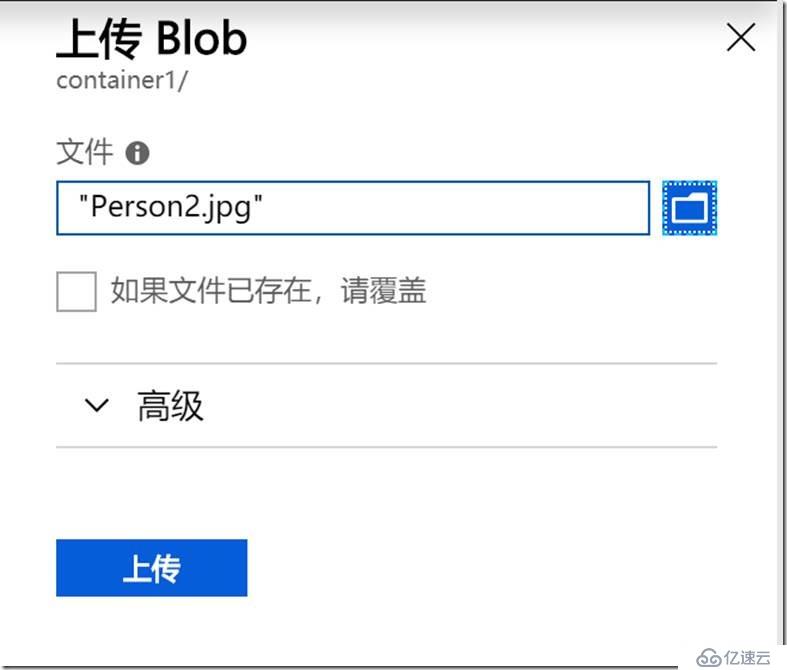
上传“有效“图片到Container1:

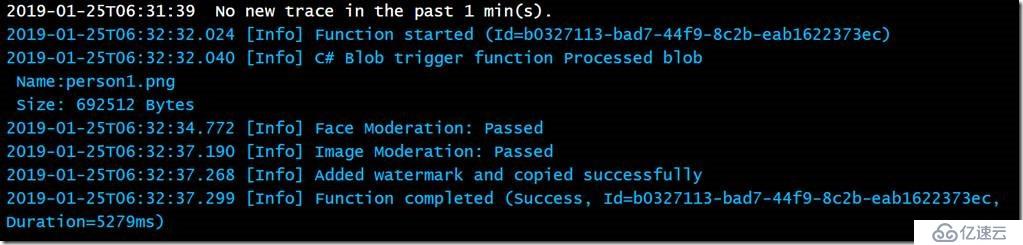
上传成功可以看到如下Log:
同时我们的图片会被添加水印并存储再Container2:
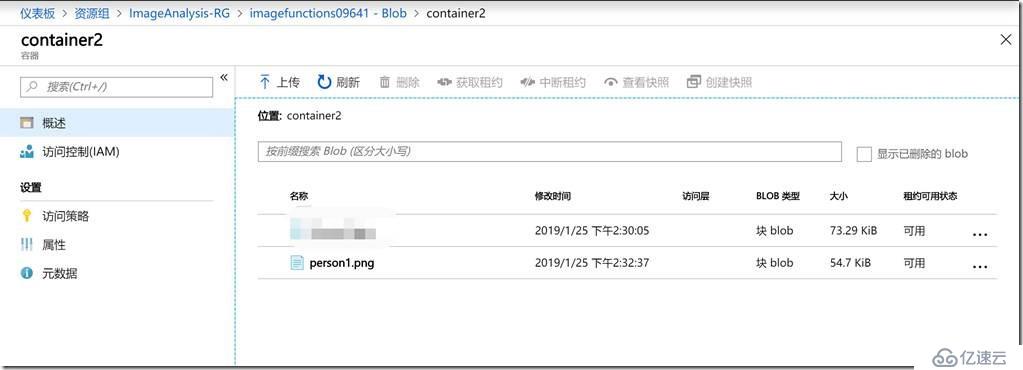
添加水印的图片如下图所示:

免责声明:本站发布的内容(图片、视频和文字)以原创、转载和分享为主,文章观点不代表本网站立场,如果涉及侵权请联系站长邮箱:is@yisu.com进行举报,并提供相关证据,一经查实,将立刻删除涉嫌侵权内容。


