##########postfix+mariadb#######
发送邮件
准备工作
yum install httpd php php-mysql mariadb-server -y
##配置mysql
config phpmyadmin
config mariadb
mysql_secure_installation
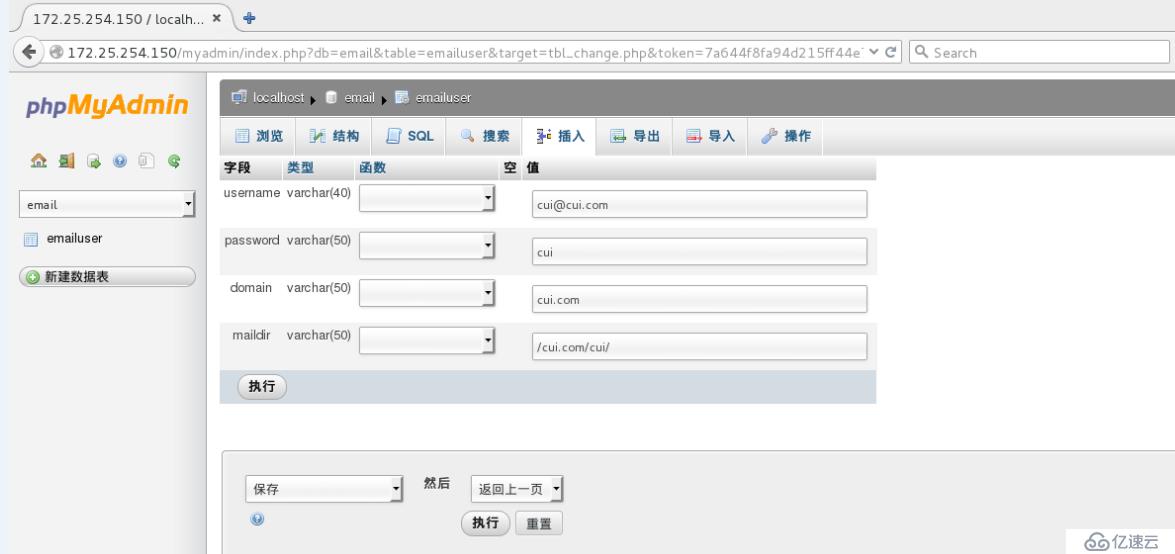
create db
create table
create usermessage
create dbuser
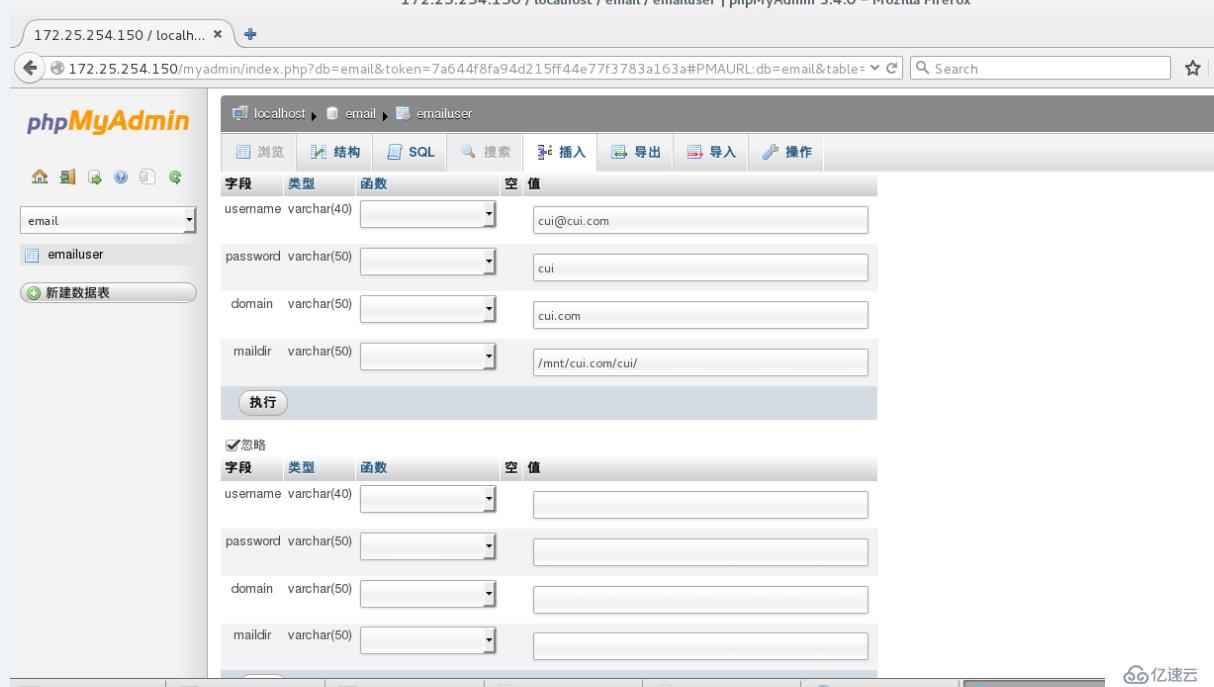
##添加数据库用户,并给其授权


1.
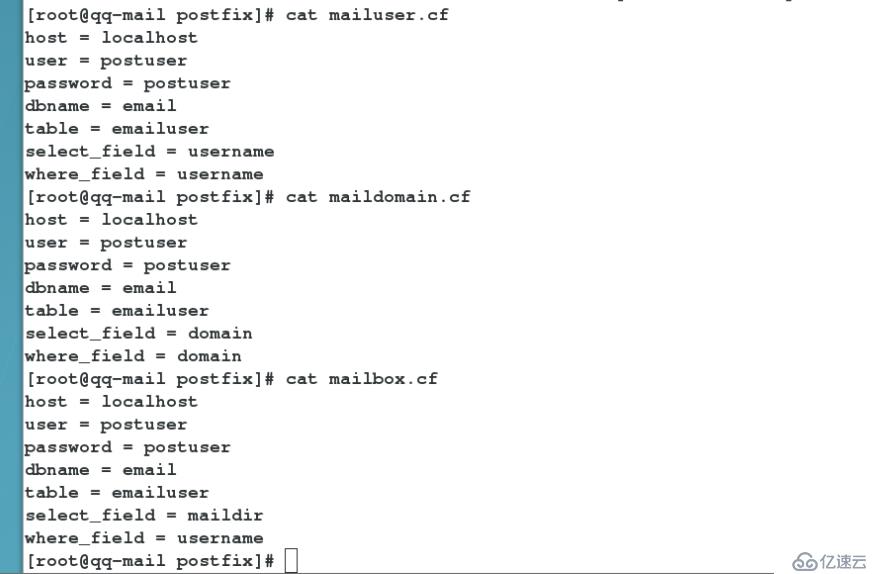
vim /etc/postfix/mailuser.cf ##用户名称查询
host = localhost ##数据库所在主机
user = postuser ##登陆数据库的用户
password = postuser ##登陆数据库的用户密码
dbname = email ##postfix要查询的库的名称
table = emailtable ##postfix要查询的表的名称
select_field = username ##postfix要查询的字段
where_field = username ##用户给定postfix的查询条件
vim /etc/postfix/maildomain.cf ##用户域名查询
host = localhost
user = postuser
password = postuser
dbname = email
table = emailtable
select_field = domain
where_field = domain
vim /etc/postfix/mailbox.cf ##用户邮箱位置查询
host = localhost
user = postuser
password = postuser
dbname = email
table = emailtable
select_field = maildir
where_field = username
测试:
postmap -q "cui@cui.com"mysql:/etc/postfix/mailuser.cf
cui@cui.com
postmap -q "cui.com"mysql:/etc/postfix/maildomain.cf
cui.com
postmap -q "cui@cui.com"mysql:/etc/postfix/mailbox.cf
/mnt/cui.com/cui/
####配置postfix
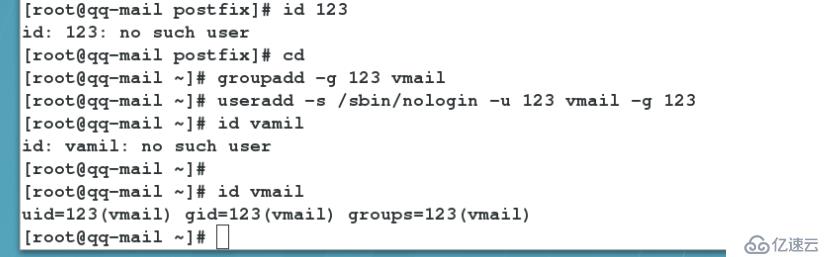
groupadd -g 123 vmail ##添加用户组并指定gid为123
useradd -s /sbin/nologin -u 123 vmail -g 123 ##添加用户,并指定uid和gid为123
postconf -d |grep virtual ##查询virtual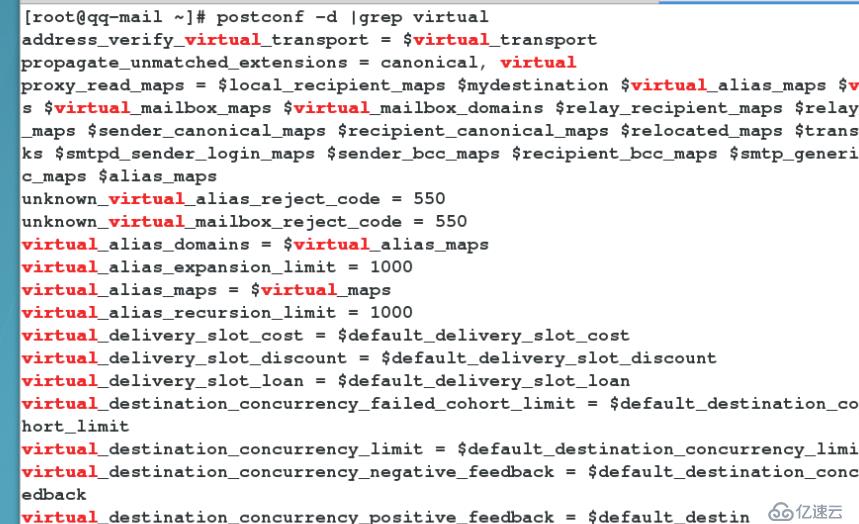
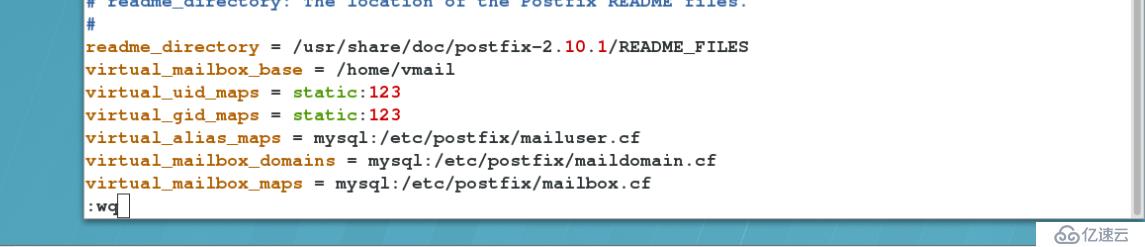
postconf -e "virtual_mailbox_base = /home/vmail" ##设定虚拟用户的邮件目录
postconf -e "virtual_uid_maps = static:123" ##虚拟用户建立文件的uid
postconf -e "virtual_gid_maps = static:123" ##虚拟用户建立文件的gid
postconf -e "virtual_alias_maps = mysql:/etc/postfix/mailuser.cf" ##指定mysql查找主机
postconf -e "virtual_mailbox_domains =mysql:/etc/postfix/maildomain.cf" ##指定mysql查找域名
postconf -e "virtual_mailbox_maps = mysql:/etc/postfix/mailbox.cf" ##指定mysql查找邮箱
systemctl restart postfix ##重启postfix服务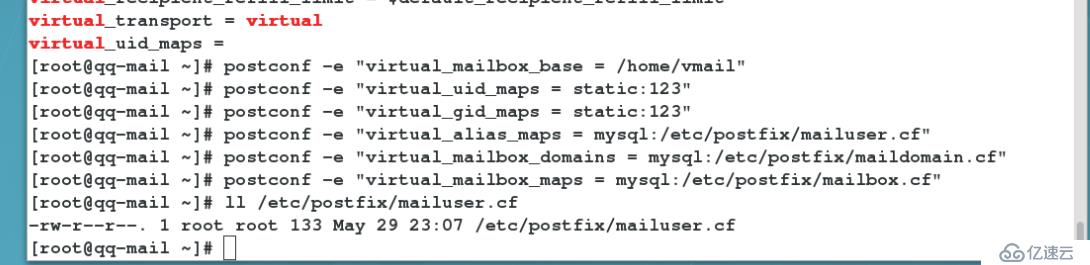
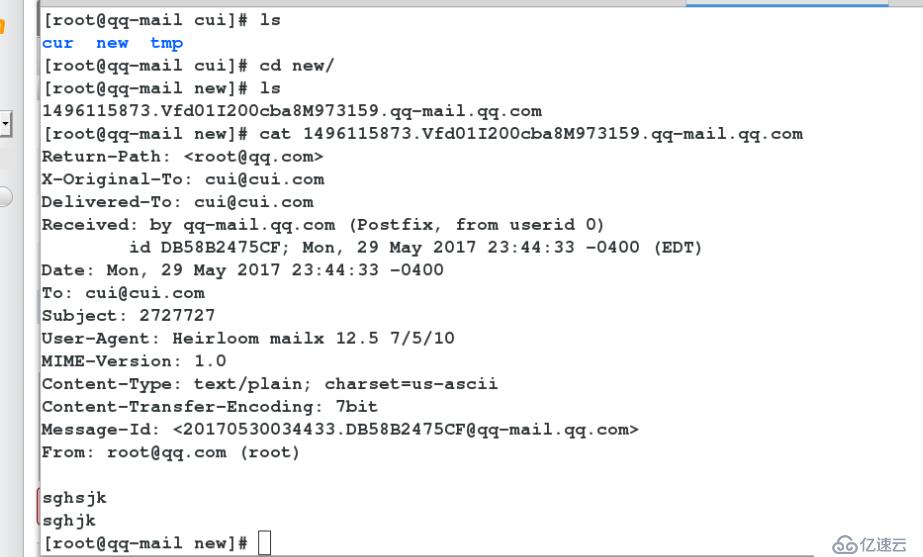
##测试:发送给cui@cui.com的邮件在/home/vmail/cui.com/cui/new/里找到

############dovecot+mysql############
接收邮件
1.
yum install dovecot dovecot-mysql -y
##dovecot是一个开源的 IMAP 和 POP3 邮件服务器,支持 Linux,支持发送邮件
##dovecot-mysql dovecot软件的插件,让此软件可以识别mysql
2.
vim /etc/dovecot/dovecot.conf
24 protocols = imap pop3 lmtp ##支持收件协议
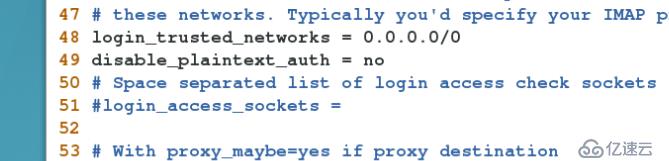
48 login_trusted_networks = 0.0.0.0/0 ##信任网络
49 disable_plaintext_auth = no ##开启明文认证
vim /etc/dovecot/conf.d/10-auth.conf
123 !include auth-sql.conf.ext ##开启mysql的认证方式

##生成dovecot读取mysql的配置
cp /usr/share/doc/dovecot-2.2.10/example-config/dovecot-sql.conf.ext/etc/dovecot/dovecot-sql.conf.ext
vim /etc/dovecot/dovecot-sql.conf.ext
32 driver = mysql ##数据库类型
71 connect = host=localhost dbname=emailuser=postuser password=postuser ##查询时用到的库,用户,密码
78 default_pass_scheme = PLAIN ##默认认证方式为明文
107 password_query = \ ##查询密码匹配
108 SELECT username, domain, password\
109 FROM emailuser WHERE username ='%u' AND domain = '%d'
125 user_query = SELECT maildir, 123 AS uid, 123 AS gid FROM emailuser WHEREusername = '%u' ##查询邮件内容


vim /etc/dovecot/conf.d/10-mail.conf
30 mail_location =maildir:/home/vmail/%d%n ##指定邮件位置
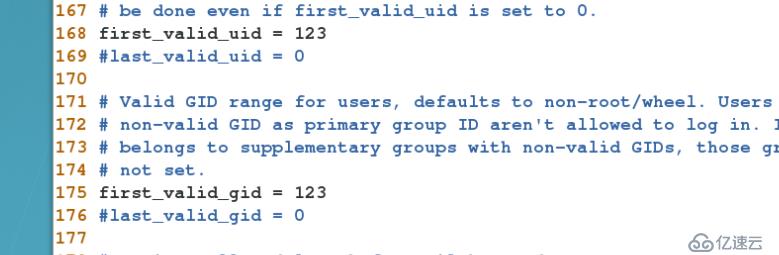
168 first_valid_uid = 123 ##邮件文件查询用户身份
175 first_valid_gid = 123
systemctl restart dovecot
测试:
[root@foundation62 ~]# telnet 172.25.254.150 110
Trying 172.25.254.150...
Connected to 172.25.254.150.
Escape character is '^]'.
+OK [XCLIENT] Dovecot ready.
user cui@cui.com
+OK
pass cui
+OK Logged in.
quit
+OK Logging out.
Connection closed by foreign host.
[root@foundation62 ~]# 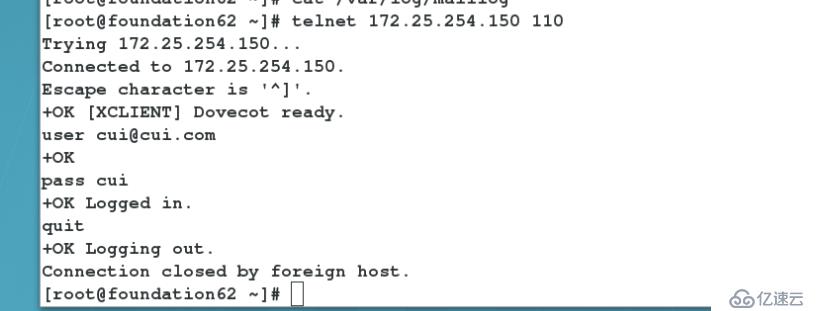
3.空壳邮件
westos-mail主机为真机
qq-mail主机为空壳
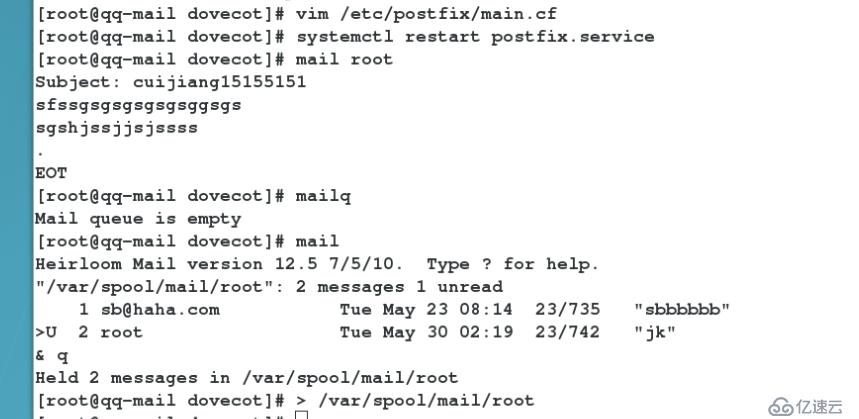
在qq-mail上执行
vim /etc/postfix/main.cf
myorigin = westos.com ## 设置为真实的主机域名
mydestination = ##空壳邮件不接受邮件,所以不设置

relayhost = 172.25.254.162 ##接替的真实主机的IP

##测试:空壳主机给本机root发送邮件但不接收,162主机接收邮件

免责声明:本站发布的内容(图片、视频和文字)以原创、转载和分享为主,文章观点不代表本网站立场,如果涉及侵权请联系站长邮箱:is@yisu.com进行举报,并提供相关证据,一经查实,将立刻删除涉嫌侵权内容。


