######unit8数据库#########
本单元涵盖的主题:
*配置和管理数据库
*配置数据库用户和访问权限
*备份和恢复数据库
######数据库的基本sql语句操作########
1.下载安装
yum install mariadb-server -y
systemctl start mariadb
2.数据库查询操作:
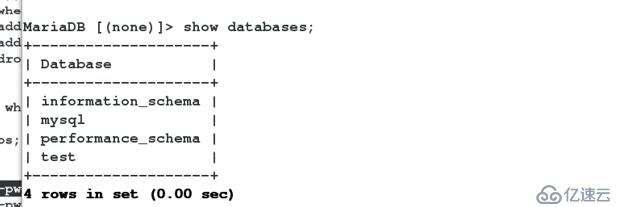
mysql ##登陆

show databases; ##显示数据库
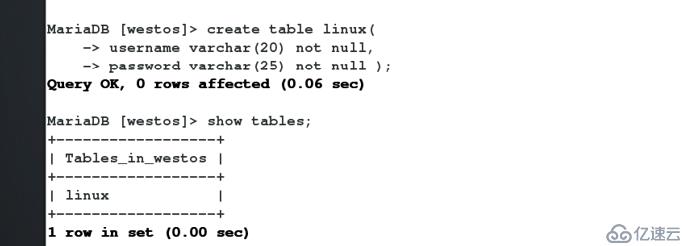
use mysql;                ##进入mysql库
show tables;             ##显示当前库中表的名称

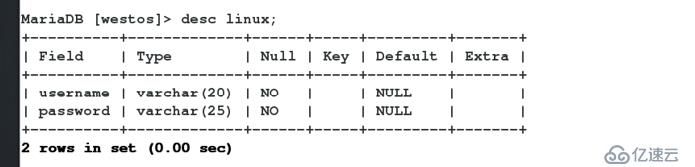
desc linux; ##显示mysql库中的表linux的字段
select * from user;     ##查询user表中的所有内容(*可以用表中任何字段代替)
select User,Host,password from user;         ##查询user表中的User,Host,password字段
 quit                             ##退出

netstat -antlpe | grep mysql ##查看mysql状态

vim /etc/my.cnf
10 skip-networking=1
systemctl restart mariadb

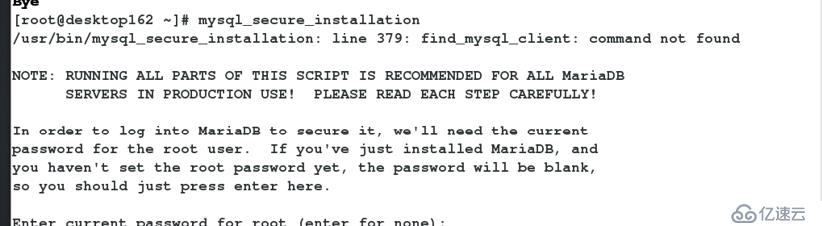
mysql_secure_installation ##设置mysql服务
用户登陆
mysl -uroot -pwestos           ##-u表示指定登陆用户,-p表示此用户密码
mysql -uroot -p                    ##登陆后输入密码

3.数据库及表的建立
create database westos; ##创建westos数据库

create table linux(                 ##创建linux表,表中含有两个字段username和password
   -> username varchar(20) not null,   ##username字段字符长度最大为20个,并且不能为空
   -> password varchar(25) not null );  ##password字段字符长度最大为25个,并且不能为空
insert into linux values ('user1','westos123');    ##向linux表中插入数据,username字段的数据为user1,password字段为westos123不加密
insert into linux values ('user1',password('123') );    ##插入password字段的数据是用password加密的

4.更新数据库信息
update linux set password=password('redhat') where username='user1';
            ##更新user1的密码并加密
update linux set password='redhat' where username='user1';      ##更新user1的密码不加密
update linux set password='redhat' where (username='user1' or username='user2');    ##更新user1和user2的密码

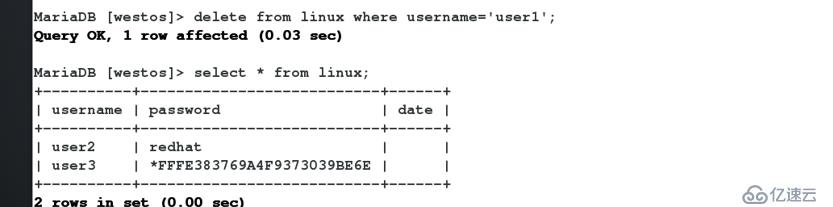
delete from linux where username='user1'; ##删除user1的信息
alter table linux add class varchar(20) not null;      ##添加class字段到linux表中的最后一列
alter table linux add date varchar(20) not null after password;             ##添加date字段在password字段之后

alter table linux drop class; ##删除linux表中class字段

5.删除数据库
delete from linux where username='user1';              ##从linux表中删除user1的信息
drop table linux;          ##删除linux表
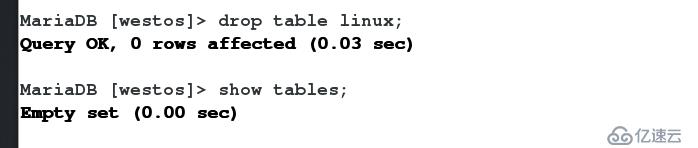
drop database westos; ##删除westos库

6.数据库的备份
mysqldump -uroot -pwestos --all-database ##备份所有表中的所有数据

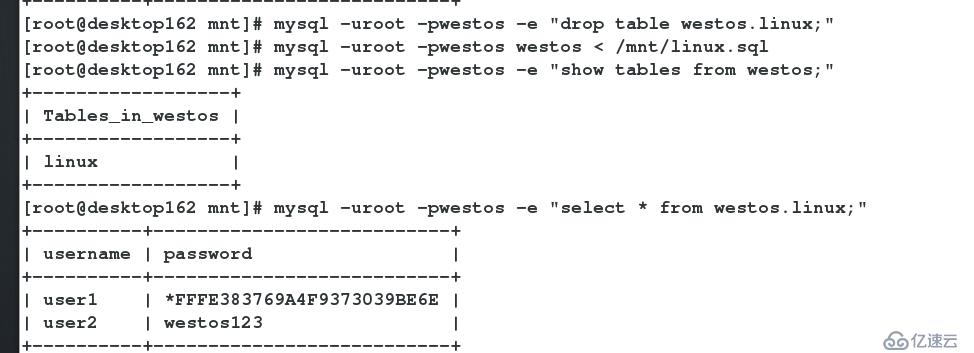
mysqldump -uroot -pwestos --all-database --no-data      ##备份所有表,但不备份数据
mysqldump -uroot -pwestos westos     ##备份westos库
mysqldump -uroot -pwestos westos > /mnt/westos.sql       ##备份westos库并把所有数据保存到/mnt/westos.sql
mysqldump -uroot -pwestos westos linux > /mnt/linux.sql   ##备份westos库中的linux表并把所有数据保存到/mnt/linux.sql
mysql -uroot -pwestos -e "drop database westos;"        ##删除westos库
mysql -uroot -pwestos -e "create database westos;"     ##建立westos库
mysql -uroot -pwestos westos < /mnt/westos.sql           ##把数据导到westos库
mysql -uroot -pwestos -e "select * from westos.linux;"       ####查询westos库的linux表中的所有内容

mysql -uroot -pwestos westos < /mnt/linux.sql ##把linux表的数据导到westos库
7.用户授权
create user cui@localhost identified by '123';      ##建立用户cui,此用户只能通过本机登陆
create user cui@'%' identified by '123';      ##建立用户cui,此用户可以通过网络登陆

grant insert,update,delete,select on westos.linux to cui@localhost;      ##用户授权
grant select on westos.linux to cui@'%';

show grants from cui@'%';            ##查看用户授权
show grants for cui@localhost;


revoke update on westos.linux from cui@localhost;       ##去除用户更新的权力
revoke delete on westos.linux from cui@localhost;        ##去除用户删除的权力

drop user cui@'%'; ##删除用户

测试:
mysql -ucui -p123 ##通过本机登陆

mysql -ucui -p123 -h localhost

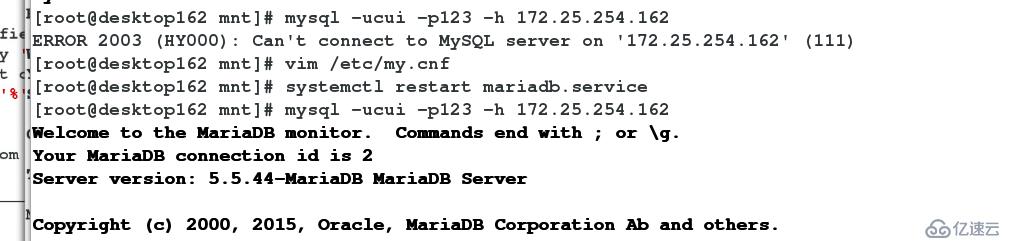
vim /etc/my.cnf
10 skip-networking=0
systemctl restart mariadb
mysql -ucui -p123 -h 172.25.254.162 ##通过网络登陆
8.密码修改
mysqladmin -uroot -pwestos password 123 ##修改超级用户密码
####当超级用户密码忘记####

ps aux | grep mysql ##过滤mysql的所有进程并结束这些进程
kill -9 mysqlid ##强行停止进程
systemctl restart mariadb
mysqld_safe --skip-grant-table & ##开启mysql登陆接口并忽略授权表
mysql ##直接不用密码登陆

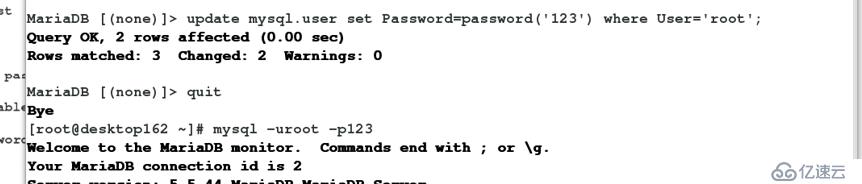
update mysql.user set Password=password('123') where User='root'; ##更新超级用户密码信息
mysql -uroot -p123 ##登陆测试
#########数据库网页管理##########
1.安装
yum install httpd php php-mysql -y
systemctl start httpd ##开启httpd
systemctl enable httpd
systemctl stop firewalld ##关闭火墙
systemctl disable firewalld
需要下载
phpMyAdmin_4.7.0_beta1_all_languages.zip ##下载数据库网页软件压缩包
tar jxf phpMyAdmin_4.7.0_beta1_all_languages.tar.gz2 -C /var/www/html ##解压压缩包并存放到/var/www/html
mv mv phpMyAdmin-4.7.0-beta1-all-languages/ /var/www/html/mysqladmin ##修改文件名
cd mysqladmin
cp -p config.sample.inc.php config.inc.php ##修改配置文件
vim config.inc.php
17 $cfg['blowfish_secret'] = 'mysql'; /* YOU MUST FILL IN THIS FOR COOKIE AUTH! */
systemctl restart httpd
测试:
访问http://172.25.254.162/mysqladmin


免责声明:本站发布的内容(图片、视频和文字)以原创、转载和分享为主,文章观点不代表本网站立场,如果涉及侵权请联系站长邮箱:is@yisu.com进行举报,并提供相关证据,一经查实,将立刻删除涉嫌侵权内容。


