项目下载地址 vue-cli多页面多路由项目示例 :vue+webpack+vue-router+vuex+mock+axios
Usage
This is a project template for vue-cli.
github上找到某大神的一个基于vue-cli模板的vueAdmin后台管理的模板,根据项目需求改成一个多页面多路由的vue项目。
PC端:后台管理页面,单独的页面入口,单独的路由。
移动端:业务展示页面,单独的页面入口,单独的路由。
踩了无数的坑,终于是初见效果了,随后继续优化更新
Install
# install dependencies
npm install

# serve with hot reload at localhost:8088
npm run dev

# build for production with minification
npm run build
使用Nginx服务器进行访问,地址如下:
PC端 http://localhost/modules/index.html
移动APP http://localhost/modules/index.html
多页面配置
vue2.0版本多页面入口,是由webpack配置来完成的,我的项目文件结构如下
  webpack
   |---build
   |---config
   |---dist
   |---route 路由
   |---src
    |---api axios请求
    |---assets 资源
    |---common 公共js资源目录
    |---components组件
    |---modules各个模块
     |---index  index模块
      |---views 组件
      |---index.html
      |---index.js
      |---index.vue
     |---phone    phone模块
      |---phone.html
      |---phone.js
      |---phone.vue
      |---phone 组件
modules下为多个页面入口,文件名称保持一致,如:
modules
 |---index
  |---index.html
  |---index.js
.vue文件名称任意。
原则上这些文件名称都可以随意定,但由于下面entry入口函数的限定,换成其他名字可以会找不到。如果想要起其他文件名,请相应修改getMultiEntry()函数。
until.js
until.js中添加getMultiEntry(),依赖 glob插件,需要提前下载好,until.js开始引入
//获取多级的入口文件
exports.getMultiEntry = function (globPath) {
 var entries = {},
  basename, tmp, pathname;

 glob.sync(globPath).forEach(function (entry) {
  basename = path.basename(entry, path.extname(entry));
  tmp = entry.split('/').splice(-4);

 var pathsrc = tmp[0]+'/'+tmp[1];
 if( tmp[0] == 'src' ){
  pathsrc = tmp[1];
 }
 //console.log(pathsrc)
  pathname = pathsrc + '/' + basename; // 正确输出js和html的路径
  entries[pathname] = entry;
  //console.log(pathname+'-----------'+entry);
 });

 return entries;
}
~\build\webpack.base.conf.js
找到entry,添加多入口
entry:entries,
运行、编译的时候每一个入口都会对应一个Chunk。 PS:终于明白这个chunk的含义了/(ㄒoㄒ)/~~
~\build\webpack.dev.conf.js
文末添加以下配置:
var pages = utils.getMultiEntry('./src/'+config.moduleName+'/**/*.html');
for (var pathname in pages) {
 // 配置生成的html文件,定义路径等
 var conf = {
  filename: pathname + '.html',
  template: pages[pathname], // 模板路径
  chunks: [pathname, 'vendors', 'manifest'], // 每个html引用的js模块
  inject: true       // js插入位置
 };
 // 需要生成几个html文件,就配置几个HtmlWebpackPlugin对象
 module.exports.plugins.push(new HtmlWebpackPlugin(conf));
}
其中config.moduleName = 'modules'
~\build\webpack.prod.conf.js
  ...

//构建生成多页面的HtmlWebpackPlugin配置,主要是循环生成
var pages = utils.getMultiEntry('./src/'+config.moduleName+'/**/*.html');
for (var pathname in pages) {
 var conf = {
  filename: pathname + '.html',
  template: pages[pathname], // 模板路径
  chunks: ['vendor',pathname], // 每个html引用的js模块
  inject: true,       // js插入位置
 hash:true
 };

 webpackConfig.plugins.push(new HtmlWebpackPlugin(conf));
}
module.exports = webpackConfig
其中config.moduleName = 'modules'
至此,多页面的配置已经完成。访问地址为:
index : http://localhost:8088/modules/index.html
phone : http://localhost:8088/modules/phone.html
Browser Support
Modern browsers and Internet Explorer 10+.
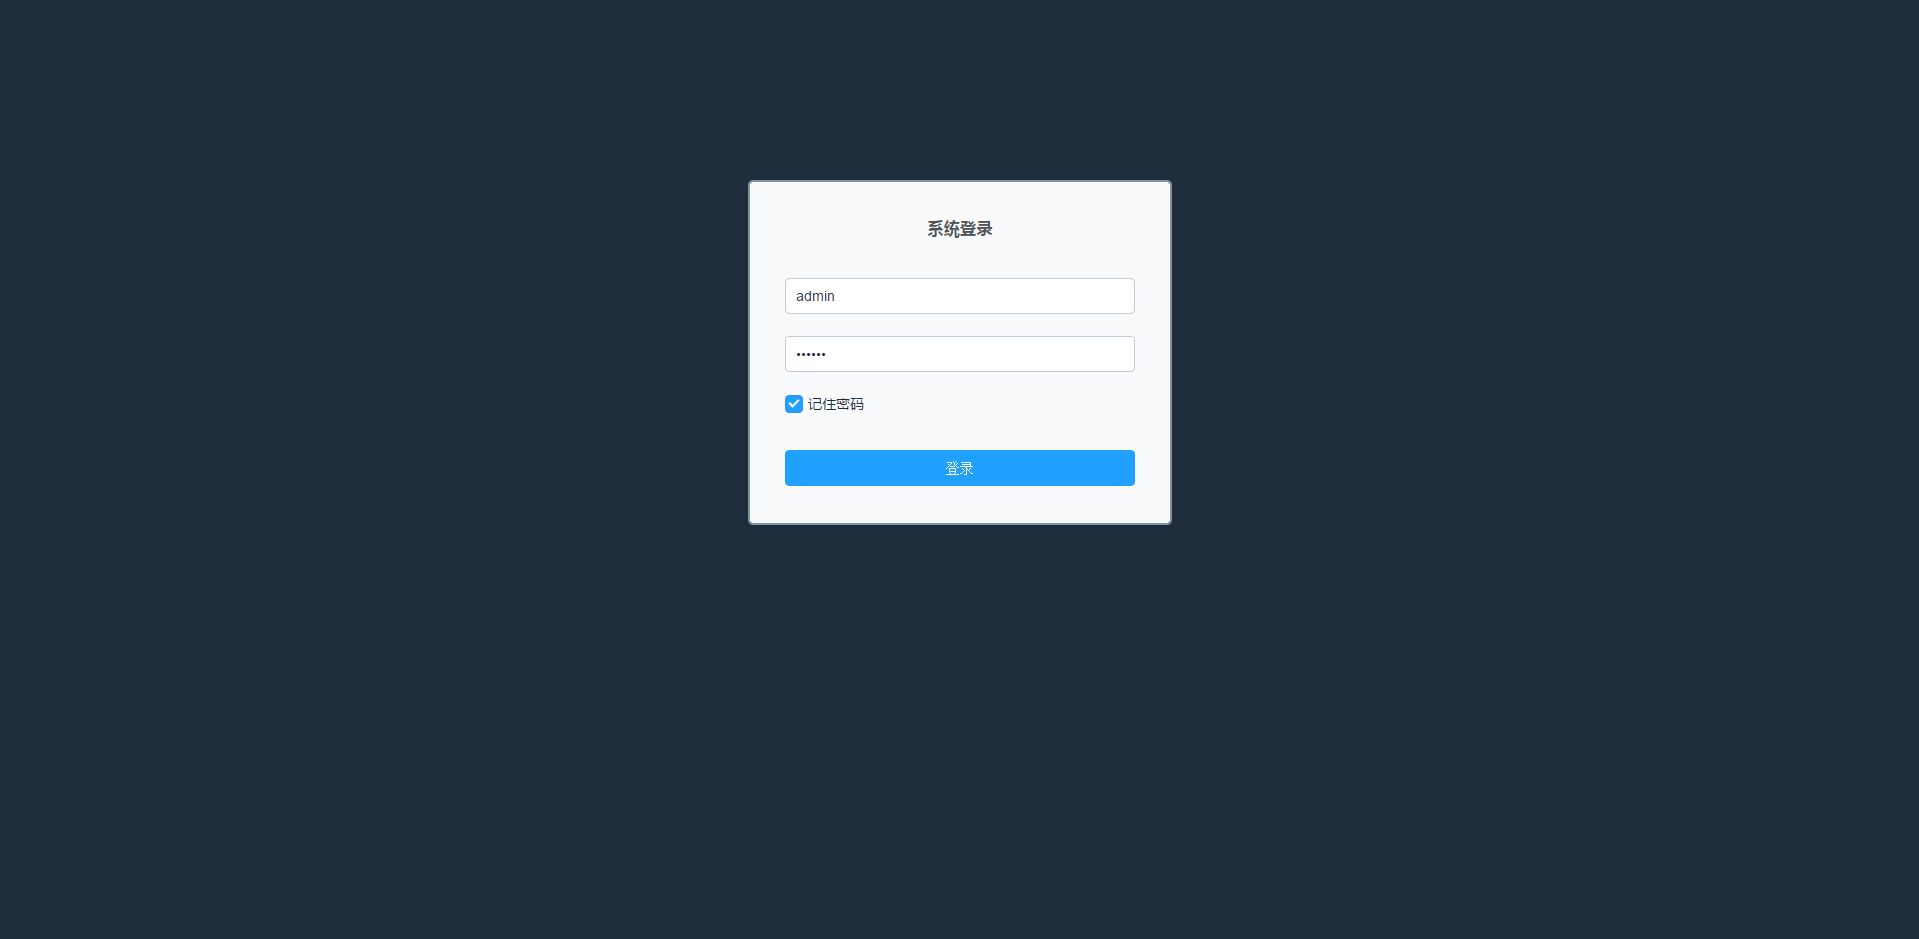
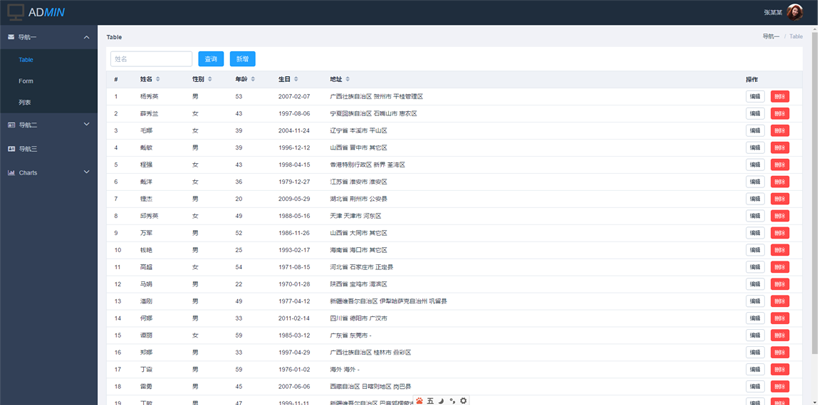
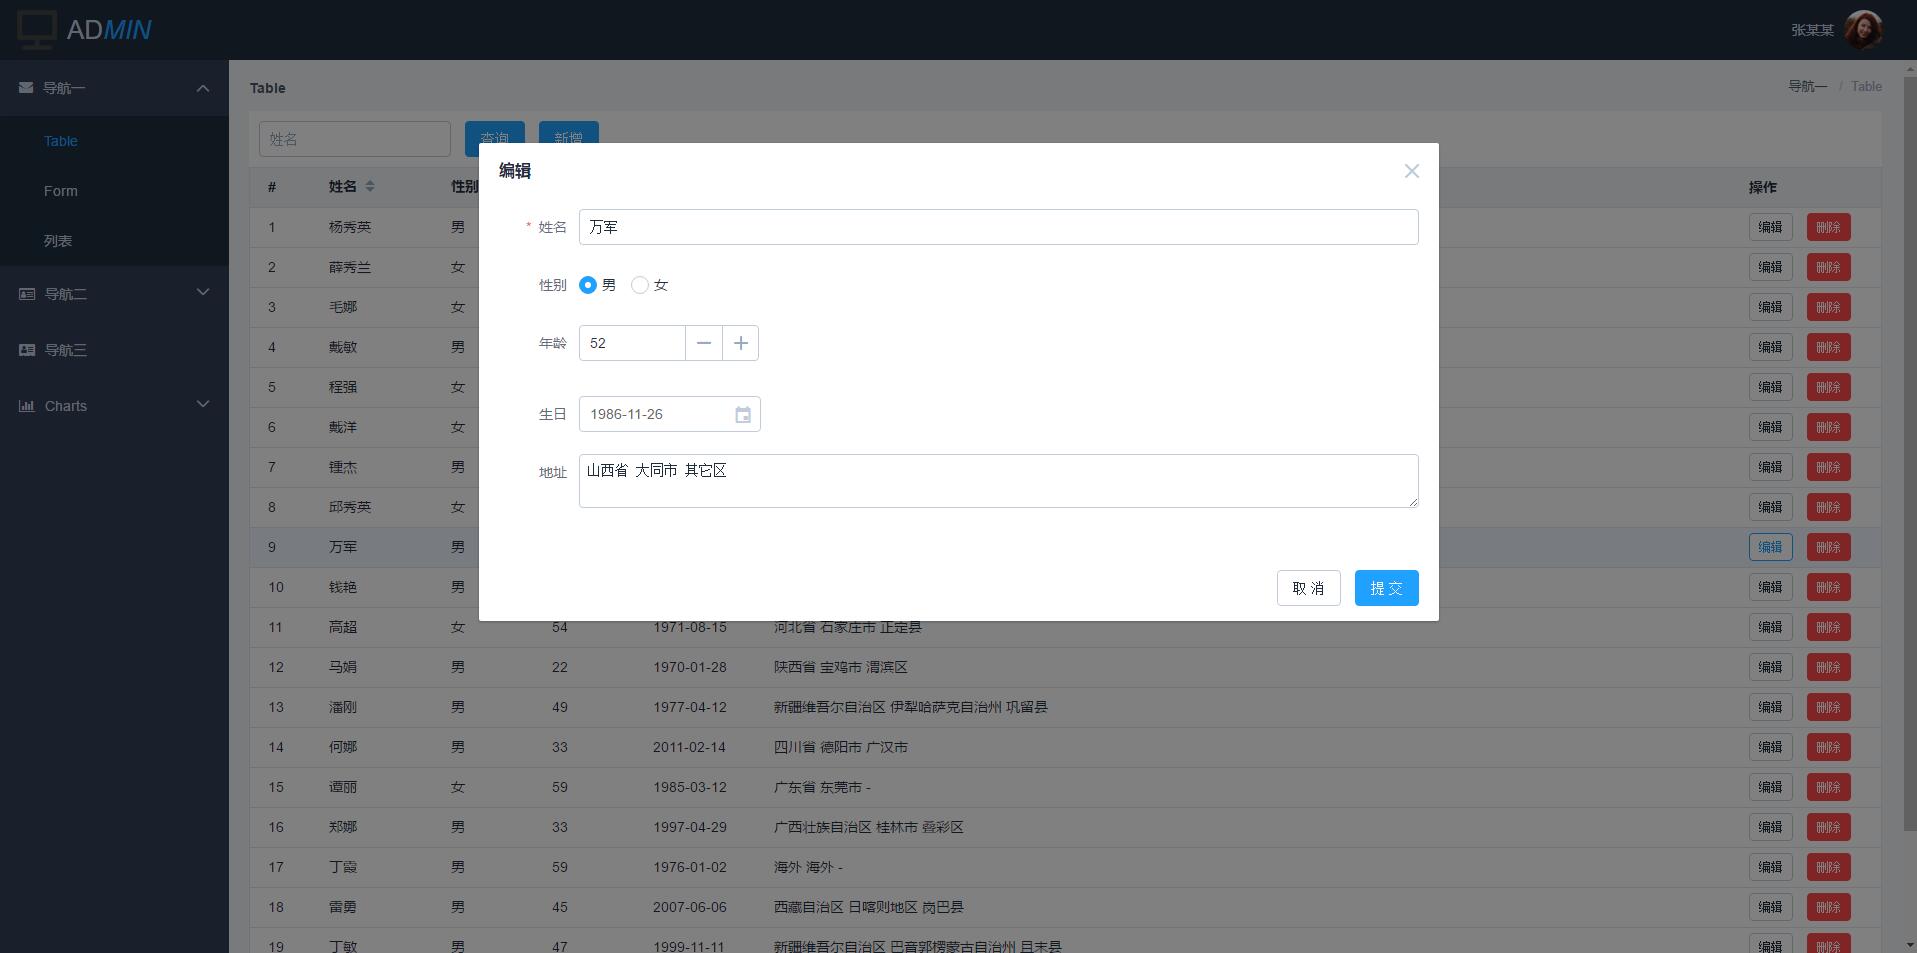
snapshots
License
MIT
以上就是本文的全部内容,希望对大家的学习有所帮助,也希望大家多多支持亿速云。
免责声明:本站发布的内容(图片、视频和文字)以原创、转载和分享为主,文章观点不代表本网站立场,如果涉及侵权请联系站长邮箱:is@yisu.com进行举报,并提供相关证据,一经查实,将立刻删除涉嫌侵权内容。


