实验环境: CentOS7.5 x64
部署python的程序推荐使用virtualenv这列的虚拟环境来进行,防止污染系统自带的python包。
安装一些必要的rpm包
yum install cairo -- 另外的2个包 cairo-devel pycairo 可以不用安装
安装virtualenv
yum install python-pip
pip install virtualenv
激活虚拟环境
virtualenv /opt/graphite
source /opt/graphite/bin/activate
安装graphite全套组件
export PYTHONPATH="/opt/graphite/lib/:/opt/graphite/webapp/"
pip install --no-binary=:all: https://github.com/graphite-project/whisper/tarball/master
pip install --no-binary=:all: https://github.com/graphite-project/carbon/tarball/master
pip install --no-binary=:all: https://github.com/graphite-project/graphite-web/tarball/master
如果这步提示某个依赖包版本不对,我们可以先人工执行下pip安装依赖包。下面提供了一个正常运行的graphite上看到的pip包清单:
attrs==19.1.0
Automat==0.7.0
cachetools==3.1.1
cairocffi==0.9.0
cffi==1.12.3
constantly==15.1.0
Django==1.11.24
django-tagging==0.4.3
gunicorn==19.9.0
hyperlink==19.0.0
idna==2.8
incremental==17.5.0
pycparser==2.19
PyHamcrest==1.9.0
pyparsing==2.4.2
pytz==2019.2
scandir==1.10.0
six==1.12.0
Twisted==19.7.0
txAMQP==0.8.2
urllib3==1.25.3
whisper==1.2.0
zope.interface==4.6.0
初始化
cd /opt/graphite/webapp/graphite
cp local_settings.py.example local_settings.py
vim local_settings.py 修改如下3行代码:
CONF_DIR = '/opt/graphite/conf'
STORAGE_DIR = '/opt/graphite/storage'
STATIC_ROOT = '/opt/graphite/webapp/content'
LOG_DIR = '/opt/graphite/storage/log/webapp'
初始化下数据,不然后面启动graphite后会提示no such user 这类报错
cd /opt/graphite/webapp
PYTHONPATH=/opt/graphite/webapp django-admin.py migrate --settings=graphite.settings --run-syncdb ## 如果上面第一步时候没有yum install cairo的话,这步会报错
拷贝graphite的配置文件
cd /opt/graphite/conf/
cp carbon.conf.example carbon.conf
cp storage-schemas.conf.example storage-schemas.conf 一般会改动这个文件里面的配置,达到自定义key存储周期
cp relay-rules.conf.example relay-rules.conf
cp dashboard.conf.example dashboard.conf
cp graphTemplates.conf.example graphTemplates.conf
cp blacklist.conf.example blacklist.conf
cp aggregation-rules.conf.example aggregation-rules.conf
cp storage-aggregation.conf.example storage-aggregation.conf
启动graphite套件
/opt/graphite/bin/carbon-relay.py start
/opt/graphite/bin/carbon-cache.py start
ss -lntp | egrep carbon
LISTEN 0 50 *:7002 *:* users:(("carbon-cache.py",pid=48433,fd=11))
LISTEN 0 50 *:2013 *:* users:(("carbon-relay.py",pid=37683,fd=13))
LISTEN 0 50 *:2014 *:* users:(("carbon-relay.py",pid=37683,fd=15))
LISTEN 0 50 *:2003 *:* users:(("carbon-cache.py",pid=48433,fd=13))
LISTEN 0 50 *:2004 *:* users:(("carbon-cache.py",pid=48433,fd=14))
/opt/graphite/bin/run-graphite-devel-server.py --port=8085 --libs=/opt/graphite/webapp /opt/graphite 前台启动
启动打点测试进程
python /opt/graphite/examples/example-client.py
安装nginx
yum install nginx
cd /etc/nginx/conf.d
cat graphite.conf 内容如下:
upstream graphite {
server 127.0.0.1:8085 fail_timeout=0;
}
server {
listen 80 default_server;
server_name _;
root /opt/graphite/webapp;
access_log /var/log/nginx/graphite.access.log;
error_log /var/log/nginx/graphite.error.log;
location = /favicon.ico {
return 204;
}
# serve static content from the "content" directory
location /static {
alias /opt/graphite/webapp/content;
expires max;
}
location / {
try_files $uri @graphite;
}
location @graphite {
proxy_pass_header Server;
proxy_set_header Host $http_host;
proxy_redirect off;
proxy_set_header X-Real-IP $remote_addr;
proxy_set_header X-Scheme $scheme;
proxy_connect_timeout 10;
proxy_read_timeout 10;
proxy_pass http://graphite;
}
}
创建nginx相关文件
touch /var/log/nginx/graphite.access.log
touch /var/log/nginx/graphite.error.log
chmod 640 /var/log/nginx/graphite.*
chown nginx.nginx /var/log/nginx/graphite.*
启动nginx
nginx -t
systemctl start nginx
访问 192.168.2.4/ 如下图
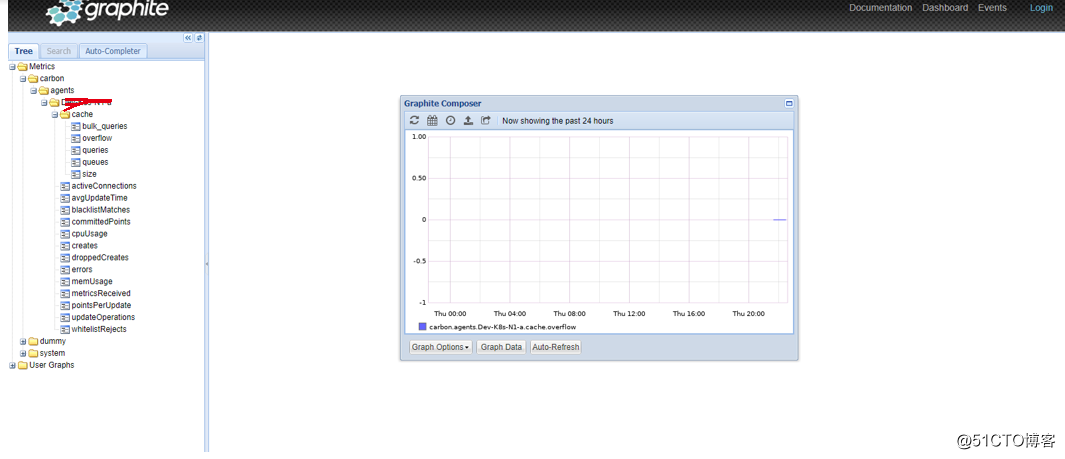
可以看到已经有数据采集到了。
我们可以到grafana里面配下graphite的数据源,然后展示数据,类似如下:

启动brubeck(前台) 【一款类似statsd的工具,只是不需要nodejs环境】
yum install jansson jansson-devel
yum install libmicrohttpd libmicrohttpd-devel
git clone https://github.com/github/brubeck.git
cd brubeck/
./script/bootstrap
mkdir /usr/local/brubeck/
cp brubeck /usr/local/brubeck/
vim /usr/local/brubeck/brubeck.json 增加配置文件如下:
{
"sharding" : false,
"server_name" : "prod-devops-graphite-01",
"dumpfile" : "/var/lib/brubeck.dump",
"capacity" : 15,
"expire" : 20,
"http" : ":8000",
"backends" : [
{
"type" : "carbon",
"address" : "localhost",
"port" : 2003,
"frequency" : 10
}
],
"samplers" : [
{
"type" : "statsd",
"address" : "0.0.0.0",
"port" : 8135,
"workers" : 8,
"multisock" : true,
"multimsg" : 8
}
]
}
【brubeck监听在8135端口上,用于接收业务方的打点。2003 端口指的是carbon-cache的端口】
./brubeck --config brubeck.json 前台启动进程
测试打点到brubeck
echo "db.dba.dble2.front_conn:11111|g" | nc -u -w1 127.0.0.1 8135
修改graphite存储数据的周期
cd /opt/graphite/conf
vim storage-schemas.conf
# Schema definitions for Whisper files. Entries are scanned in order,
# and first match wins. This file is scanned for changes every 60 seconds.
#
# [name]
# pattern = regex
# retentions = timePerPoint:timeToStore, timePerPoint:timeToStore, ...
# Carbon's internal metrics. This entry should match what is specified in
# CARBON_METRIC_PREFIX and CARBON_METRIC_INTERVAL settings
[carbon]
pattern = ^carbon\.
retentions = 60:90d
[service-sla]
pattern = ^service.sla-pct.*
retentions = 10s:2d,1min:8d,10min:365d
[service1-rule]
pattern = ^service1\.timers\.Rule.*
retentions = 10s:5min,1min:1h,10min:7d
[service1-ic]
pattern = ^service1\.counters\.IC.*
retentions = 10s:24h,1min:7d
[logstash]
pattern = service1\.counters\.logstash.*
retentions = 10s:24h,1min:7d
[service1-timers]
pattern = ^service1\.timers\.*
retentions = 10s:5min,1min:1h,10min:1d,1h:365d
[service]
pattern = ^service1.*
retentions = 10s:24h,1min:6d,10min:365d
[counter]
pattern = ^.*\.counters\..*
retentions = 10s:24h,1min:7d,10min:30d
[timers]
pattern = ^.*\.timers\..*
retentions = 10s:5min,1min:1h,10min:1d,1h:30d
[db]
pattern = ^db\.*
retentions = 1min:30d
[default_10s_for_1hour]
pattern = .*
retentions = 10s:1h
vim storage-aggregation.conf 内容如下:
[min]
pattern = \.min$
xFilesFactor = 0.01
aggregationMethod = min
[max]
pattern = \.max$
xFilesFactor = 0.01
aggregationMethod = max
[all_sum]
pattern = \.sum$
xFilesFactor = 0.01
aggregationMethod = sum
[all_count]
pattern = \.count$
xFilesFactor = 0.01
aggregationMethod = sum
[service1_gauges]
pattern = ^service1.gauges
xFilesFactor = 0.01
aggregationMethod = last
[service1_counters]
pattern = ^service1\.counters
xFilesFactor = 0.01
aggregationMethod = sum
[service1]
pattern = ^service1.*
xFilesFactor = 0.01
[default_average]
pattern = .*
xFilesFactor = 0.01
aggregationMethod = average
注意, 修改为上面的2个文件后, 我们需要重启 carbon-cache进程才能生效。
建议:
1、graphite-web进程,建议通过supervisor来控制启停。
2、个人认为brubeck比statsd更好使,例如有些机器上可能不便于部署nodejs环境
免责声明:本站发布的内容(图片、视频和文字)以原创、转载和分享为主,文章观点不代表本网站立场,如果涉及侵权请联系站长邮箱:is@yisu.com进行举报,并提供相关证据,一经查实,将立刻删除涉嫌侵权内容。


