本文为大家分享了Opencv轻松检测出图片中条形码的步骤,供大家参考,具体内容如下
1. 原图像大小调整,提高运算效率

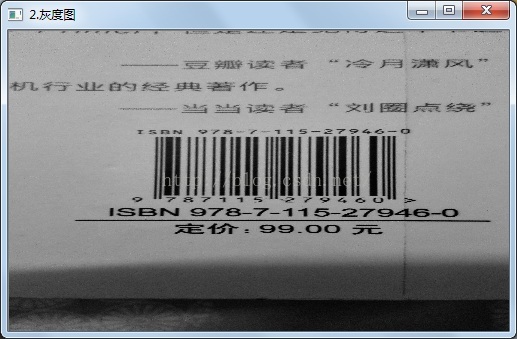
2. 转化为灰度图
3. 高斯平滑滤波

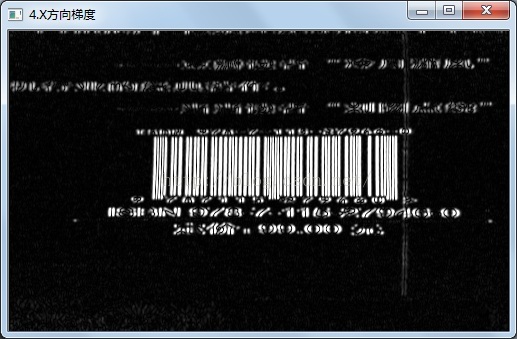
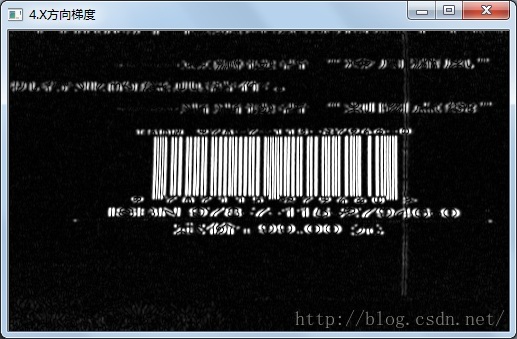
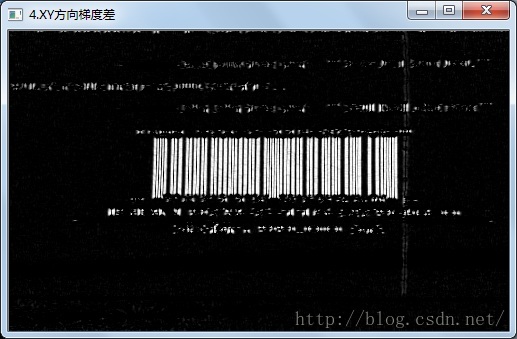
4.求得水平和垂直方向灰度图像的梯度差,使用Sobel算子
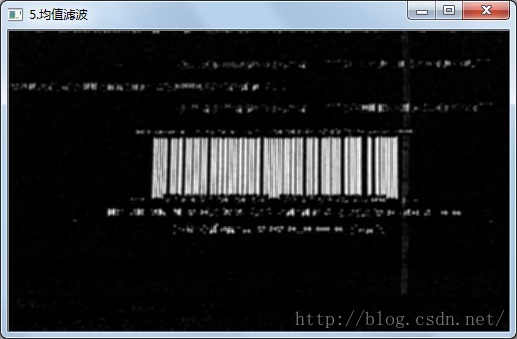
5.均值滤波,消除高频噪声
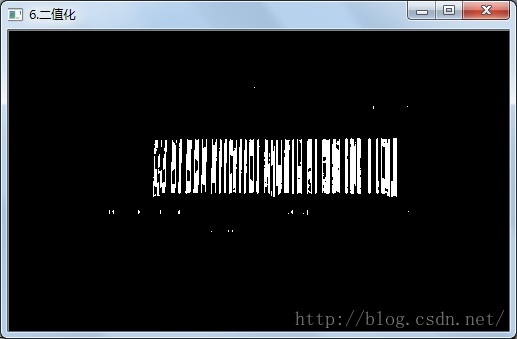
6.二值化
7.闭运算,填充条形码间隙

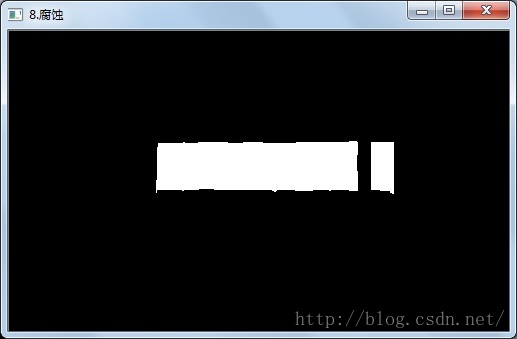
8. 腐蚀,去除孤立的点
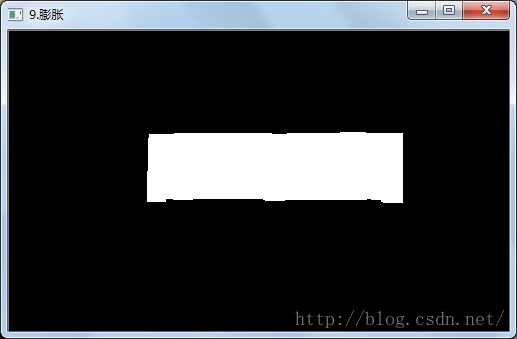
9. 膨胀,填充条形码间空隙,根据核的大小,有可能需要2~3次膨胀操作
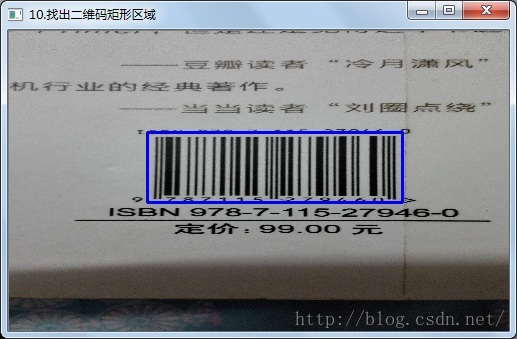
10.通过findContours找到条形码区域的矩形边界
实现:
#include "core/core.hpp"
#include "highgui/highgui.hpp"
#include "imgproc/imgproc.hpp"

using namespace cv;

int main(int argc,char *argv[])
{
  Mat image,imageGray,imageGuussian;
  Mat imageSobelX,imageSobelY,imageSobelOut;
  image=imread(argv[1]);

  //1. 原图像大小调整,提高运算效率
  resize(image,image,Size(500,300));
  imshow("1.原图像",image);

  //2. 转化为灰度图
  cvtColor(image,imageGray,CV_RGB2GRAY);
  imshow("2.灰度图",imageGray);

  //3. 高斯平滑滤波
  GaussianBlur(imageGray,imageGuussian,Size(3,3),0);
  imshow("3.高斯平衡滤波",imageGuussian);

  //4.求得水平和垂直方向灰度图像的梯度差,使用Sobel算子
  Mat imageX16S,imageY16S;
  Sobel(imageGuussian,imageX16S,CV_16S,1,0,3,1,0,4);
  Sobel(imageGuussian,imageY16S,CV_16S,0,1,3,1,0,4);
  convertScaleAbs(imageX16S,imageSobelX,1,0);
  convertScaleAbs(imageY16S,imageSobelY,1,0);
  imageSobelOut=imageSobelX-imageSobelY;
  imshow("4.X方向梯度",imageSobelX);
  imshow("4.Y方向梯度",imageSobelY);
  imshow("4.XY方向梯度差",imageSobelOut);

  //5.均值滤波,消除高频噪声
  blur(imageSobelOut,imageSobelOut,Size(3,3));
  imshow("5.均值滤波",imageSobelOut);

  //6.二值化
  Mat imageSobleOutThreshold;
  threshold(imageSobelOut,imageSobleOutThreshold,180,255,CV_THRESH_BINARY);
  imshow("6.二值化",imageSobleOutThreshold);

  //7.闭运算,填充条形码间隙
  Mat element=getStructuringElement(0,Size(7,7));
  morphologyEx(imageSobleOutThreshold,imageSobleOutThreshold,MORPH_CLOSE,element);
  imshow("7.闭运算",imageSobleOutThreshold);

  //8. 腐蚀,去除孤立的点
  erode(imageSobleOutThreshold,imageSobleOutThreshold,element);
  imshow("8.腐蚀",imageSobleOutThreshold);

  //9. 膨胀,填充条形码间空隙,根据核的大小,有可能需要2~3次膨胀操作
  dilate(imageSobleOutThreshold,imageSobleOutThreshold,element);
  dilate(imageSobleOutThreshold,imageSobleOutThreshold,element);
  dilate(imageSobleOutThreshold,imageSobleOutThreshold,element);
  imshow("9.膨胀",imageSobleOutThreshold);
  vector<vector<Point>> contours;
  vector<Vec4i> hiera;

  //10.通过findContours找到条形码区域的矩形边界
  findContours(imageSobleOutThreshold,contours,hiera,CV_RETR_EXTERNAL,CV_CHAIN_APPROX_NONE);
  for(int i=0;i<contours.size();i++)
  {
    Rect rect=boundingRect((Mat)contours[i]);
    rectangle(image,rect,Scalar(255),2);
  }
  imshow("10.找出二维码矩形区域",image);

  waitKey();
}
使用另一幅图片的效果如下:
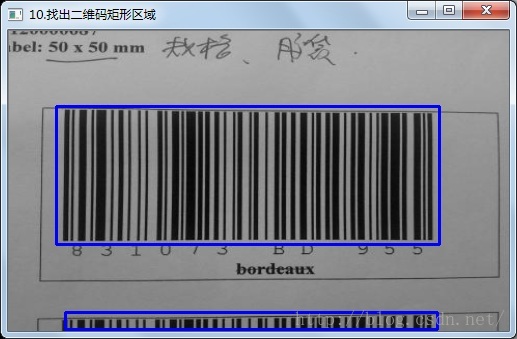
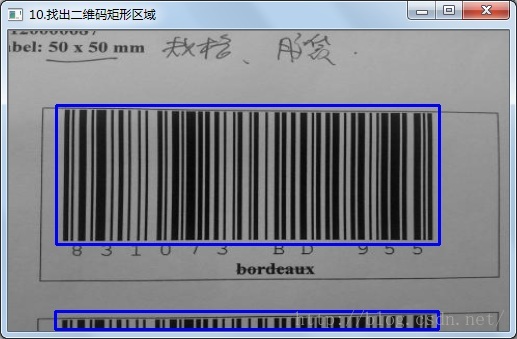
底部的二维码左侧边界定位错位,检测发现在二值化的时候左侧第二个条码部分被归零了,导致在之后的腐蚀操作中被腐蚀掉了。调整阈值分界值180到160,重新运行正确:
以上就是本文的全部内容,希望对大家的学习有所帮助,也希望大家多多支持亿速云。
免责声明:本站发布的内容(图片、视频和文字)以原创、转载和分享为主,文章观点不代表本网站立场,如果涉及侵权请联系站长邮箱:is@yisu.com进行举报,并提供相关证据,一经查实,将立刻删除涉嫌侵权内容。


