######Apache web服务############
本单元涵盖的主题:
* Apache基本配置
* 虚拟主机配置
* HTTPS配置
* 集成动态内容
########Apache基本配置########
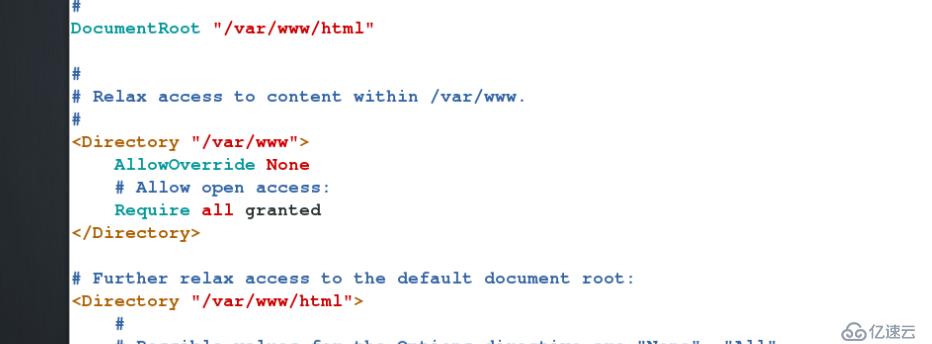
Apache主配置文件:/etc/httpd/conf/httpd.conf
ServerRoot "/etc/httpd"         用于指定Apache的运行目录
Listen 80             监听端口
User apache             运行apache程序的用户和组
Group apache
ServerAdmin root@localhost         管理员邮箱
DocumentRoot "/var/www/html"         网页文件的存放目录
<Directory "/var/www/html"> <Directory>        语句块自定义目录权限
Require all granted
</Directory>
ErrorLog "logs/error_log"         错误日志存放位置
AddDefaultCharset UTF-8         默认支持的语言
IncludeOptional conf.d/*.conf         加载其它配置文件
DirectoryIndex index.html     默认主页名称
########apache的安装#######
yum install httpd -y 安装apache软件包
systemctl start httpd 启动apache服务
systemctl stop firewalld
systemctl enable httpd
systemctl disable firewalld
netstat -antlpe | grep httpd ##查看监听端口
#####apache的基本配置#######
1.apache的默认发布文件
index.html
2.apache的配置文件
/etc/httpd/conf/httpd.conf
/etc/httpd/conf.d/*.conf
3.apache的默认发布目录
/var/www/html
默认发布文件

4.apache的默认端口
80
######修改apache的基本配置########
1.修改默认发布文件

vim /etc/httpd/conf/httpd.conf
164    DirectoryIndex westos.html  index.html       ##
默认主页名称
systemctl restart httpd

2.修改默认发布目录
###当selinux是disable状态时
vim /etc/httpd/conf/httpd.conf
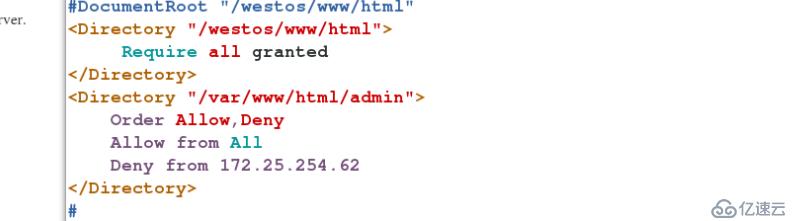
120 DocumentRoot "/westos/www/html"         ##网页文件的存放目录
121 <Directory "/westos/www/html">        ##语句块自定义目录权限
122      Require all granted
123 </Directory>
systemctl restart httpd

##当selinux是Enforcing状态时
semanage fcontext -a -t httpd_sys_content_t '/westos(/.*)?' ##配置安全上下文
restorecon -RvvF /westos
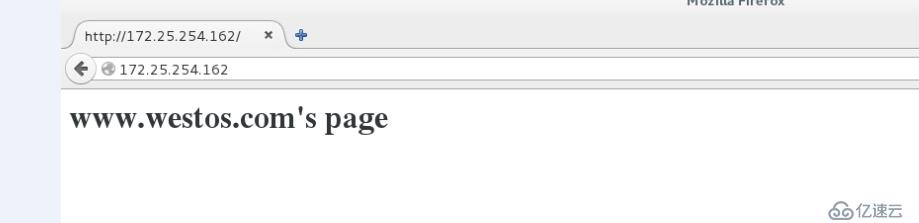
测试:172.25.254.162

3.apache的访问控制
vim /etc/httpd/conf/httpd.conf
<Directory "/var/www/html/admin">   ##允许所有人访问admin目录但拒绝62主机
    Order Allow,Deny
    Allow from All
    Deny from 172.25.254.62
</Directory>
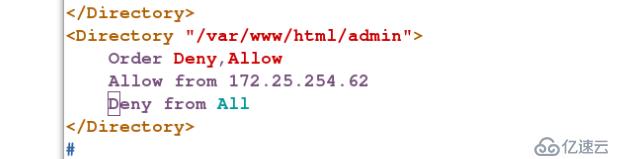
<Directory "/var/www/html/admin">   ##只允许62主机访问admin目录
    Order Deny,Allow
    Allow from 172.25.254.62
    Deny from All
</Directory>
systemctl restart httpd
测试:172.25.254.162/admin/

#####设定用户的访问########
#####用两个账户创建Apache密码文件
htpasswd -cm /etc/httpd/accessuser admin ##建立用户认证文件并建立用户admin设置密码123
htpasswd -m /etc/httpd/accessuser cui ##建立认证用户cui,密码123
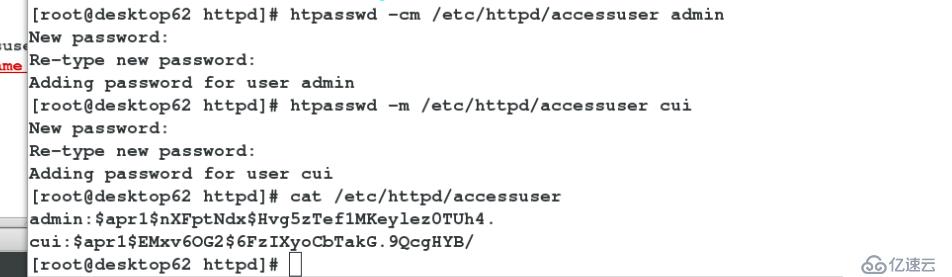
vim /etc/httpd/conf/httpd.conf ##配置基于用户的身份验证
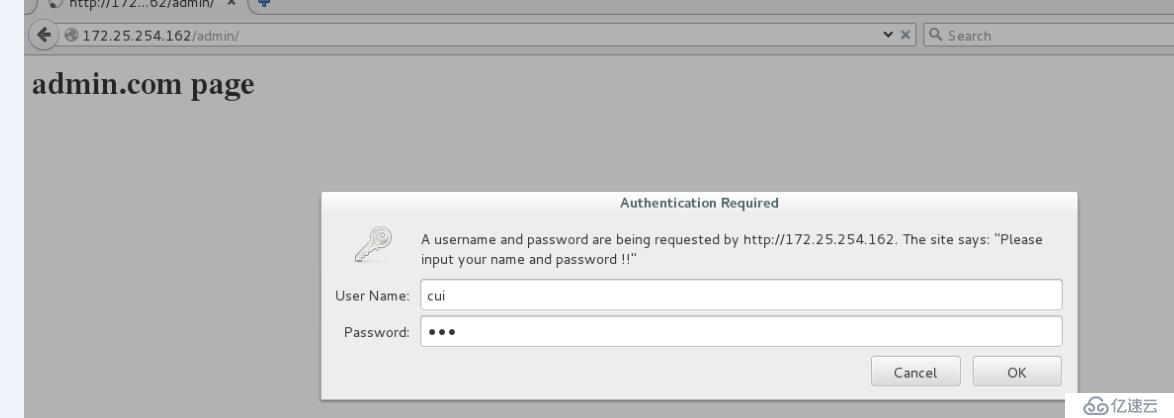
<Directory "/var/www/html/admin">
        AuthUserFile/etc/httpd/accessuser    ##用户认证文件
        AuthName "Please input yourname and password !!"  ##用户认证提示信息
        AuthType basic    ##认证类型
        Require valid-user    ##认证用户,认证文件中所有的用户都可以通过
      或  [Require user admin]  ##只允许认证文件中的admin用户访问,二写一
</Directory>
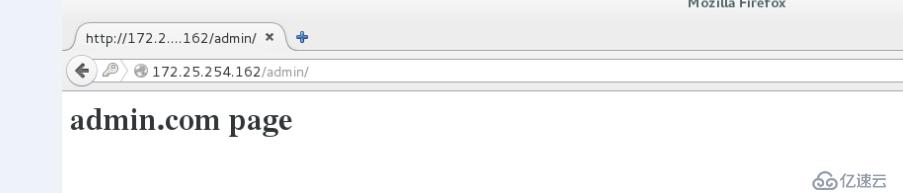
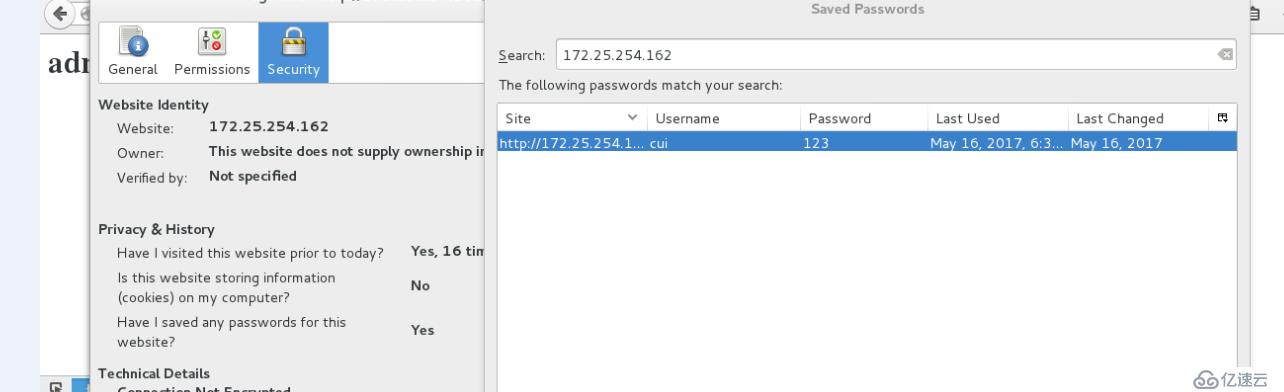
systemctl restart httpd ##重启apache服务,并使用Web浏览器测试访问,在弹出的对话框中输入上述用户名和密码。
测试:172.25.254.162/admin/
4.apache 语言支持
html语言支持
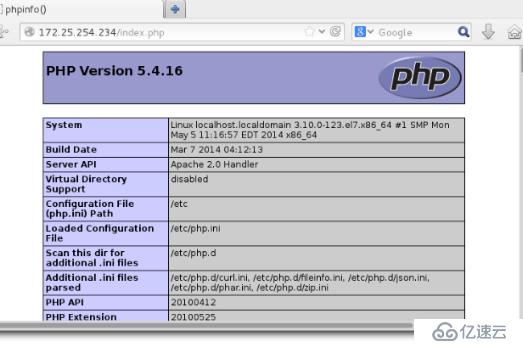
php语言支持
yum install php -y ##安装php服务
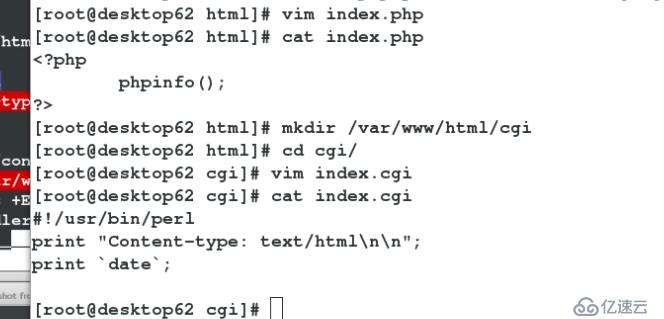
vim /var/www/html/index.php ##写php测试
<?php
        phpinfo()
?>
systemctl restart httpd
测试:172.25.254.162
 **cgi语言支持
mkdir /var/www/html/cgi
vim /var/www/html/cgi/index.cgi ##默认发布文件主页内容
#!/usr/bin/perl
print "Content-type: text/html\n\n";
print `date`;
vim /etc/httpd/conf/httpd.conf
<Directory "/var/www/html/cgi">        ##网页文件目录
        Options +ExecCGI
        AddHandler cgi-script .cgi
</Directory>
 DirectoryIndex index.cgiindex.html    ##默认访问主页名称
systemctl restart httpd
chmod +x index.cgi ##给文件添加执行权限
测试:
172.25.254.136/cgi/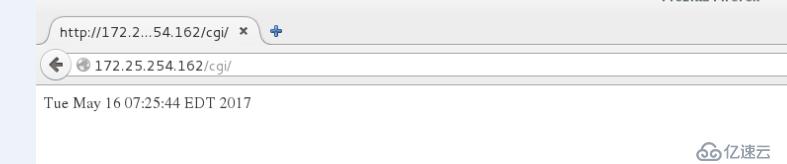
#####Apache的虚拟主机#####
1.定义
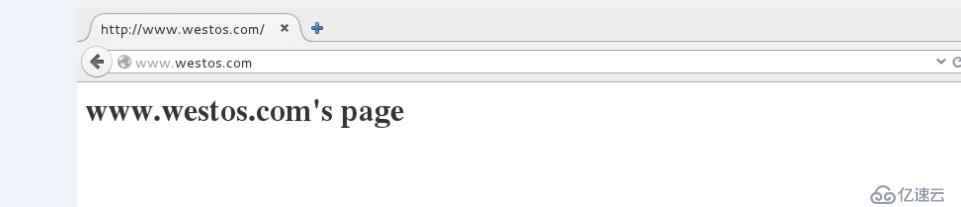
可以让我们的一台apache服务器在被访问不同域名的时候显示不同的主页
虚拟主机允许您从一个httpd服务器同时为多个网站提供服务。在本节中,我们将了解基于名称的虚拟主机其中多个主机名都指向同一个IP地址,但是Web服务器根据用于到达站点的主机名提供具有不同内容的不同网站。
2.建立测试页
##########建立网页发布目录#######
mkdir /var/www/virtual/money.westos.com/html -p
mkdir /var/www/virtual/news.westos.com/html -p
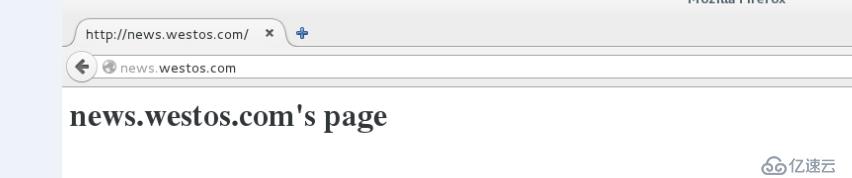
echo "<h2>news.westos.coms's page</h2>">/var/www/virtual/news.westos.com/html/index.html
echo "<h2>money.westos.coms's page</h2>">/var/www/virtual/money.westos.com/html/index.html
3.配置##创建虚拟主机配置文件
vim /etc/httpd/conf.d/default.conf ##未指定域名的访问都访问default
###这是定义虚拟主机的块
<Virtualhost   _default_:80>                 ##虚拟主机开启的端口
    DocumentRoot"/var/www/html"        ##虚拟主机默认发布目录
    CustomLog "logs/default.log"combined    ##虚拟主机日志
</Virtualhost>
vim /etc/httpd/conf.d/news.conf ##指定域名news.westos.com的访问到指定的默认发布目录中
<Virtualhost  *:80>
    ServerName"news.westos.com"            ##指定服务器名称
    DocumentRoot"/var/www/virtual/news.westos.com/html"      ##默认发布目录的访问授权
      CustomLog "logs/news.log"combined          ##虚拟主机日志
</Virtualhost>
<Directory "/var/www/virtual/news.westos.com/html">      ##语句块自定义目录权限
        Require all granted
</Directory>
vim /etc/httpd/conf.d/money.conf
<Virtualhost  *:80>
    ServerName"money.westos.com"
    DocumentRoot"/var/www/virtual/money.westos.com/html"
    CustomLog "logs/money.log"combined
</Virtualhost>
<Directory "/var/www/virtual/money.westos.com/html">
    Require all granted
</Directory>
systemctl start httpd ##启动apache服务
4.测试
在浏览器所在主机中
vim /etc/hosts
172.25.254.136 www.westos.comnews.westos.com money.westos.com


####https#####
1.https定义
通过ssl加密
2.配置
yum install mod_ssl -y ##安装证书及其私钥
yum install crypto-utils -y ##安装crypto-utils软件包
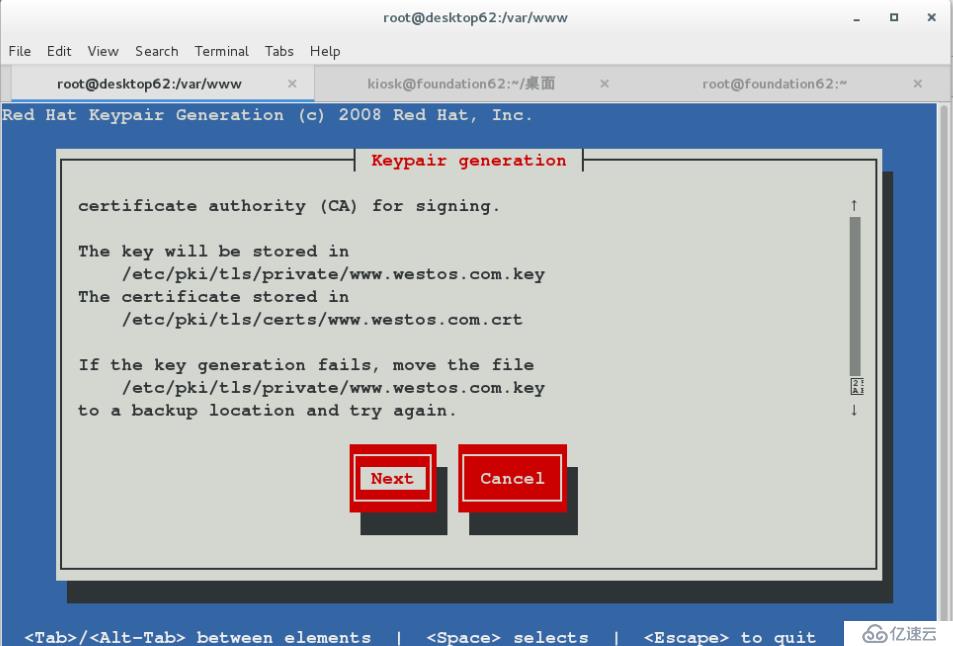
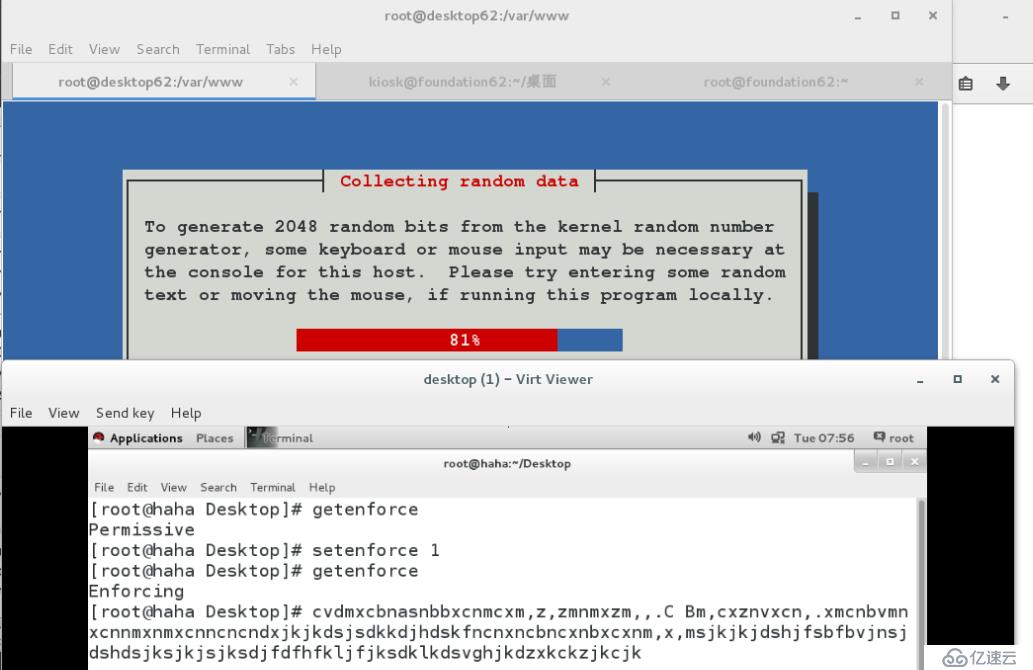
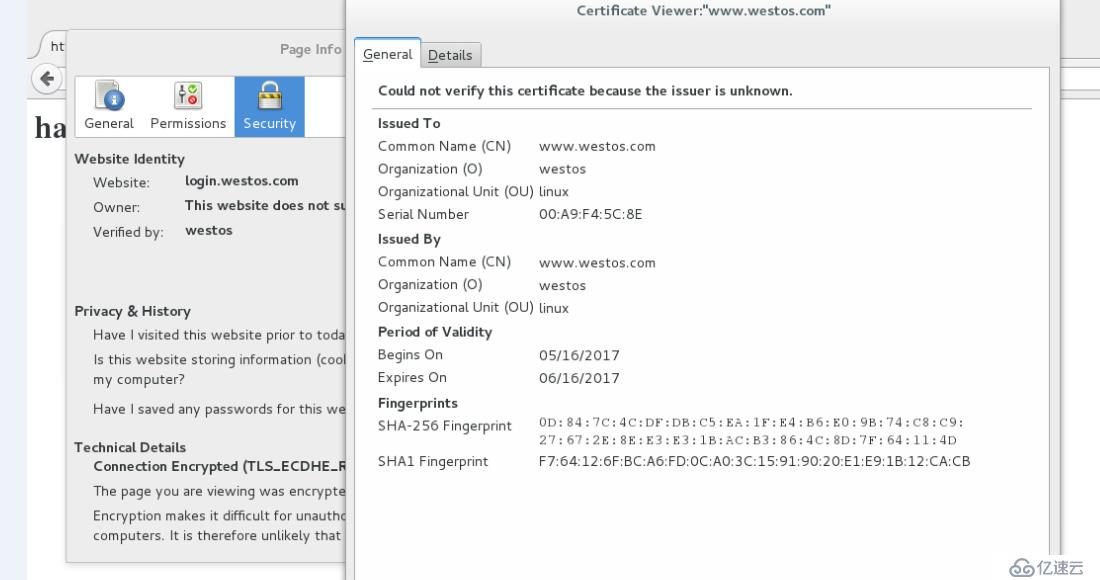
genkey www.westos.com ##调用genkey,同时为生成的文件指定唯一名称

##记录生成的证书(www.westos.com.crt)和关联的私钥(www.westos.com.key)的位置:
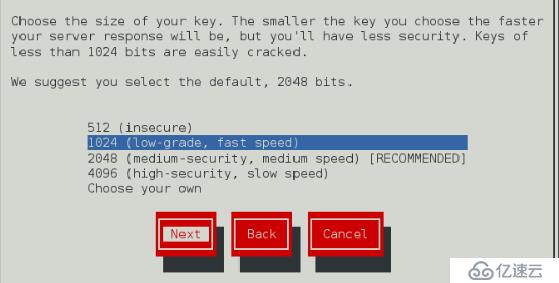
##继续使用对话框,并选择合适的密钥大小:
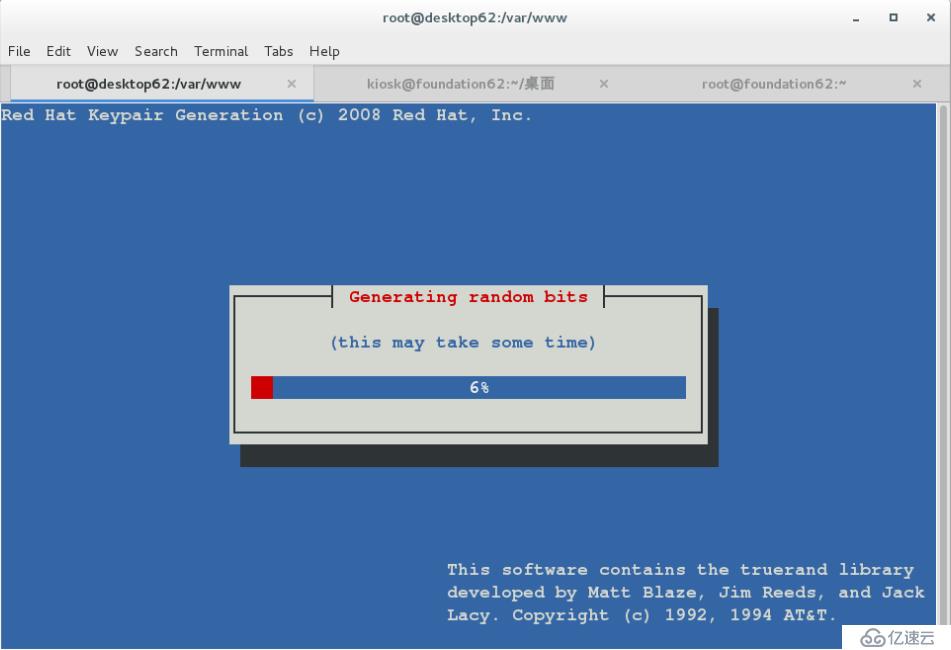
##在生成随机数时比较慢,敲键盘和移动鼠标可以加速
##拒绝向认证机构(CA)发送证书请求(CSR)。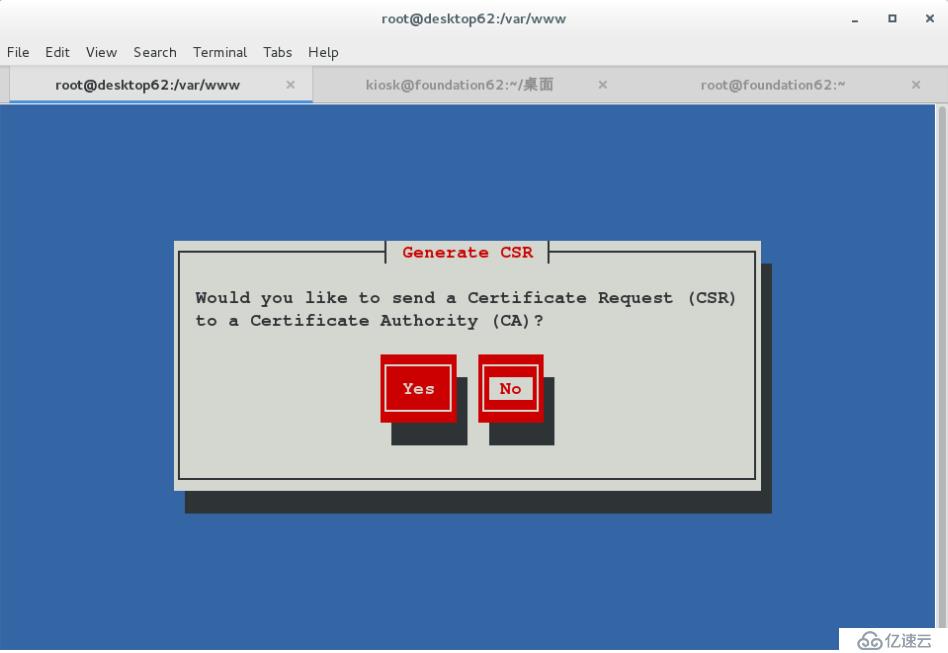
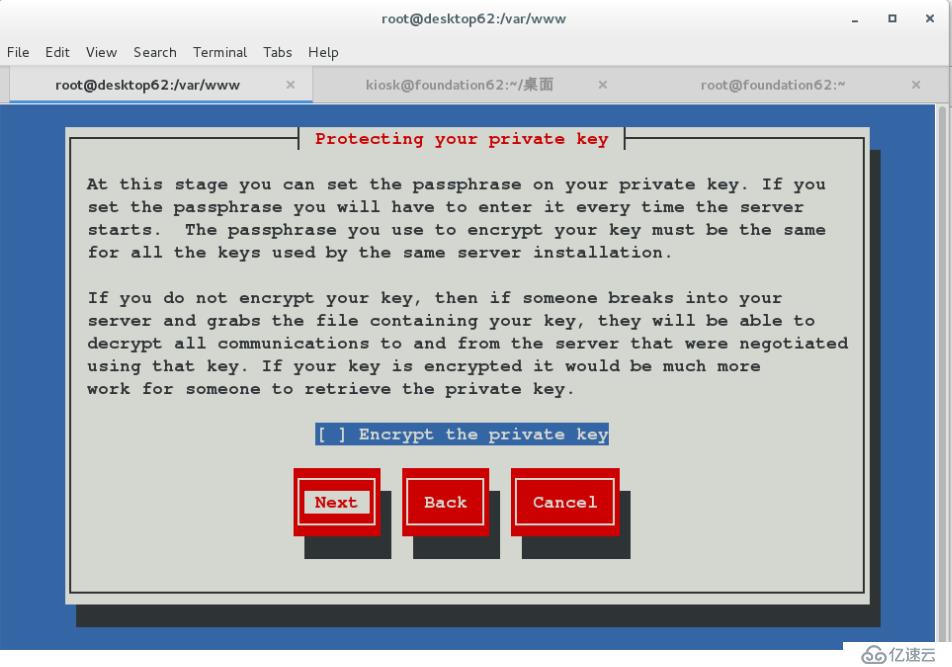
##拒绝加密私钥
##为服务器提供合适的身份
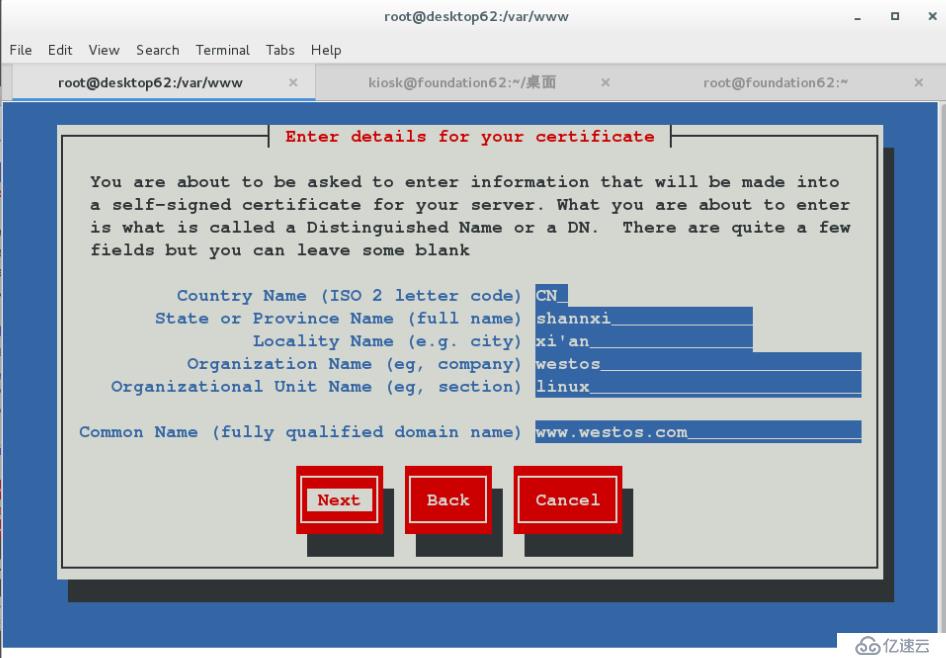
##得到/etc/pki/tls/certs/www.westos.com.crt
/etc/pki/tls/private/www.westos.com.key
##编辑/etc/httpd/conf.d/ssl.conf, 将SSLCertificateFile和SSLCertificateKeyFile指令设置为分别指向X.509证书和密钥文件。

vim /etc/httpd/conf.d/login.conf
<Virtualhost  *:443>            ##访问443端口
    ServerName"login.westos.com"        ##指定服务器名称
    DocumentRoot"/var/www/virtual/login.westos.com/html"         ##网页文件的存放目录
    CustomLog"logs/login.log" combined        ##日志
    ssLEngine on     ##开启https功能
    SSLCertificateFile  /etc/pki/tls/certs/www.westos.com.crt  ## 证书
    SSLCertificateKeyFile/etc/pki/tls/private/www.westos.com.key ##密钥
</Virtualhost>
<Directory "/var/www/virtual/login.westos.com/html">
    Require all granted
</Directory>
<Virtualhost  *:80>    ##网页重写把所有80端口的请求全部重定向由https来处理
       ServerName"login.westos.com"
       REwriteEngine on
       RewriteRule^(/.*)$ https://%{HTTP_HOST}$1 [redirect=301]
</Virtualhost>
#^(/.*)$ https://%{HTTP_HOST}$1 [redirect=301]
解析
#^(/.*)$ 客户主机在地址栏中写入的所有字符,不好看换行符
#https:// 定向成功的访问协议
#%{HTTP_HOST} 客户请求主机
#$1 $1的值就表示^(/.*)$的值
#[redirect=301] 临时重定向 302永久重定向
mkdir /var/www/virtual/login.westos.com/html -p
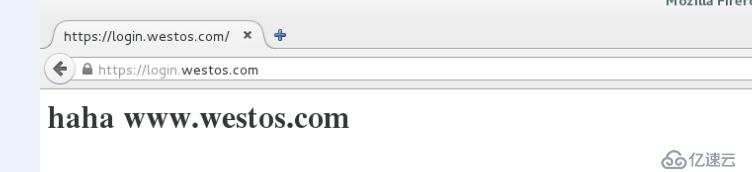
vim /var/www/virtual/login.westos.com/html/index.html
<h2>haha www.westos.com</h2>
systemctl restart httpd
测试:
在客户主机中添加解析
vim /etc/hosts
172.25.254.136 login.westos.com
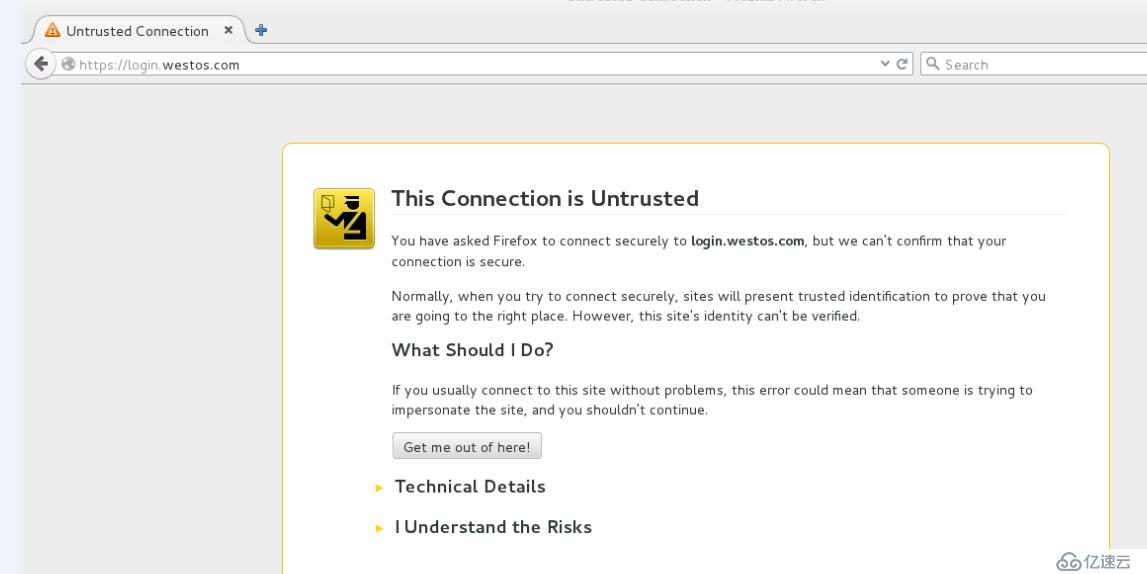
访问http://login.westos.com会自动跳转到
https://login.westos.com实现网页数据加密传输

免责声明:本站发布的内容(图片、视频和文字)以原创、转载和分享为主,文章观点不代表本网站立场,如果涉及侵权请联系站长邮箱:is@yisu.com进行举报,并提供相关证据,一经查实,将立刻删除涉嫌侵权内容。


