配置keepalivedHa集群
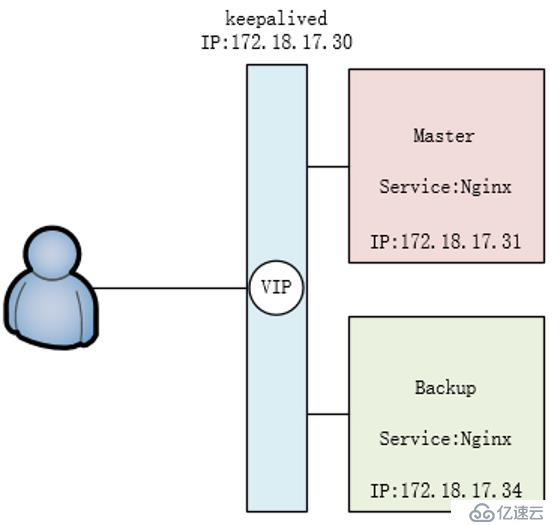
一)实验环境:
服务器系统:CentOS7.3
服务:nginx,keepalived
客户端系统:Windows 10,CentOS7.3
二)初始化操作:Master/Backup,童颜的操作
#安装keepalived软件
[root@shiyan7 ~ ]# yum install keepalived
#安装Nginx(需要配置EPEL源)
[root@shiyan7 ~ ]# yum install Nginx
#关闭清空防火墙
[root@shiyan7 ~ ]# systemctl disable firewall.d
[root@shiyan7 ~ ]# systemctl stop firewall.d
[root@shiyan7 ~ ]# iptables -F
#添加主机解析
[root@shiyan7 ~ ]# vim /etc/hosts
127.0.0.1 localhost localhost.localdomain localhost4 localhost4.localdomain4
::1 localhost localhost.localdomain localhost6 localhost6.localdomain6
172.18.17.34 shiyan.fore
172.18.17.31 shiyan.one
#关闭Selinux(配置后需要重启)
[root@shiyan7 ~ ]# vim /etc/selinux/config
Selinux=disabled
三)Master配置
Nginx配置
[root@shiyan7 ~ ]# mkdir /app/nginx/html
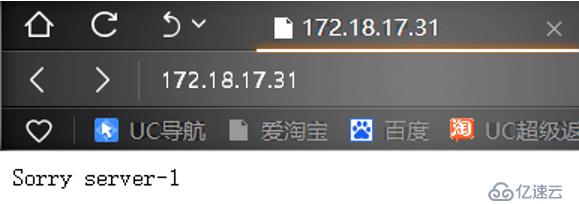
[root@shiyan7 ~ ]# echo "Sorry Server-1" >/app/nginx/html/index.html
[root@shiyan7 ~ ]# cp /etc/nginx/nginx.conf{,.bak}
[root@shiyan7 ~ ]# vim /etc/nginx/nginx.conf
server {
listen 80 default_server;
listen [::]:80 default_server;
server_name _;
root /app/nginx/html;
# Loadconfiguration files for the default server block.
include/etc/nginx/default.d/*.conf;
location /{
}
error_page404 /404.html;
location = /40x.html {
}
error_page500 502 503 504 /50x.html;
location = /50x.html {
}
}
[root@shiyan7 ~ ]# systemctl start nginx
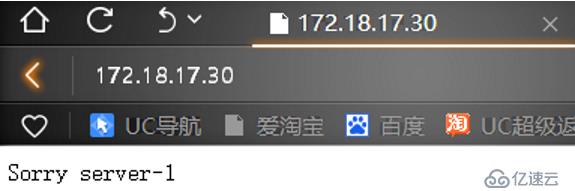
使用浏览器测试Nginx
KeepAlived配置
[root@shiyan7 ~ ]# cp /etc/keepalived/keepalived.conf{,.bak}
[root@shiyan7 ~ ]# vim /etc/keepalived/keepalived.conf
global_defs {
notification_email {
acassen@firewall.loc
failover@firewall.loc
sysadmin@firewall.loc
}
notification_email_from Alexandre.Cassen@firewall.loc
smtp_server192.168.200.1
smtp_connect_timeout 30
router_id node1
}
vrrp_instance Ha_1 {
state BACKUP
interface ens33
virtual_router_id 51
priority 100
advert_int 1
authentication {
auth_type PASS
auth_pass 1111
}
virtual_ipaddress {
172.18.17.30/16 dev ens33
}
}
四)Backup配置
Nginx配置
[root@shiyan7 ~ ]# mkdir /app/nginx/html
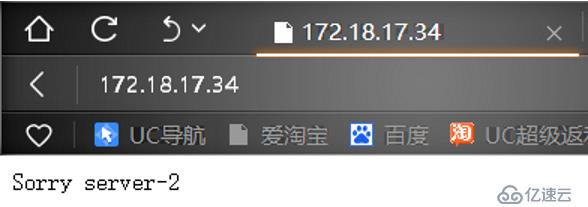
[root@shiyan7 ~ ]# echo "Sorry Server-2" >/app/nginx/html/index.html
[root@shiyan7 ~ ]# cp /etc/nginx/nginx.conf{,.bak}
[root@shiyan7 ~ ]# vim /etc/nginx/nginx.conf
server {
listen 80 default_server;
listen [::]:80 default_server;
server_name _;
root /app/nginx/html;
# Loadconfiguration files for the default server block.
include/etc/nginx/default.d/*.conf;
location /{
}
error_page404 /404.html;
location = /40x.html {
}
error_page500 502 503 504 /50x.html;
location = /50x.html {
}
}
[root@shiyan7 ~ ]# systemctl start nginx
使用浏览器测试Nginx
KeepAlived配置
[root@shiyan7 ~ ]# cp /etc/keepalived/keepalived.conf{,.bak}
[root@shiyan7 ~ ]# vim /etc/keepalived/keepalived.conf
global_defs {
notification_email{
acassen@firewall.loc
failover@firewall.loc
sysadmin@firewall.loc
}
notification_email_from Alexandre.Cassen@firewall.loc
smtp_server192.168.200.1
smtp_connect_timeout 30
router_id node2
}
vrrp_instance Ha_1 {
state BACKUP
interface ens33
virtual_router_id 51
priority 99
advert_int 1
authentication {
auth_type PASS
auth_pass 1111
}
virtual_ipaddress {
172.18.17.30/16 dev ens33
}
}
五)测试:
1)开启主被服务器的keepalived服务,并查看VIP/IP
Master
[root@shiyan7 ~ ]# systemctl start keepalived
[root@shiyan7 ~ ]# ip a l
Backup
[root@shiyan7 ~ ]# systemctl start keepalived
[root@shiyan7 ~ ]# ip a l
测试测试Master环境上的Nginx

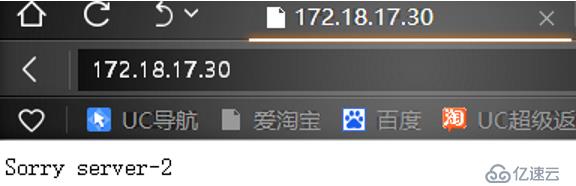
2)关闭Master测试Backup
Master
[root@shiyan7 ~ ]# systemctl stop keepalived
[root@shiyan7 ~ ]# ip a l
Backup
[root@shiyan7 ~ ]# ip a l

测试Backup环境上的Nginx

3)开启Master
Master
[root@shiyan7 ~ ]# systemctl start keepalived
root@shiyan7 ~ ]# ip a l
Backup
[root@shiyan7 ~ ]# ip a l
测试测试Master环境上的Nginx

免责声明:本站发布的内容(图片、视频和文字)以原创、转载和分享为主,文章观点不代表本网站立场,如果涉及侵权请联系站长邮箱:is@yisu.com进行举报,并提供相关证据,一经查实,将立刻删除涉嫌侵权内容。


