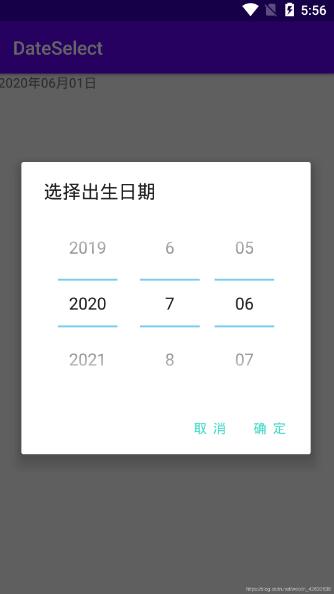
本文实例为大家分享了Android日期选择控件的使用方法,供大家参考,具体内容如下
1.创建dialog 布局
<?xml version="1.0" encoding="utf-8"?>
<LinearLayout xmlns:android="http://schemas.android.com/apk/res/android"
  android:layout_width="match_parent"
  android:layout_height="match_parent"
  android:gravity="center">

  <DatePicker
    android:datePickerMode="spinner"
    android:calendarViewShown="false"
    android:id="@+id/date_picker"
    android:layout_width="wrap_content"
    android:layout_height="wrap_content">
  </DatePicker>

</LinearLayout>
2.MainActivity
public class MainActivity extends AppCompatActivity {

  private TextView date;

  @Override
  protected void onCreate(Bundle savedInstanceState) {
    super.onCreate(savedInstanceState);
    setContentView(R.layout.activity_main);
    date = findViewById(R.id.date);

    //点击"日期"按钮布局 设置日期
    date.setOnClickListener(new View.OnClickListener() {
      @Override
      public void onClick(View v) {
        //通过自定义控件AlertDialog实现
        AlertDialog.Builder builder = new AlertDialog.Builder(MainActivity.this);
        View view = (LinearLayout) getLayoutInflater().inflate(R.layout.date_dialog, null);
        final DatePicker datePicker = (DatePicker) view.findViewById(R.id.date_picker);
        //设置日期简略显示 否则详细显示 包括:星期\周
        datePicker.setCalendarViewShown(false);
        //设置date布局
        builder.setView(view);
        builder.setTitle("选择出生日期");
        builder.setPositiveButton("确 定", new DialogInterface.OnClickListener() {
          @Override
          public void onClick(DialogInterface dialog, int which) {
            //日期格式
            int year = datePicker.getYear();
            int month = datePicker.getMonth()+1;
            int dayOfMonth = datePicker.getDayOfMonth();
            date.setText(year+"年"+month+"月"+dayOfMonth+"日");
            dialog.cancel();
          }
        });
        builder.setNegativeButton("取 消", new DialogInterface.OnClickListener() {
          @Override
          public void onClick(DialogInterface dialog, int which) {
            dialog.cancel();
          }
        });
        builder.create().show();
      }
    });
  }
}
3.activity_main布局
<?xml version="1.0" encoding="utf-8"?>
<LinearLayout xmlns:android="http://schemas.android.com/apk/res/android"
  xmlns:app="http://schemas.android.com/apk/res-auto"
  xmlns:tools="http://schemas.android.com/tools"
  android:layout_width="match_parent"
  android:layout_height="match_parent"
  tools:context=".MainActivity">


  <TextView
    android:id="@+id/date"
    android:layout_width="wrap_content"
    android:layout_height="wrap_content"
    android:text="2020年06月01日"></TextView>

</LinearLayout>
以上就是本文的全部内容,希望对大家的学习有所帮助,也希望大家多多支持亿速云。
免责声明:本站发布的内容(图片、视频和文字)以原创、转载和分享为主,文章观点不代表本网站立场,如果涉及侵权请联系站长邮箱:is@yisu.com进行举报,并提供相关证据,一经查实,将立刻删除涉嫌侵权内容。


