一、新建oracle用户
[root@11g ~]# groupadd oinstall
[root@11g ~]# groupadd dba
[root@11g ~]# useradd -g oinstall -G dba oracle
[root@11g ~]# echo "oracle" |passwd --stdin oracle
二、安装oracle所需的环境包(先配置好yum源)
[root@11g ~]# cat /etc/yum.repos.d/dvd.repo
[server]
name=server
baseurl=file:///mnt/dvd/Server
enabled=1
gpgcheck=0
[root@11g ~]# ls /mnt/dvd/
blafdoc.css     eula.py    README-en.html         Server
Cluster         GPL        RELEASE-NOTES-en       supportinfo
ClusterStorage  p_w_picpaths     RELEASE-NOTES-en.html  TRANS.TBL
EULA            isolinux   RPM-GPG-KEY            VT
eula.en_US      README-en  RPM-GPG-KEY-oracle
[root@11g ~]# yum -y install binutils compat-libstdc++-33 elfutils-libelf elfutils-libelf-devel glibc glibc-common glibc-devel gcc gcc-c++ libaio-devel libaio libgcc libstdc++ libstdc++-devel make sysstat unixODBC unixODBC-devel pdksh numactl-devel glibc-headers
三、修改linux内核参数
[root@11g ~]# tail -13 /etc/sysctl.conf (在文件尾部插入如下内容)
#oracle 11G
fs.aio-max-nr = 1048576
fs.file-max = 6815744
kernel.shmall = 2097152
kernel.shmmax = 4294967295
kernel.shmmni = 4096
kernel.sem = 250 32000 100 128
net.ipv4.ip_local_port_range = 9000 65500
net.core.rmem_default = 262144
net.core.rmem_max = 4194304
net.core.wmem_default = 262144
net.core.wmem_max = 1048576
[root@11g ~]# /sbin/sysctl -p (不重启使参数生效)
四、设置oracle用户打开文件的最大数
[root@11g ~]# tail -10 /etc/security/limits.conf (在文件尾部插入如下内容)
#Oracle 11g
oracle soft nproc 2047
oracle hard nproc 16384
oracle soft nofile 1024
oracle hard nofile 65536
oracle soft stack 10240
# End of file
五、修改登录配置
[root@11g ~]# tail -2 /etc/pam.d/login
#Oracle 11g
session required pam_limits.so
六、配置主机名及hosts
[root@11g ~]# tail -1 /etc/sysconfig/network
HOSTNAME=11g.cubix.com
[root@11g ~]# tail -1 /etc/hosts
127.0.0.1	11g.cubix.com 11g
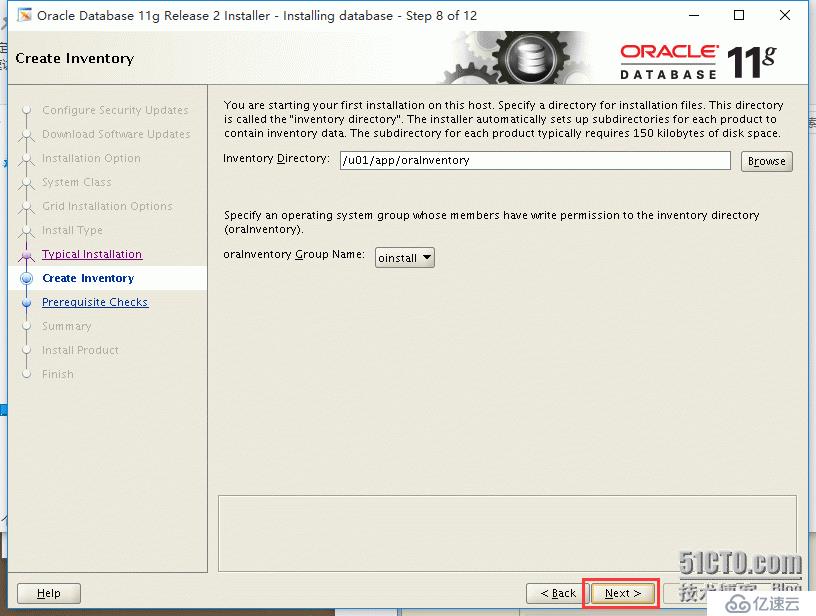
七、新建oracle安装目录
[root@11g ~]# mkdir -p /u01/app/oracle/product/11.2.0/db_1
[root@11g ~]# chown -R oracle:oinstall /u01
[root@11g ~]# chmod -R 755 /u01
八、修改oracle用户的环境变量
[root@11g ~]# su - oracle
[oracle@11g ~]$ tail -5 .bash_profile
#Oracle 11g
export ORACLE_SID=orcl                                  #数据库实例名
export ORACLE_BASE=/u01/app/oracle                      #Oracle安装目录
export ORACLE_HOME=$ORACLE_BASE/product/11.2.0/db_1     #Oracle家目录
export PATH=$PATH:$ORACLE_HOME/bin                      #Path搜索路径
[oracle@11g ~]$ source .bash_profile                    #刷新.bash_profile配置
[oracle@11g ~]$ echo $ORACLE_SID                        #测试.bash_profile是否生效
orcl
九、解压安装包
[oracle@11g src]$ unzip p10404530_112030_LINUX_1of7.zip
[oracle@11g src]$ unzip p10404530_112030_LINUX_2of7.zip
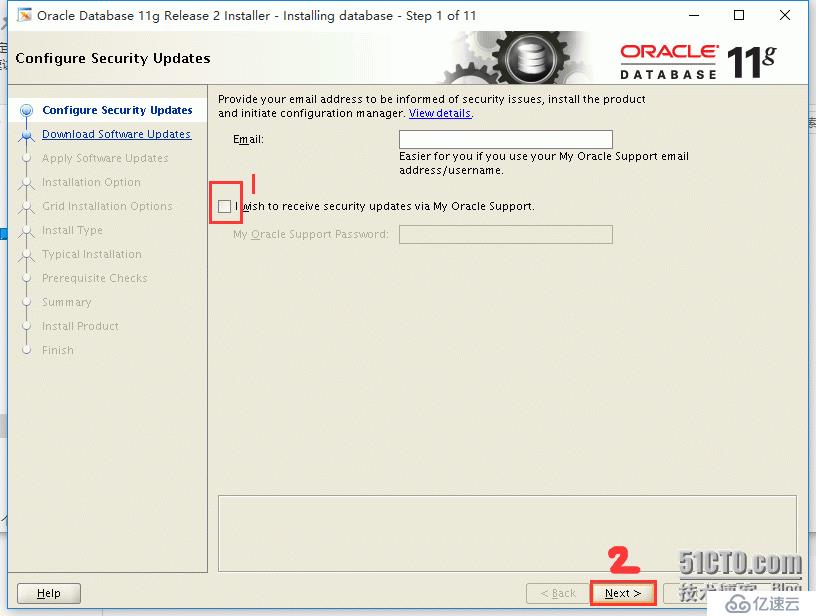
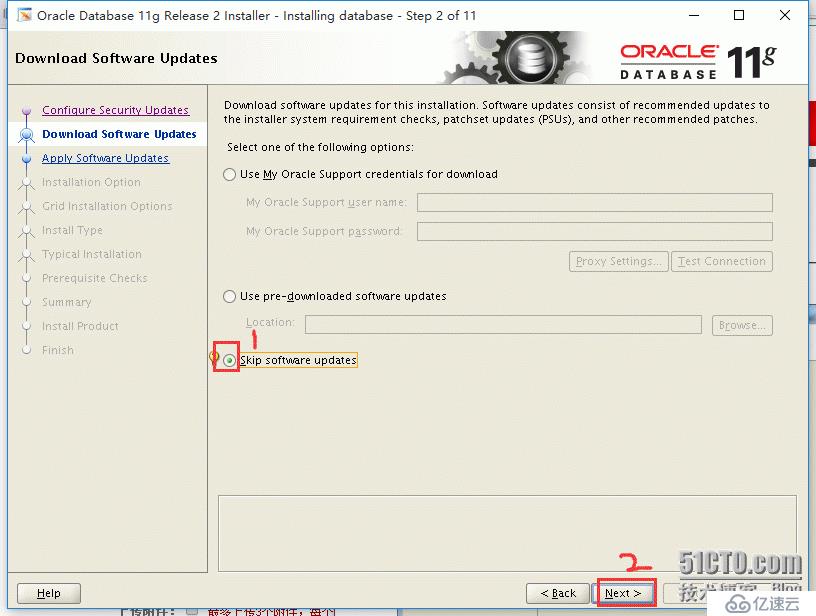
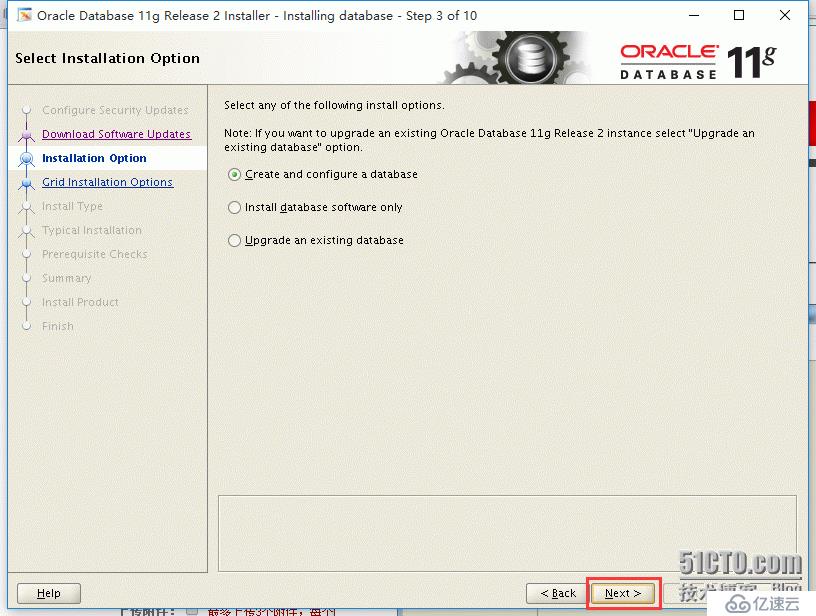
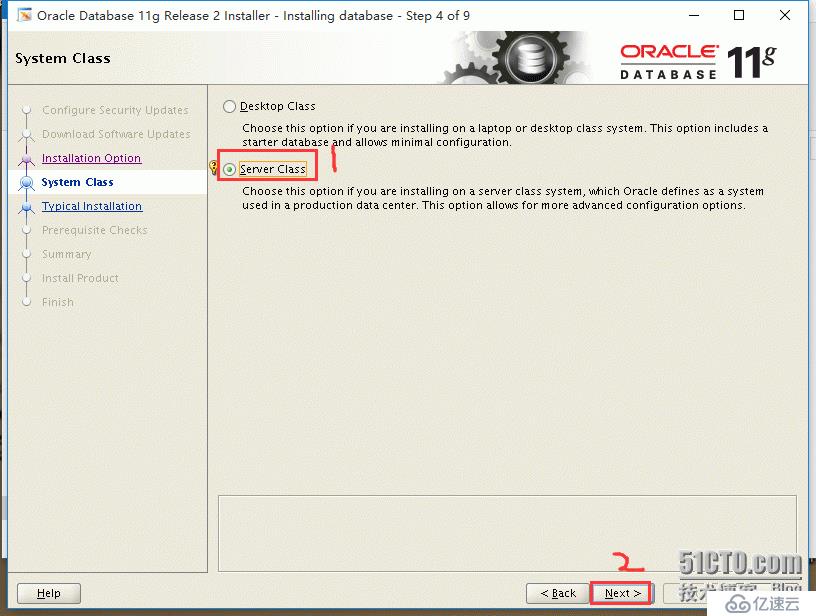
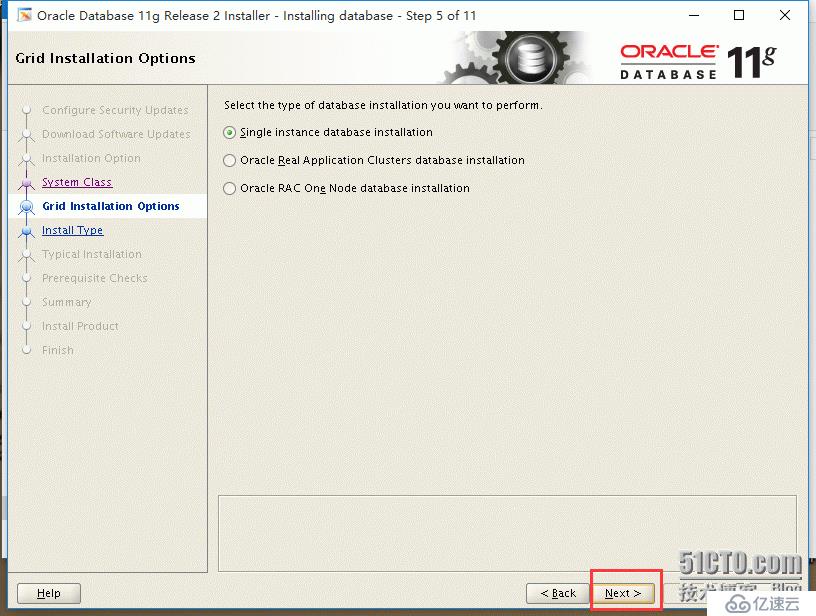
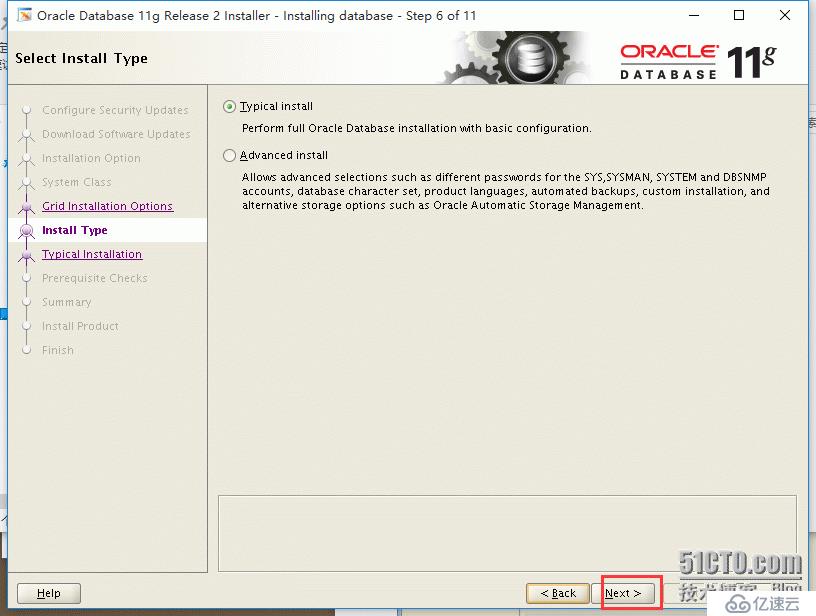
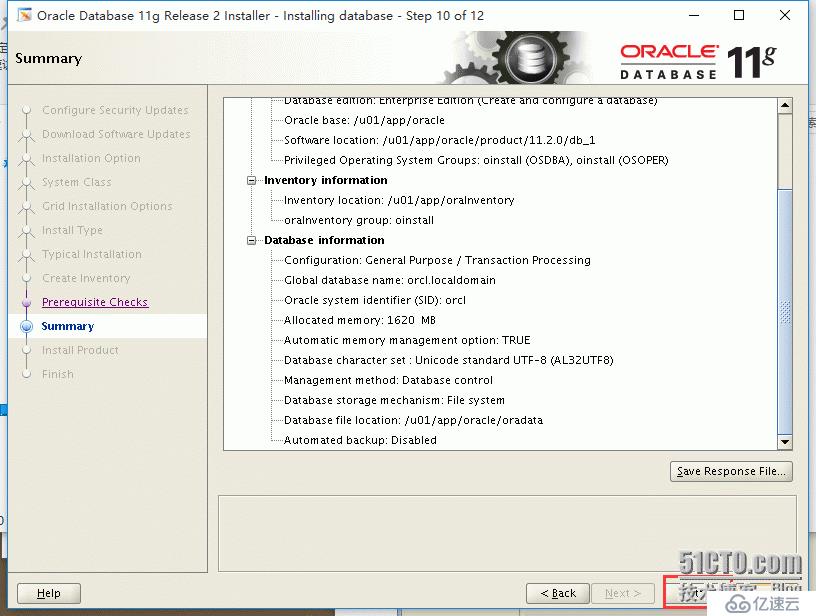
十、开始安装数据库
[root@11g ~]# xhost +
access control disabled, clients can connect from any host
[root@11g ~]# su - oracle
[oracle@11g ~]$ cd /usr/local/src/database/
[oracle@11g database]$ ./runInstaller
Starting Oracle Universal Installer...

Checking Temp space: must be greater than 120 MB.   Actual 80306 MB    Passed
Checking swap space: must be greater than 150 MB.   Actual 5023 MB    Passed
Checking monitor: must be configured to display at least 256 colors.    Actual 16777216    Passed
Preparing to launch Oracle Universal Installer from /tmp/OraInstall2016-02-21_06-40-38PM. Please wait ...[oracle@11g database]$


免责声明:本站发布的内容(图片、视频和文字)以原创、转载和分享为主,文章观点不代表本网站立场,如果涉及侵权请联系站长邮箱:is@yisu.com进行举报,并提供相关证据,一经查实,将立刻删除涉嫌侵权内容。


