1》
以下皆使用 root用户执行
/usr/sbin/groupadd -g 501 oinstall
/usr/sbin/groupadd -g 502 dba
/usr/sbin/groupadd -g 503 oper
/usr/sbin/groupadd -g 504 asmadmin
/usr/sbin/groupadd -g 505 asmoper
/usr/sbin/groupadd -g 506 asmdba
/usr/sbin/useradd -g oinstall -G dba,asmdba,oper oracle
/usr/sbin/useradd -g oinstall -G asmadmin,asmdba,asmoper,oper,dba grid
mkdir -p /u01/app/oracle/product/11.2.0/dbhome_1
mkdir -p /u01/app/grid/product/11.2.0/grid
chown -R oracle:oinstall /u01/app/
chown -R grid:oinstall /u01/app/grid
chmod -R 775 /u01/
# passwd grid
# passwd oracle
# vi /etc/security/limits.conf
#ORACLE SETTING
grid                 soft    nproc   2047
grid                 hard    nproc   16384
grid                 soft    nofile  1024
grid                 hard    nofile  65536
oracle               soft    nproc   2047
oracle               hard    nproc   16384
oracle               soft    nofile  1024
oracle               hard    nofile  65536
# vi /etc/pam.d/login
#ORACLE SETTING
session    required     pam_limits.so
# vi /etc/sysctl.conf
#ORACLE SETTING
fs.aio-max-nr = 1048576
fs.file-max = 6815744
kernel.shmall = 2097152
kernel.shmmax = 536870912
kernel.shmmni = 4096
kernel.sem = 250 32000 100 128
net.ipv4.ip_local_port_range = 9000 65500
net.core.rmem_default = 262144
net.core.rmem_max = 4194304
net.core.wmem_default = 262144
net.core.wmem_max = 1048586
使用cysctl -p使sysctl生效
# Oracle Settings oracle

TMP=/tmp; export TMP
TMPDIR=$TMP; export TMPDIR

ORACLE_HOSTNAME=UMI; export ORACLE_HOSTNAME
ORACLE_BASE=/u01/app/oracle; export ORACLE_BASE
ORACLE_HOME=$ORACLE_BASE/product/11.2.0/dbhome_1; export ORACLE_HOME
ORACLE_SID=ORCL; export ORACLE_SID
ORACLE_TERM=xterm; export ORACLE_TERM
NLS_LANG=AMERICAN_AMERICA.UTF8
export NLS_LANG

PATH=/usr/sbin:$PATH; export PATH
PATH=$ORACLE_HOME/bin:$PATH; export PATH

LD_LIBRARY_PATH=$ORACLE_HOME/lib:/lib:/usr/lib; export LD_LIBRARY_PATH
CLASSPATH=$ORACLE_HOME/JRE:$ORACLE_HOME/jlib:$ORACLE_HOME/rdbms/jlib; export CLASSPATH

if [ $USER = "oracle" ] || [ $USER = "grid" ]; then
        if [ $SHELL = "/bin/ksh" ]; then
              ulimit -p 16384
              ulimit -n 65536
        else
              ulimit -u 16384 -n 65536
        fi
        umask 022
fi
2》
给Oracle安装包所在的文件赋Oracle用户权限:chown -R oracle:oinstall database//database是oracle的安装目录
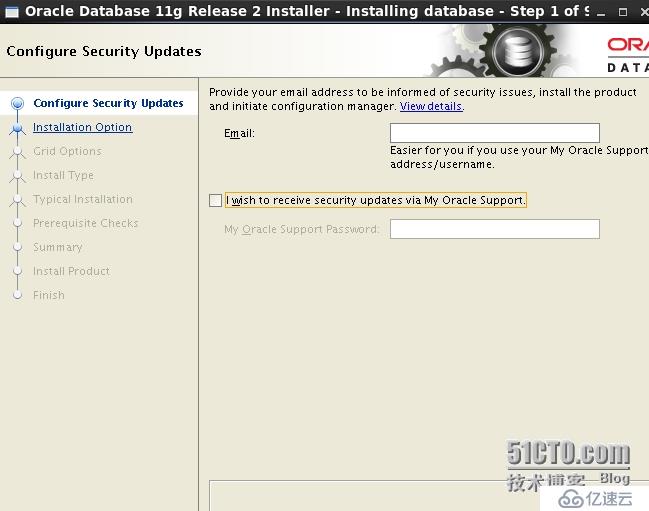
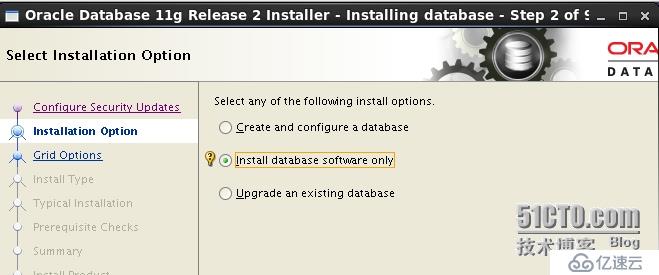
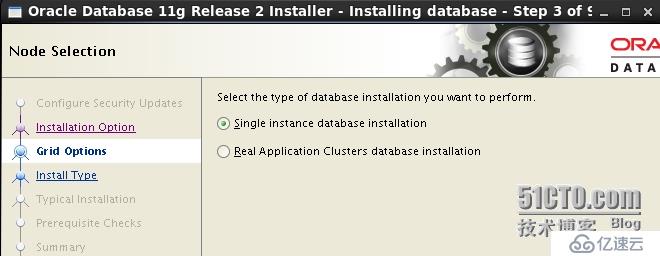
在oracle用户下:执行./runInstaller (如果出现让选择yes和no的,选no先切换到root用户执行xhost +)
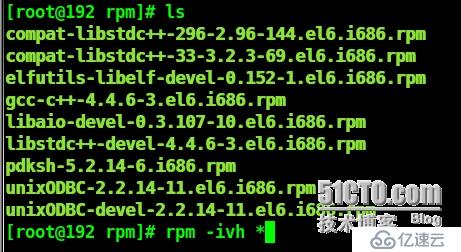
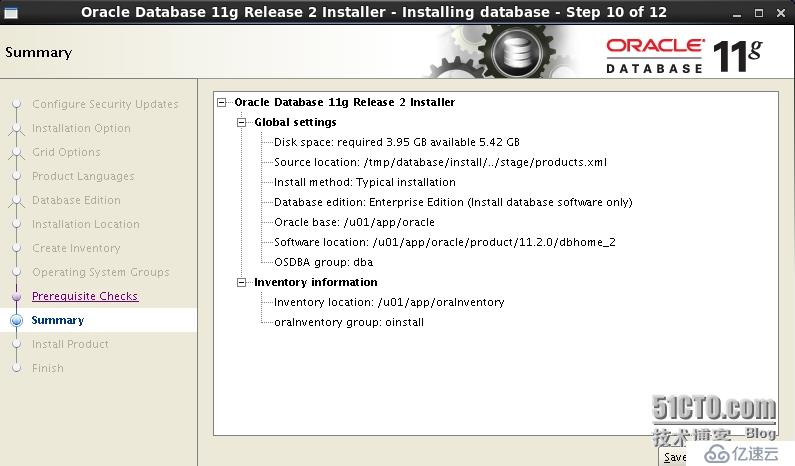
执行
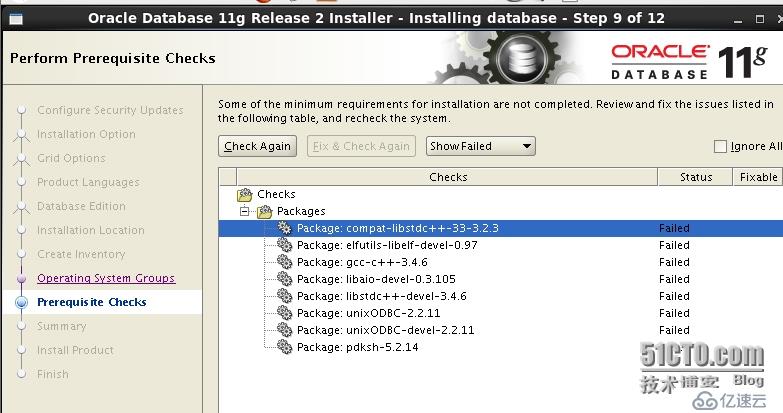
显示系统上有一些包没有通过:安装一下即可,把源系统ISO文件打开里面有rpm

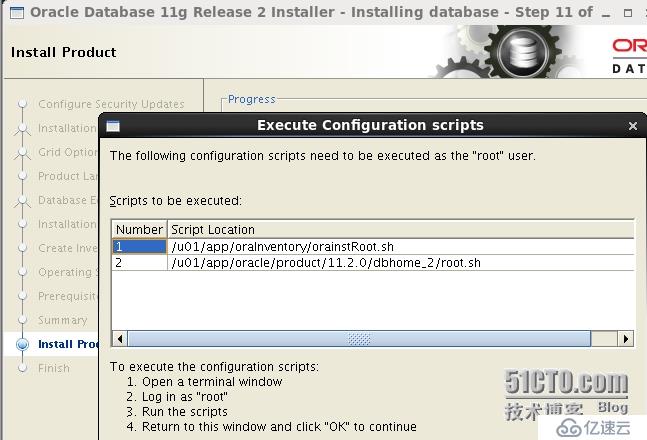
打开一个终端执行上面两个脚本
软件就安装完成。
查看一下环境变量成功了没有

没有成功的话,切到root用户下执行xhost + 并通过su - oracle 进入,注意 "-"
接下来创建监听器
netca(若此命令不管用,看一下,oracle的安装目录和ORACLE_HOME一样么,看一下ORACLE_HOME下是否有文件)
下一步,就行了
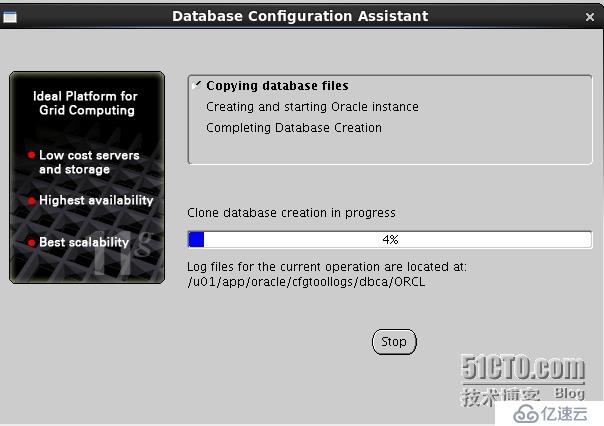
最后创建数据库
dbca
去掉CEM
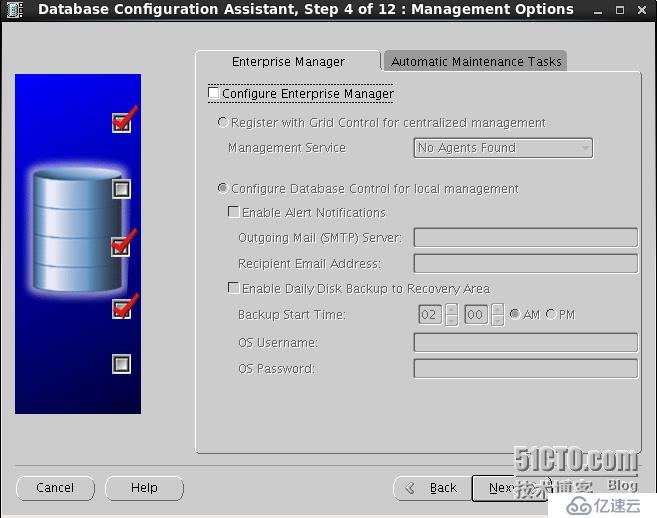
配置统一密码
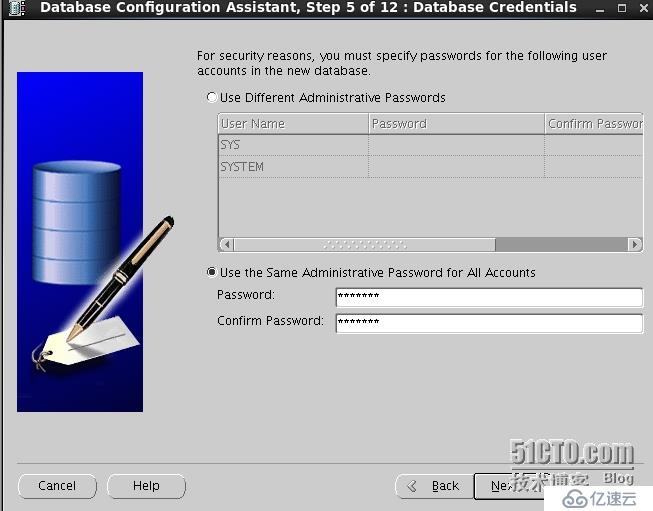
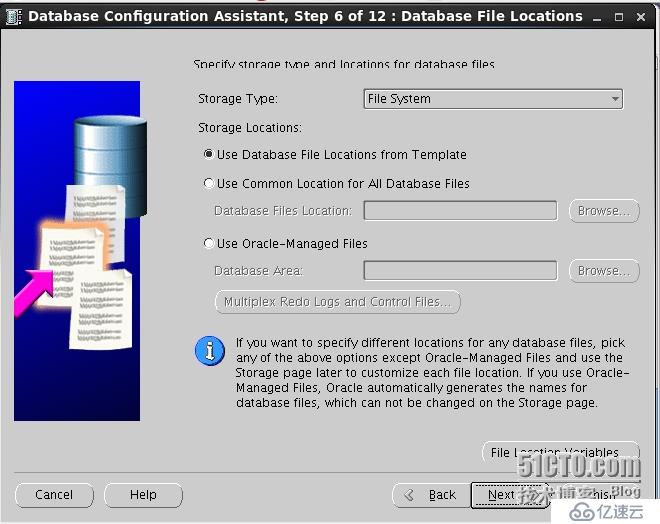
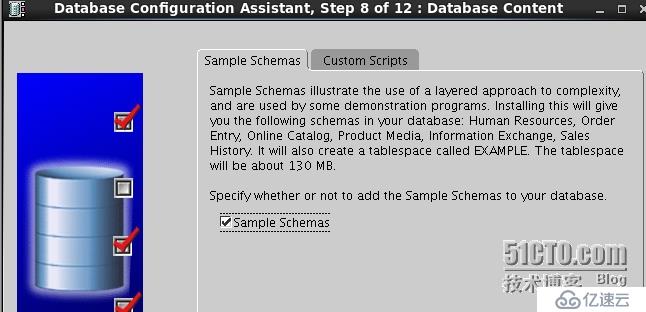
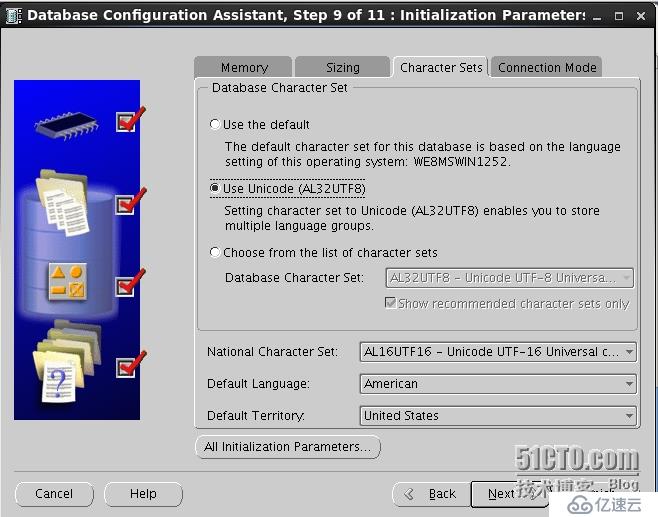
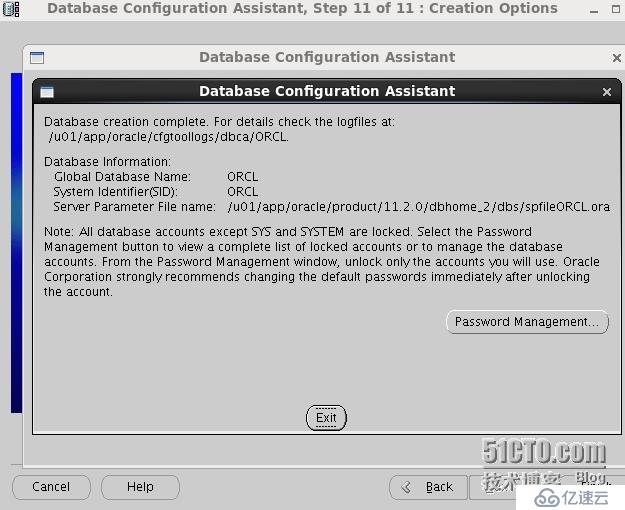
然后finish就行了
若在此出现NTS的错误,本人直接重装虚拟机才解决问题:以为网上所说的liboio包已安装
oracle数据库安装成功
进行测试
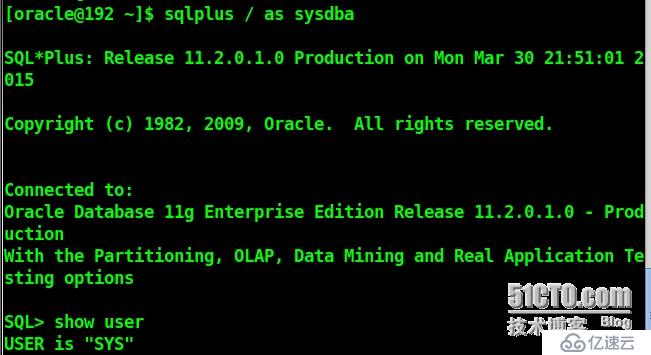
成功登陆
本教程到此为止
免责声明:本站发布的内容(图片、视频和文字)以原创、转载和分享为主,文章观点不代表本网站立场,如果涉及侵权请联系站长邮箱:is@yisu.com进行举报,并提供相关证据,一经查实,将立刻删除涉嫌侵权内容。


