[STMP补录]
一.
1)【禁止指定ip远程对我的STMP操作】
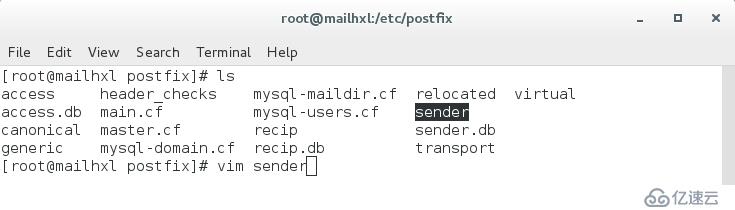
cd /etc/postfix/
vim access [在最后一行做如下添加]
172.25.254.60 REJECT
postmap access [刷新文件]【这时,该目录下会多处一个access.db文件】【postconf -d | grep client,可以查看参数】 postconf -e "smtpd_client_restrictions = check_client_access hash:/etc/postfix/access"【在/etc/postfix下的
mian.cf(主配置文件)中最后加入检索access文件的参数指令】
systemctl restart postfix [重启]
【测试】用172.25.254.60 发送邮件,mail from:student@hxl.com rcpt to:root@hxl.com ;出现"554 5.7.1 <unknown[172.25.254.60]>: Client hostrejected: Access denied(没有权限)"表示成功。
【撤销禁止,删除access文件加入的东西,刷新文件,重启服务】
2)【禁止指定ip远程对指定用户的STMP发送操作】
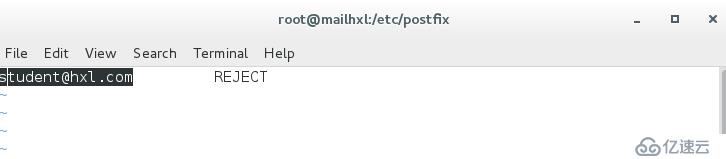
vim sender [在/etc/postfix/下新建该目录]
student@hxl.com REJECT
postconf -e "smtpd_sender_restrictions = check_sender_accesshash:/etc/postfix/sender" 【在/etc/postfix下的
mian.cf(主配置文件)中最后加入检索sender文件的参数指令】
systemctl restart postfix [重启]
【测试】 在telnet中,发送方用student发送,出现报错为“Sender address rejected: Access denied”
3)【禁止指定ip远程对指定用户的STMP收件操作】
vim recip
student@hxl.com REJECT
postmap recip
postconf -e "smtpd_recipient_restrictions = check_recipient_accesshash:/etc/postfix/recip"
systemctl restart postfix
【测试】
<student@hxl.com>: Recipient address rejected: Access denied [正常]
二.
1.)【Dovecot邮件服务器,对这些邮件端口提供服务,imap143,pop3 110,imaps 993和pop3s 995。可以 cat /etc/services | grep imap/pop 查看】
yum install dovecot -y
vim /etc/dovecot/dovecot.conf [修改配置文件]
24 protocols = imap pop3 lmtp [允许服务的接口]
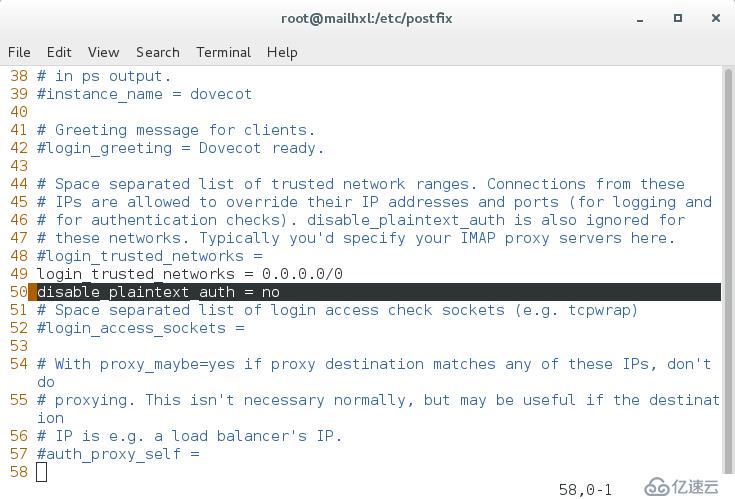
49 disable_plaintext_auth = no [允许明文密码验证]
vim /etc/dovecot/conf.d/10-mail.conf
22 mail_location =mbox:~/mail:INBOX=/var/mail/%u
netstat -antlpe | grep dovecot [查看 993,995,110,143端口是否开启]
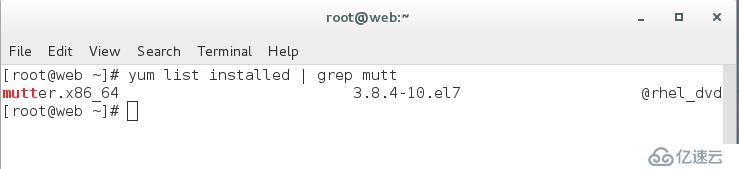
yum install mutt -y [下载一个email程序]【此操作在另一个主机做的,看能不能接收到安装了Dovecot服务机子的邮件】
mutt -f pop3://student@172.25.254.161 [进入操作a]【在此项操作中,应先在stdent目录中建立几个文件】
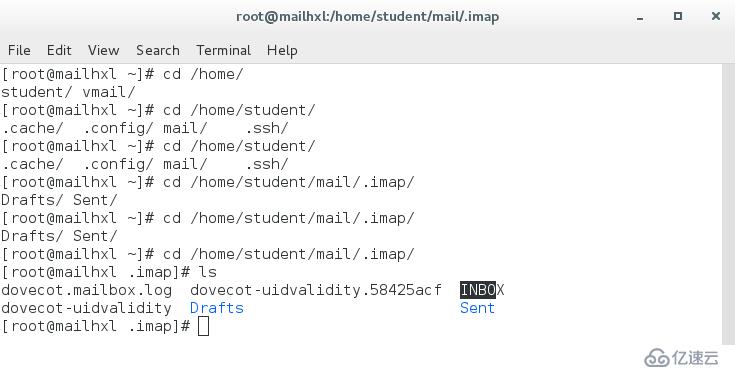
【详细文件建立操作】
(1) mkdir /home/student/mail/.imap/ -p
(2) touch /home/student/mail/.imap/INBOX
【在新建用户的时候,用户的家目录文件默认是拷贝root下的/etc/skel/,如果你需要很多用户下都有这些文件,就在这里写进去,一劳永逸。】
[完成,现在执行 mutt 则可以看到student受到的邮件]


2.)【使用电子邮件应用程序,实现远程收发邮件】
【前置:在区别于以上两个的主机上下载安装好thunderbird-31.4.0.tar.bz2,这是一个可用目录,tar jxf ~解压后,在 thunderbird/目录下,./thunderbird执行,按照提示,依次查询安装包(yumwhatProvides ~)并安装,这个有十多个,慢慢安装,安装好,就有了一个图形界面工具
vim /etc/dovecot/dovecot.conf [修改配置文件]
48 login_trusted_networks= 0.0.0.0/0 [允许接受的ip段的邮件]
【配置图形界面的用户添加】;
因为是本地用户,大名就为本地用户名:student ; 电子邮件 student@hxl.com;
收件:IMAP 172.25.254.161;端口:143;SSL:无;认证:普通密码;
寄件:SMTP 172.25.254.161;端口:25;SSL:无;认证:普通密码;
使用者名称:student
[重新测定,确认;现在就可以受到了]
3.*)【使用数据库,建立虚拟用户,指定所有用户的收件地址为/home/vmail/,实现邮件的收发】
【前置:yum install mariadb-server -y;yum install httpd;tarjxf phpMyAdmin-~.tar.bz2,修改名称为 myadmin,放在/var/www/html/下,进入该目录下,cp config.sample.inc.php config.inc.php,vim 该文件,加入一个COOKIE任意值;初始数据库信息(mysql_secure_installation);在/etc/hosts 中添加 邮件首发的ip以及对应的域名】
1.在数据库中建立信息表
在图形应用中建立数据库:email,数据结构项:username,password,domain,maildir。类型都为:varchar,长度:50 50 50 100;
建立表:muser表。(例子)username:admin@hxl.org;password:123;domain:hxl.org;mkdir:/hxl.org/admin/
2.在数据库中创建一个用户(字符界面),并授权
CREATE USER postfix@localhostidentified by 'postfix';
GRANT INSERT,UPDATE,SELECT on email.*to postfix@localhost;
3.填写关于筛选信息的配置文件(cd /etc/pistfix/)
* vim mysql-users.cf
1.host = localhost
2.user = postfix
3.password = postfix
4.dbname = email
5.table = muser
6.select_field = username
7.where_field = username
[测试]
postmap -q "admin@hxl.org"mysql:/etc/postfix/mysql-users.cf
admin@hxl.org
* vim mysql-domain.cf
1.host = localhost
2.user = postfix
3.password = postfix
4.dbname = email
5.table = muser
6.select_field = domain
7.where_field = domain
[测试]
postmap -q "hxl.org"mysql:/etc/postfix/mysql-domain.cf
hxl.org,hxl.org
* vim mysql-maildir.cf
1.host = localhost
2.user = postfix
3.password = postfix
4.dbname = email
5.table = muser
6.select_field = maildir
7.where_field = username
[测试]
postmap -q "admin@hxl.org"mysql:/etc/postfix/mysql-maildir.cf
hxl.org/admin/
4.项主配置文件中添加虚拟用户,以及上述信息
建立本地用户vmail,指定uip 888,gip 888,并且是非交互模式
groupadd -g 888 vmail
useradd -g 888 -u 888 -s/sbin/nologin vmail
[向主配置文件(/etc/postfix/main.cf)添加信息]
postconf -e "virtual_gid_maps =static:888"
postconf -e "virtual_uid_maps =static:888"
postconf -e "virtual_mailbox_base= /home/vmail"
postconf -e "virtual_alias_maps =mysql:/etc/postfix/mysql-users.cf"
postconf -e "virtual_alias_maps =mysql:/etc/postfix/mysql-domain.cf"
postconf -e "virtual_alias_maps =mysql:/etc/postfix/mysql-maildir.cf"
[测试]
mail admin@hxl.org [向该ip发送一封邮件]
进入/home/vmail/admin,并且查看文件中有 new目录,查看 new 中的文件是你所发的信息,则表示成功
5.配置dovecot邮件接受服务
vim auth-sql.conf.ext [查看 示例文件/usr/share/doc/dovecot-2.2.10/example-config]
cp dovecot-sql.conf.ext/etc/dovecot/
vim /etc/dovecot/dovecot-sql.conf.ext[配置文件,修改如下]
31 # Database driver: mysql, pgsql,sqlite
32 driver = mysql
71 connect = host=localhost dbname=emailuser=postfix password=postfix
78 default_pass_scheme = PLAIN
107 password_query = \
108 SELECT username, domain, password \
109 FROM muser WHERE username = '%u' AND domain = '%d'
125 user_query = SELECT maildir, 888 AS uid,888 AS gid FROM muser WHERE usernam e= '%u'
vim /etc/dovecot/conf.d/10-mail.conf1
30 mail_location =maildir:/home/vmail/%d/%n
168 first_valid_uid = 888
175 first_valid_gid = 888
systemctl restart dovecot.service [重启服务]
yum install dovecot-mysql
[测试]
远程telnet172.25.254.161
useradmin@hxl.org
pass 123
远程测试成功就可以用服务应用测试了,
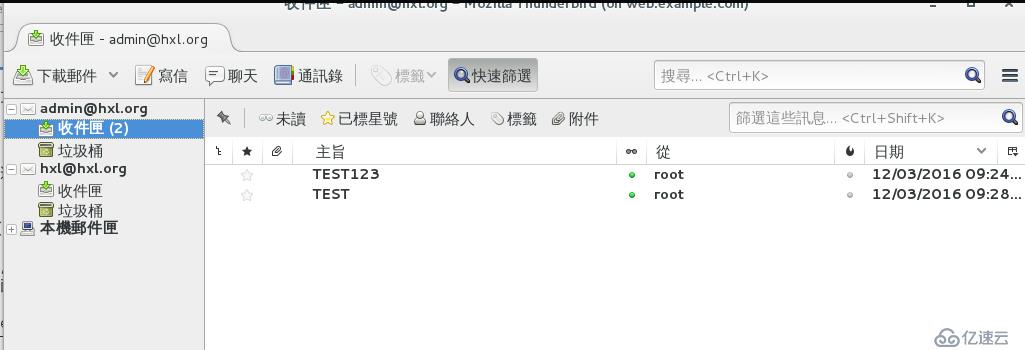
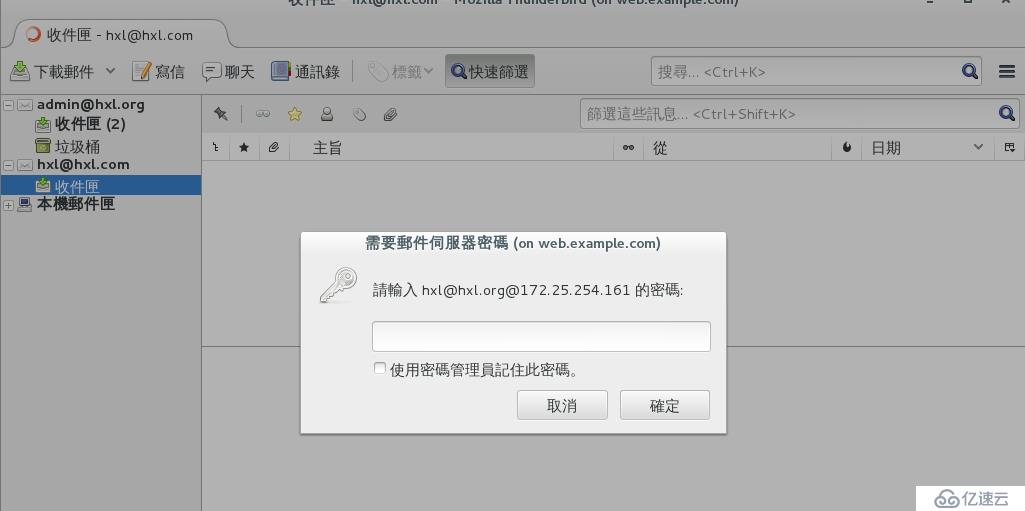
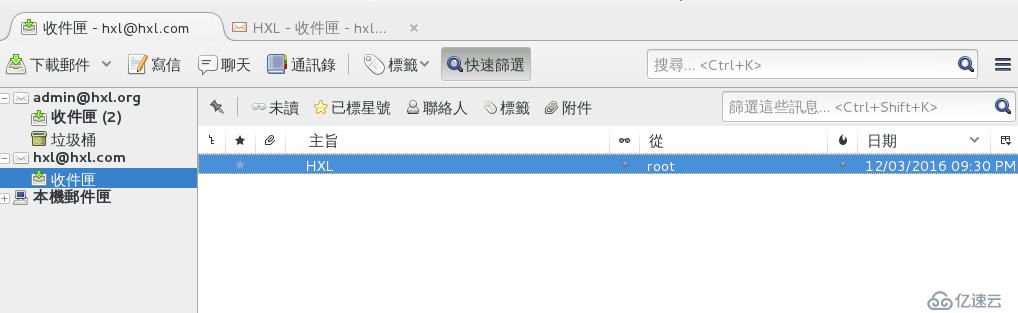
因为是数据库中的虚拟用户,大名就为本地用户名:admin@hxl.org; 电子邮件 admin@hxl.org;
收件:IMAP 172.25.254.161;端口:143;SSL:无;认证:普通密码;
寄件:SMTP 172.25.254.161;端口:25;SSL:无;认证普通密码;
使用者名称:admin@hxl.org 【你可以在数据库中多建几个用户,然后互相发送,成功接受就OK】

免责声明:本站发布的内容(图片、视频和文字)以原创、转载和分享为主,文章观点不代表本网站立场,如果涉及侵权请联系站长邮箱:is@yisu.com进行举报,并提供相关证据,一经查实,将立刻删除涉嫌侵权内容。


