1.下载oracle luinux 5.8和oracle 10g数据库软件
2.操作系统安装
(1).图形化界面安装
(2).系统分区
/ 根分区(17G)
/boot 安装oracle分区(512M)
swap 交换分区(4G)
(3).禁用防火墙
(4).禁用Selinux
3.搭建yum网络源
[root@oracle10g ~]# cd /etc/yum.repos.d/
[root@oracle10g yum.repos.d]# wget http://public-yum.oracle.com/public-yum-el5.repo
[root@oracle10g yum.repos.d]# vim public-yum-el5.repo
[ol5_u8_base]
name=Oracle Linux $releasever Update 8 installation media copy ($basearch)
baseurl=http://yum.oracle.com/repo/OracleLinux/OL5/8/base/$basearch/
gpgkey=file:///etc/pki/rpm-gpg/RPM-GPG-KEY-oracle
gpgcheck=1
enabled=1 --开启
[root@oracle10g yum.repos.d]# yum repolist
4.安装系统依赖包
[root@oracle10g ~]# yum install binutils compat-* gcc-* glibc-* libXp libXt libXtst libaio* libgcc libstdc++-* libgomp make numactl-devel sysstat elfutils-libelf-devel unixODBC-* -y
5.修改内核参数
[root@oracle10g ~]# vim /etc/sysctl.conf
kernel.shmall = 2097152
kernel.shmmax = 2147483648
kernel.shmmni = 4096
kernel.sem = 250 32000 100 128
fs.file-max = 65536
net.ipv4.ip_local_port_range = 1024 65000
net.core.rmem_default = 262144
net.core.rmem_max = 262144
net.core.wmem_default = 262144
net.core.wmem_max = 262144
[root@oracle10g ~]# sysctl -p --添加的参数生效
6.用户对系统的限制
[root@oracle10g ~]# vim /etc/security/limits.conf
oracle soft nproc 2047oracle hard nproc 16384oracle soft nofile 1024oracle hard nofile 65536[root@oracle10g ~]#
7.用户对shell的限制
[root@oracle10g ~]# vim /etc/profile
if [ $USER = "oracle" ]; then
if [ $SHELL = "/bin/ksh" ]; then
ulimit -p 16384
ulimit -n 65536
else
ulimit -u 16384 -n 65536
fi
fi
[root@oracle10g ~]# . /etc/profile
8.用户登陆验证模块
[root@oracle10g ~]# vim /etc/pam.d/login
session required /lib/security/pam_limits.so
session required pam_limits.so
[root@oracle10g ~]#
9.主机各与IP地址解析,修改系统版本
[root@oracle10g ~]# vim /etc/hosts
192.168.2.143 oracle1
[root@oracle10g ~]# vim /etc/redhat-release
Red Hat Enterprise Linux Server release 4 (Tikanga)
[root@oracle10g ~]# vim /etc/oracle-release
Oracle Linux Server release 4
[root@oracle10g ~]#
10.创建用户和用户组
[root@oracle10g ~]# groupadd -g 500 oinstall
[root@oracle10g ~]# groupadd -g 501 dba
[root@oracle10g ~]# useradd -u 500 -g oinstall -G dba -d /home/oracle oracle
[root@oracle10g ~]# echo 500 > /proc/sys/vm/hugetlb_shm_group --将oracle用户的UID写入文件
[root@oracle10g ~]# chown -R oracle:oinstall /home/oracle
[root@oracle10g ~]# password oracle --设置密码
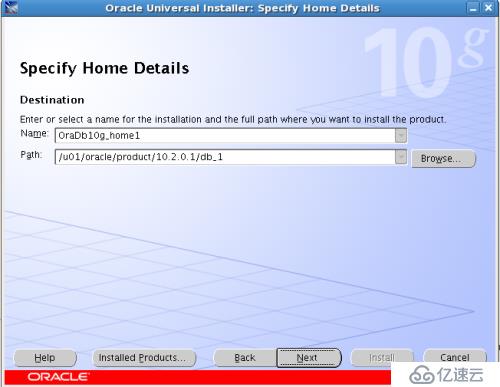
11.创建目录和设置环境变量
[root@oracle10g ~]# mkdir /u01/oracle/product/10.2.0.1/db_1 -p
[root@oracle10g ~]# chown -R oracle:oinstall /u01/
[root@oracle10g ~]# vim /home/oracle/.bash_profile
export ORACLE_BASE=/u01/oracle
export ORACLE_HOME=$ORACLE_BASE/product/10.2.0.1/db_1
export ORACLE_SID=orcl10g
export PATH=$ORACLE_HOME/bin:$PATH
[root@oracle10g ~]# . /home/oracle/.bash_profile
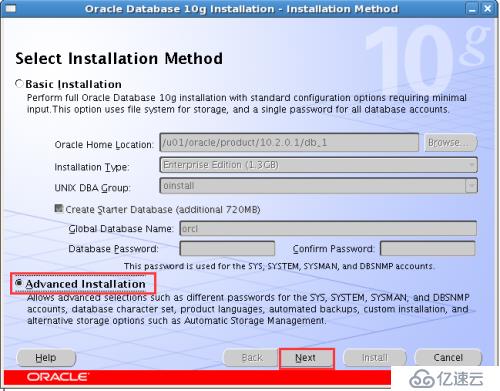
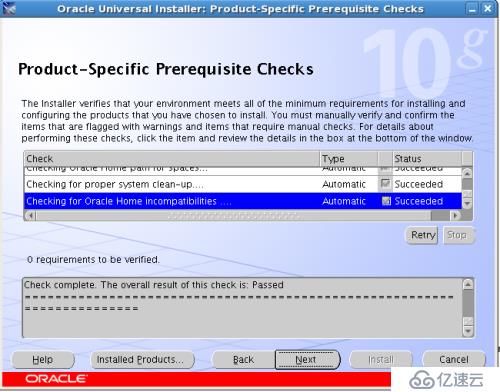
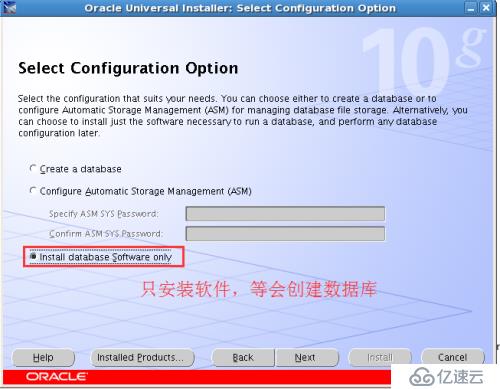
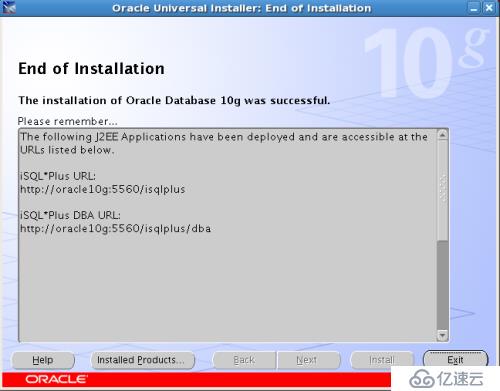
12.解压oracle 10g软件并安装
[root@oracle10g ~]# xhost +
access control disabled, clients can connect from any host
[root@oracle10g ~]# su - oracle
[oracle@oracle10g ~]$ zcat 10201_database_linux_x86_64.cpio.gz | cpio -idvm
[oracle@oracle10g ~]$ cd database/
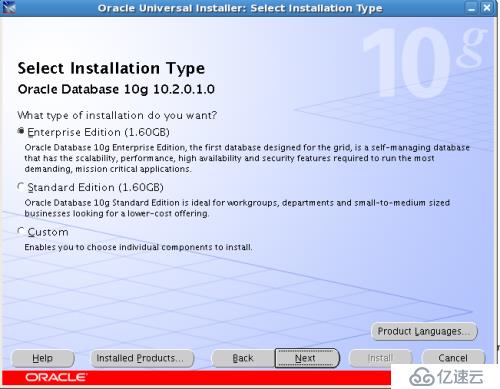
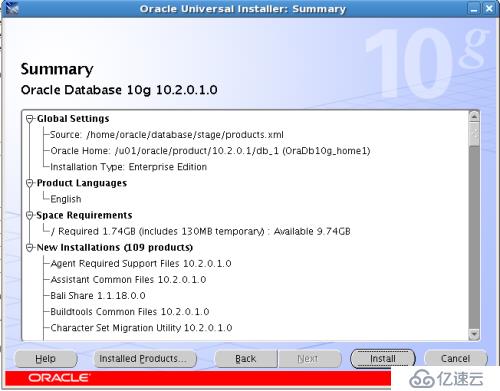
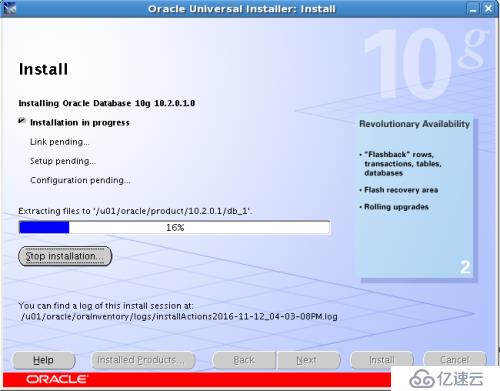
[oracle@oracle10g database]$ ./runInstaller
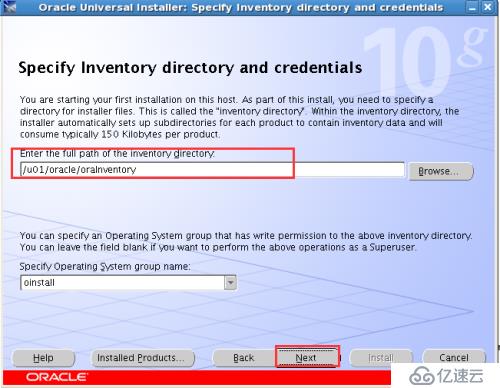
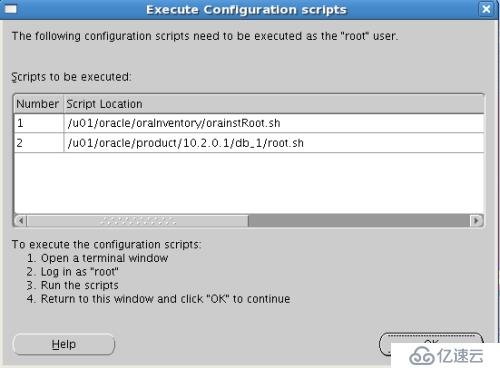
[root@oracle10g ~]# sh /u01/oracle/oraInventory/orainstRoot.sh
Changing permissions of /u01/oracle/oraInventory to 770.
Changing groupname of /u01/oracle/oraInventory to oinstall.
The execution of the script is complete
[root@oracle10g ~]# sh /u01/oracle/product/10.2.0.1/db_1/root.sh
Running Oracle10 root.sh script...
The following environment variables are set as:
ORACLE_OWNER= oracle
ORACLE_HOME= /u01/oracle/product/10.2.0.1/db_1
Enter the full pathname of the local bin directory: [/usr/local/bin]:
Copying dbhome to /usr/local/bin ...
Copying oraenv to /usr/local/bin ...
Copying coraenv to /usr/local/bin ...
Creating /etc/oratab file...
Entries will be added to the /etc/oratab file as needed by
Database Configuration Assistant when a database is created
Finished running generic part of root.sh script.
Now product-specific root actions will be performed.
[root@oracle10g ~]#
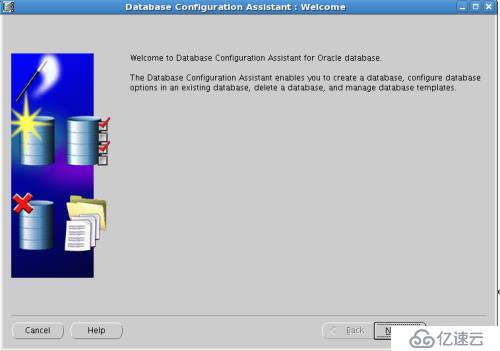
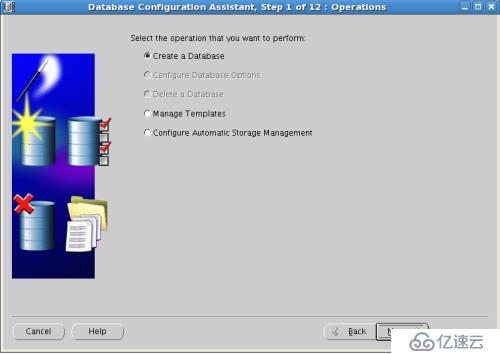
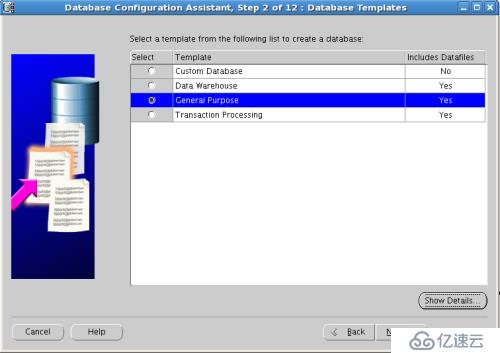
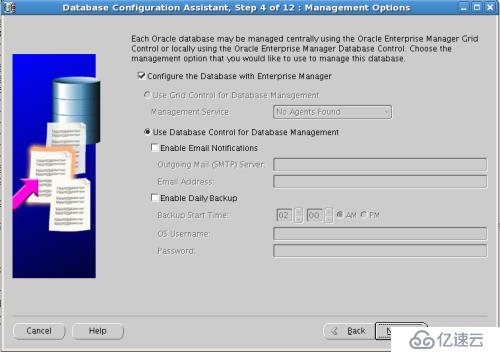
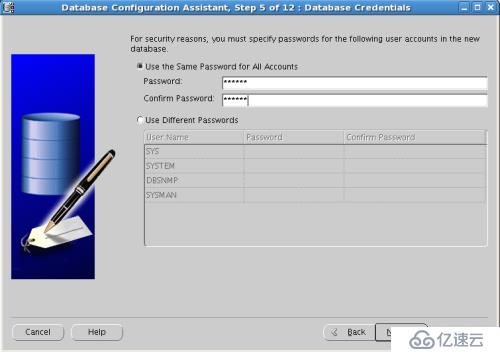
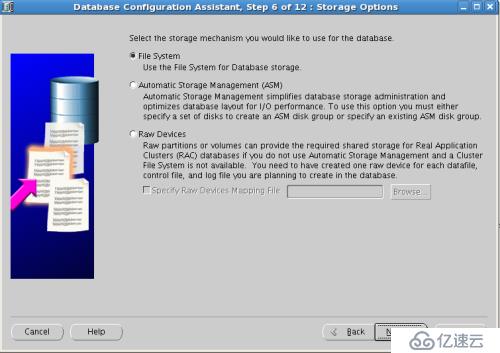
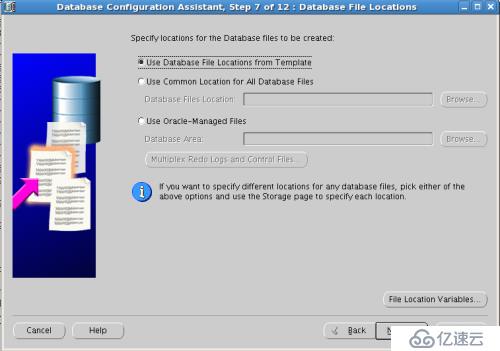
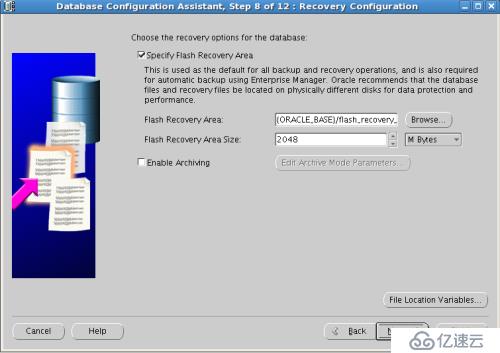
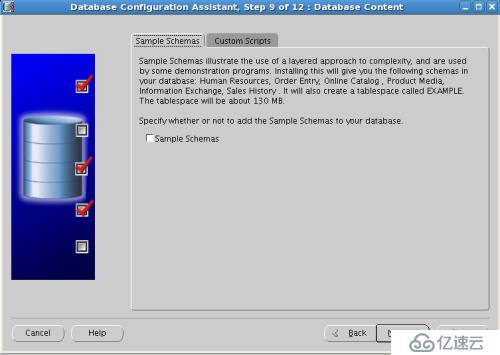
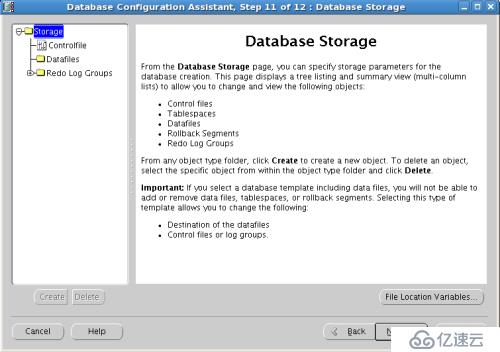
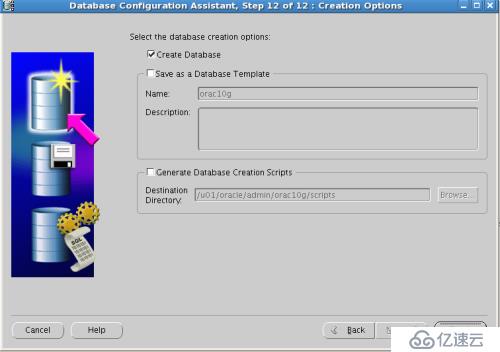
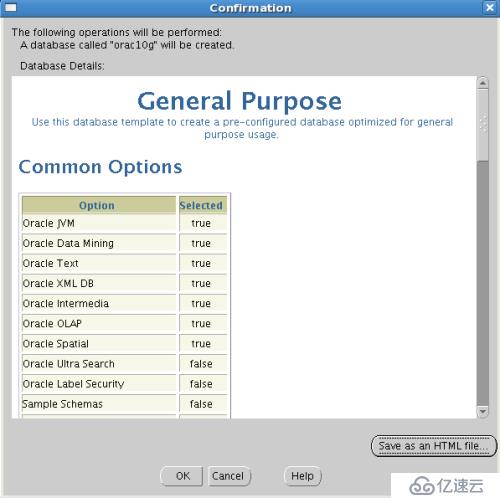
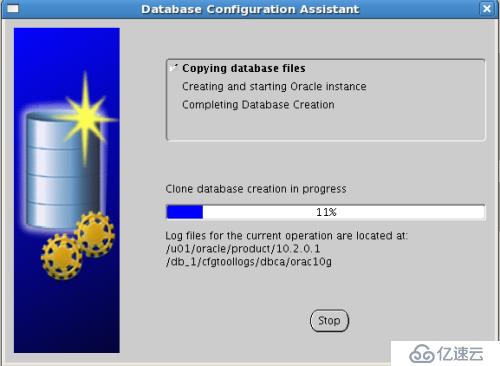
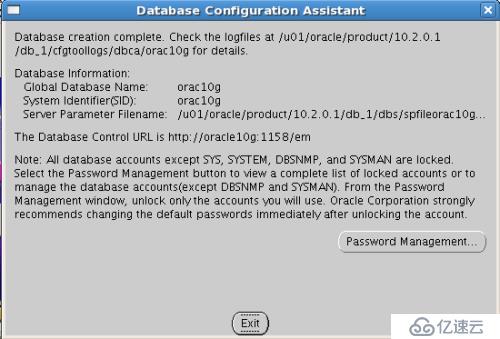
13.创建数据库
[oracle@oracle10g database]$ dbca


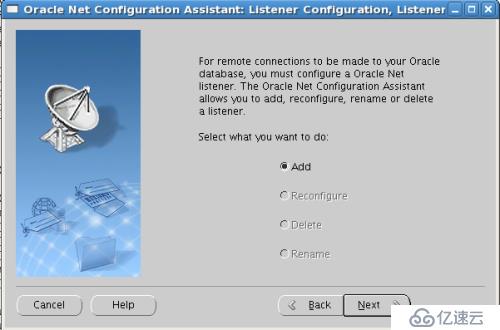
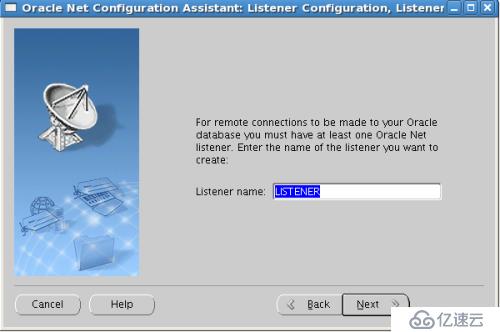
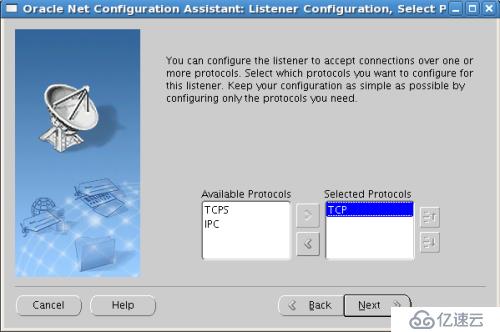
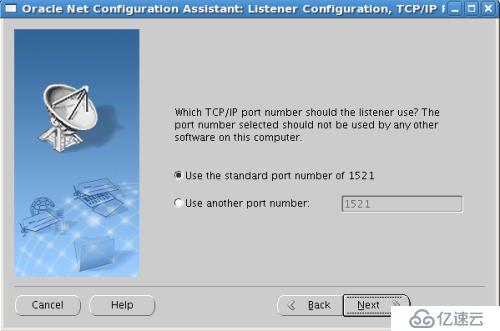
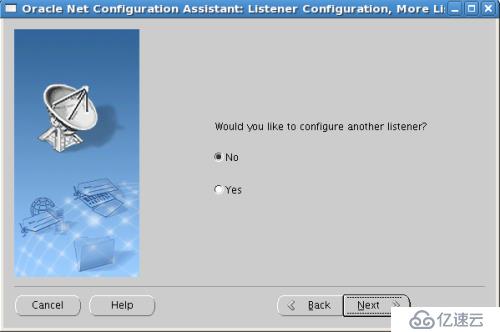
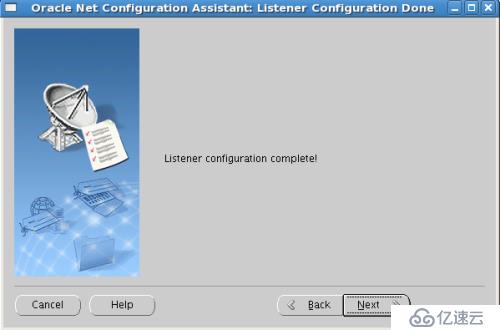
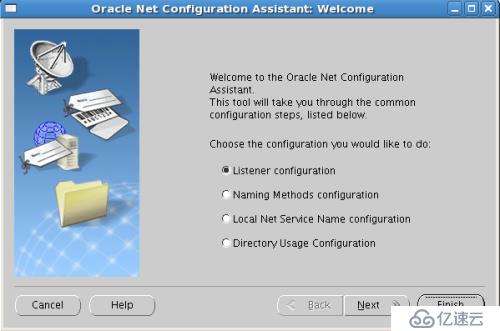
14.创建监听
[oracle@oracle10g database]$ netca

[oracle@oracle10g database]$ lsnrctl
LSNRCTL for Linux: Version 10.2.0.1.0 - Production on 12-NOV-2016 16:56:10
Copyright (c) 1991, 2005, Oracle. All rights reserved.
Welcome to LSNRCTL, type "help" for information.
LSNRCTL> status
Connecting to (DESCRIPTION=(ADDRESS=(PROTOCOL=TCP)(HOST=oracle10g)(PORT=1521)))
STATUS of the LISTENER
------------------------
Alias LISTENER
Version TNSLSNR for Linux: Version 10.2.0.1.0 - Production
Start Date 12-NOV-2016 16:52:01
Uptime 0 days 0 hr. 4 min. 11 sec
Trace Level off
Security ON: Local OS Authentication
SNMP OFF
Listener Parameter File /u01/oracle/product/10.2.0.1/db_1/network/admin/listener.ora
Listener Log File /u01/oracle/product/10.2.0.1/db_1/network/log/listener.log
Listening Endpoints Summary...
(DESCRIPTION=(ADDRESS=(PROTOCOL=tcp)(HOST=oracle10g)(PORT=1521)))
(DESCRIPTION=(ADDRESS=(PROTOCOL=ipc)(KEY=EXTPROC0)))
Services Summary...
Service "PLSExtProc" has 1 instance(s).
Instance "PLSExtProc", status UNKNOWN, has 1 handler(s) for this service...
Service "orac10g" has 1 instance(s).
Instance "orac10g", status READY, has 1 handler(s) for this service...
Service "orac10gXDB" has 1 instance(s).
Instance "orac10g", status READY, has 1 handler(s) for this service...
Service "orac10g_XPT" has 1 instance(s).
Instance "orac10g", status READY, has 1 handler(s) for this service...
The command completed successfully
LSNRCTL>
14.登陆oracle数据库
[oracle@oracle10g database]$ sqlplus system/system@orac10g
SQL*Plus: Release 10.2.0.1.0 - Production on Sat Nov 12 16:56:48 2016
Copyright (c) 1982, 2005, Oracle. All rights reserved.
Connected to:
Oracle Database 10g Enterprise Edition Release 10.2.0.1.0 - 64bit Production
With the Partitioning, OLAP and Data Mining options
SQL> select * from dual;
D
-
X
SQL> create table t (a number);
Table created.
SQL> insert into t values(1);
1 row created.
SQL> select * from t;
A
----------
1
SQL>
免责声明:本站发布的内容(图片、视频和文字)以原创、转载和分享为主,文章观点不代表本网站立场,如果涉及侵权请联系站长邮箱:is@yisu.com进行举报,并提供相关证据,一经查实,将立刻删除涉嫌侵权内容。


