首先安装php,需要php版本大于等于5.6
CentOS 6.5的epel及remi源。
# rpm -Uvh http://ftp.iij.ad.jp/pub/linux/fedora/epel/6/x86_64/epel-release-6-8.noarch.rpm
# rpm -Uvh http://rpms.famillecollet.com/enterprise/remi-release-6.rpm
以下是CentOS 7.0的源。
# yum install epel-release
# rpm -ivh http://rpms.famillecollet.com/enterprise/remi-release-7.rpm
使用yum list命令查看可安装的包(Packege)。
# yum list --enablerepo=remi --enablerepo=remi-php56 | grep php
安装PHP5.6
yum源配置好了,下一步就安装PHP5.6。
# yum install --enablerepo=remi --enablerepo=remi-php56 php php-opcache php-devel php-mbstring php-mcrypt php-mysqlnd php-phpunit-PHPUnit php-pecl-xdebug php-pecl-xhprof
用PHP命令查看版本。
[root@Xxxxxx 15:13:48 ~]# php -v
# /etc/init.d/php-fpm restart
Stopping php-fpm:                                          [  OK  ]
Starting php-fpm:                                          [  OK  ]
安装nginx:
yum install nginx
修改nginx的配置文件
# cat /etc/nginx/conf.d/admin.conf
server
{
    listen 80;
    server_name _;
    index  index.html index.php;
    root /data;
    location ~ .*\.php$ {
        include fastcgi_params;
        fastcgi_pass 127.0.0.1:9000;
        fastcgi_index index.php;
        fastcgi_param SCRIPT_FILENAME $document_root$fastcgi_script_name;
}
}
注释:$document_root 这个nginx变量取的是root的值。
安装Mysql服务:
这块已经封装好的直接rpm安装好后,启动Mysql服务,登录Mysql授权:
mysql> grant all privileges on *.* to 'root'@'%' identified by 'password';
Query OK, 0 rows affected (0.01 sec)
mysql> flush privileges;
Query OK, 0 rows affected (0.00 sec)
下载PhpMyAdmin 软件配置PhpMyAdmin配置文件.
首先将已经下载的
phpMyAdmin-4.7.0-all-languages.tar.gz
解压phpMyAdmin压缩包重新命名.
tar zxf phpMyAdmin-4.7.0-all-languages.tar.gz
mv phpMyAdmin-4.7.0-all-languages phpMyAdmin
注释:将phpMyAdmin移动到nginx root目录下.
修改PhpMysqlAdmin的配置文件:
vim /data/phpMyAdmin/libraries/config.default.php
#修改为自己浏览器登录访问的url.
$cfg['PmaAbsoluteUri'] = 'http://172.16.2.24/phpMyAdmin/';
#cookie的加密密码,防止模拟cookie破解,自己定义.
$cfg['blowfish_secret'] = '1qaz@WSX';
#Mysql server的ip
$cfg['Servers'][$i]['host'] = '172.16.2.24';
#Mysql的端口.
$cfg['Servers'][$i]['port'] = '3306';
#基于cookie认证的方式,默认为cookie.
$cfg['Servers'][$i]['auth_type'] = 'cookie';
#用户随便给,登录phpMyAdmin 用Mysql授权的账户和密码就能登录
$cfg['Servers'][$i]['user'] = 'root';
#密码随便给,登录phpMyAdmin 用Mysql授权的账户和密码就能登录
$cfg['Servers'][$i]['password'] = '123456';
#允许root登录,默认开启.
$cfg['Servers'][$i]['AllowRoot'] = true;
#关闭无密码登录,默认为关闭.
$cfg['Servers'][$i]['AllowNoPassword'] = false;
#修改PhpMysqlAdmin登录默认的语言.
$cfg['DefaultLang'] = 'zh';
重启php程序:
# /etc/init.d/php-fpm restart
Stopping php-fpm:                                          [  OK  ]
Starting php-fpm:                                          [  OK  ]
访问浏览器:http://172.16.2.24/phpMyAdmin/
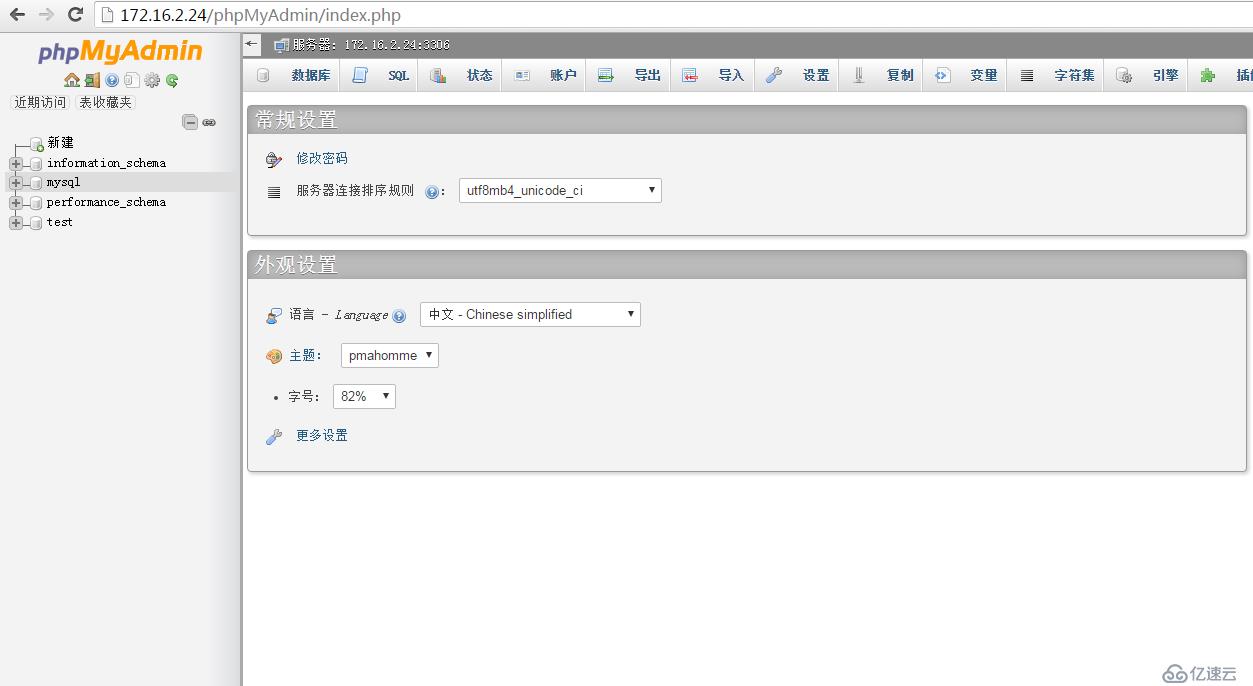
用户/密码:Mysql 授权的用户和密码
网上很多资料说需要cp一份config.sample.inc.php 为config.inc.php,修改里面一些参数,根本不需要。
免责声明:本站发布的内容(图片、视频和文字)以原创、转载和分享为主,文章观点不代表本网站立场,如果涉及侵权请联系站长邮箱:is@yisu.com进行举报,并提供相关证据,一经查实,将立刻删除涉嫌侵权内容。


