这篇文章将为大家详细讲解有关javascript中canvas如何实现雨滴效果,小编觉得挺实用的,因此分享给大家做个参考,希望大家阅读完这篇文章后可以有所收获。
本文实例为大家分享了javascript canvas实现雨滴效果的具体代码,供大家参考,具体内容如下
先看效果
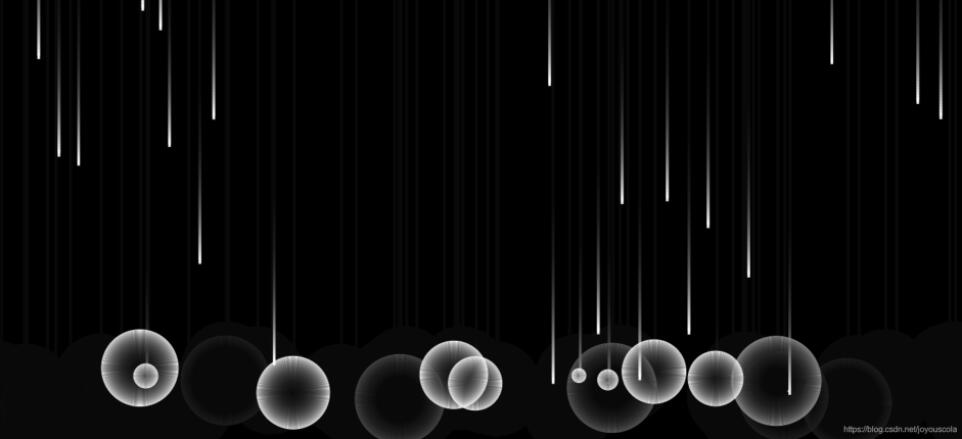
看起来很炫酷,其实就是实现了雨滴的掉落还有最后的圆
还是看源码
<!DOCTYPE html>
<html lang="en">

<head>
    <meta charset="UTF-8">
    <meta name="viewport" content="width=device-width, initial-scale=1.0">
    <title>Document</title>
    <style>
        * {
            margin: 0;
            padding: 0;
        }

        body {
            background-color: #000;
        }
    </style>
</head>

<body>
    <canvas></canvas>
    <script>
        // 获取画布
        var canvas = document.querySelector('canvas')
        // 获取画笔
        var ctx = canvas.getContext('2d')
        // 不能用css改变画布大小
        var ch = canvas.height = window.innerHeight
        var cw = canvas.width = window.innerWidth
        // 放雨滴
        var arrRain = []
        // 监听屏幕大小,屏幕发生变化让画布也跟着改变大小
        window.onresize = function () {
            ch = canvas.height = window.innerHeight
            cw = canvas.width = window.innerWidth
        }
        // 获取一个随机数,目的是为了生成随机雨滴
        function randow(min, max) {
            return Math.random() * (max - min) + min
        }
        // 构造函数
        function Rain() {

        }
        // 为rain添加属性和方法
        Rain.prototype = {
            // 初始化位置和雨滴下落的圆的半径
            init: function () {
                this.x = randow(0, cw)
                this.y = 0
                // 雨滴最终落地的距离不能超出屏幕
                this.h = randow(0.8 * ch, 0.9 * ch)
                this.r = 1 // 开始圆的半径
                this.vr = 1 // 半径增长的速度
                this.vy = randow(4, 5)

            },
            // 画方法
            draw: function () {
                // 小于h的时候,画雨滴,画矩形
                if (this.y < this.h) {
                    ctx.beginPath()
                    ctx.fillStyle = 'white'
                    ctx.fillRect(this.x, this.y, 4, 10)
                } else {
                    // 画圆
                    ctx.beginPath()
                    ctx.strokeStyle = 'white'
                    ctx.arc(this.x, this.y, this.r, 0, 2 * Math.PI)
                    ctx.stroke()
                }
            },
            // 雨滴移动
            move: function () {
                // 小于h时,加y实现雨滴移动
                if (this.y < this.h) {
                    this.y += this.vy
                } else {
                    // 实现水花四溅的效果
                    if (this.r < 70) {
                        this.r += this.vr
                    } else {
                        // 结束效果之后初始化,又从天上生成雨滴,所以要调用init函数
                        this.init()
                    }
                }
                this.draw()
            }
        }
        // 生成雨滴
        function createRain(num) {
            for (var i = 0; i < num; i++) {
                // 随机生成雨滴,不是同时生成
                setTimeout(function () {
                    var rain = new Rain()
                    rain.init()
                    rain.draw()
                    arrRain.push(rain)
                }, 300 * i)
            }
        }
        createRain(60)
        setInterval(function () {
            ctx.beginPath()
            ctx.fillStyle = 'rgba(0,0,0,0.05)'
            ctx.fillRect(0, 0, cw, ch)
            for (var k of arrRain) {
                k.move()
            }
        }, 1000 / 80)
    </script>
</body>

</html>
关于“javascript中canvas如何实现雨滴效果”这篇文章就分享到这里了,希望以上内容可以对大家有一定的帮助,使各位可以学到更多知识,如果觉得文章不错,请把它分享出去让更多的人看到。
免责声明:本站发布的内容(图片、视频和文字)以原创、转载和分享为主,文章观点不代表本网站立场,如果涉及侵权请联系站长邮箱:is@yisu.com进行举报,并提供相关证据,一经查实,将立刻删除涉嫌侵权内容。


