WordPress是一款使用PHP语言开发的博客平台,官网https://cn.wordpress.org/
Matomo的前身是Piwik,一套基于PHP + MySQL技术构建的开源网站访问统计系统,Matomo可以提供统计网页浏览人数、访问最多的页面、搜索引擎关键词等流量分析功能,它还采用了插件扩展及开放API架构,可以让用户根据自已的实际需求创建更多的功能,软件包下载和部署文档地址https://matomo.org/docs/installation/
一、安装配置Nginx:
1、安装epel源:# rpm -ivh https://mirrors.tuna.tsinghua.edu.cn/epel/epel-release-latest-7.noarch.rpm
2、安装Nginx:# yum -y install nginx
3、启动Nginx:
# systemctl start nginx
# systemctl status nginx
# ss -tunlp | grep -w :80
# systemctl enable nginx
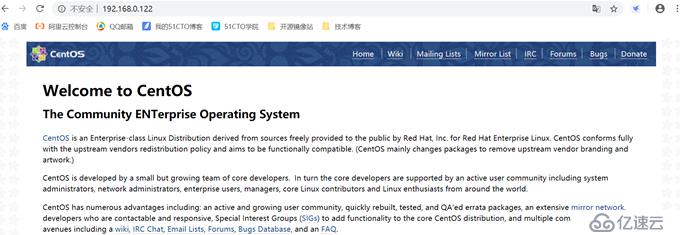
4、浏览器访问:http://192.168.0.122
二、安装配置MariaDB:
CentOS 7.7默认yum源中的MariaDB版本为5.5.64,此处安装MariaDB 10.4版本
1、查看系统中是否已经存在MariaDB,有则删除:
# rpm -qa | grep -i mariadb --> mariadb-libs-5.5.64-1.el7.x86_64
# yum -y remove mariadb-libs
2、配置MariaDB的yum源:
# vim /etc/yum.repos.d/MariaDB.repo
[mariadb]
name=MariaDB Repo
baseurl=http://mirrors.ustc.edu.cn/mariadb/yum/10.4/centos7-amd64/
gpgkey=http://mirrors.ustc.edu.cn/mariadb/yum/RPM-GPG-KEY-MariaDB
enabled=1
gpgcheck=1
3、安装MariaDB:# yum -y install MariaDB-server
4、修改配置文件server.cnf:
# cd /etc/my.cnf.d
# mv server.cnf server.cnf.bak
# vim server.cnf
[mysqld]
port=3306
socket=/var/lib/mysql/mysql.sock
datadir=/var/lib/mysql
log-error=/var/log/mariadb.log
lower_case_table_names=1
character-set-server=utf8mb4
collation-server=utf8mb4_general_ci
symbolic-links=0
innodb_file_per_table=1
skip_name_resolve=1
slow_query_log=1
slow_query_log_file=mysql-slow.log
server_id=1
sync_binlog=1
innodb_flush_log_at_trx_commit=1
log_bin=mysql-bin
log_bin_index=mysql-bin.index
binlog_format=row
备注:默认主配置文件不是/etc/my.cnf,而是/etc/my.cnf.d/server.cnf
5、创建错误日志文件:
# touch /var/log/mariadb.log
# chown mysql.mysql /var/log/mariadb.log
6、启动MariaDB:
# systemctl start mariadb.service
# systemctl status mariadb.service
# ss -tunlp | grep -w :3306
# tail -100 /var/log/mariadb.log
# tail -100 /var/log/messages
# systemctl enable mariadb.service
7、MariaDB安全配置向导:# mysql_secure_installation
8、授权用户远程登录:
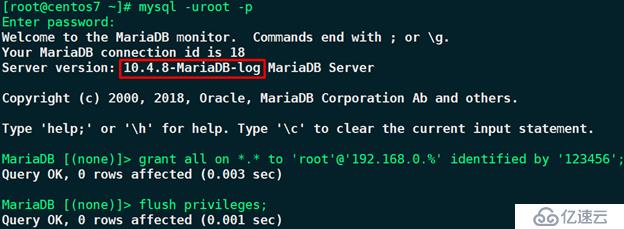
# mysql -uroot -p
MariaDB [(none)]> grant all on *.* to 'root'@'192.168.0.%' identified by '123456';
MariaDB [(none)]> flush privileges;
9、创建wordpress和matomo数据库:
MariaDB [(none)]> create database wordpress;
MariaDB [(none)]> create database matomo;
10、创建新用户,并对其赋予数据库权限:
MariaDB [(none)]> create user 'wpuser'@'192.168.0.%' identified by '123456';
MariaDB [(none)]> grant all on wordpress.* to 'wpuser'@'192.168.0.%';
MariaDB [(none)]> create user 'mtuser'@'192.168.0.%' identified by '123456';
MariaDB [(none)]> grant all on matomo.* to 'mtuser'@'192.168.0.%';
MariaDB [(none)]> flush privileges;
三、安装配置PHP:
1、安装PHP:
# rpm -ivh https://mirror.webtatic.com/yum/el7/webtatic-release.rpm
# yum -y install mod_php72w php72w-cli php72w-common php72w-devel php72w-fpm php72w-gd php72w-ldap php72w-mbstring php72w-mysqlnd php72w-opcache php72w-xml
# php -version

2、修改www.conf配置文件:
# vim /etc/php-fpm.d/www.conf
user = apache --> user = nginx
group = apache --> group = nginx
3、启动php-fpm:
# systemctl start php-fpm.service
# systemctl status php-fpm.service
# ss -tunlp | grep 9000
# systemctl enable php-fpm.service
四、Nginx整合PHP:
1、修改nginx.conf配置文件:
# vim /etc/nginx/nginx.conf
location / {
root html;
index index.php index.html index.htm;
}
location ~ \.php$ {
fastcgi_pass 127.0.0.1:9000;
fastcgi_index index.php;
fastcgi_param SCRIPT_FILENAME $document_root$fastcgi_script_name;
include fastcgi_params;
}
# nginx -t
# nginx -s reload
2、创建测试页:
# vim /usr/share/nginx/html/index.php
<?php
$conn=mysqli_connect("192.168.0.122","root","123456");
if ($conn)
echo "mysqli_connect success";
else
echo "mysqli_connect failure";
mysqli_close();
phpinfo();
?>
备注:如果在新版本PHP中使用旧版本PHP的mysql_connect()函数连接MySQL,会提示“undefined function mysql_connect()”。从PHP 5.5版本开始,MySQL就不推荐使用mysql_connect()函数,属于废弃函数,PHP 7中已经彻底不支持,增加了mysqli_connect()函数。从某种意义上说,mysqli是mysql系统函数的增强版,更稳定、更高效、更安全,属于面向对象,用对象的方式操作驱动MySQL数据库。
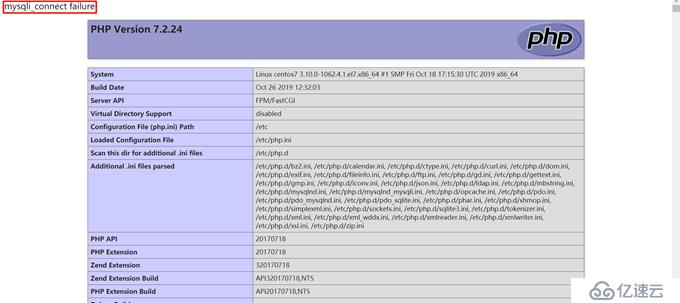
3、浏览器访问http://192.168.0.122

停止MariaDB:# systemctl stop mariadb.service
刷新页面:
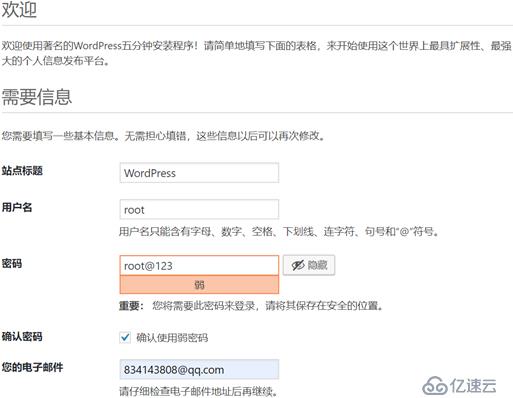
五、安装配置WordPress:
1、解压WordPress:# tar -xf wordpress-5.2.4-zh_CN.tar.gz -C /usr/share/nginx/html/
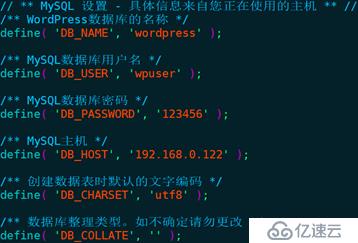
2、修改wp-config.php配置文件:
# cd /usr/share/nginx/html/wordpress
# cp wp-config-sample.php wp-config.php
# vim wp-config.php
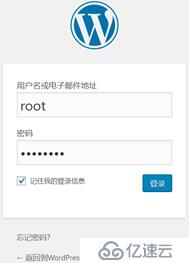
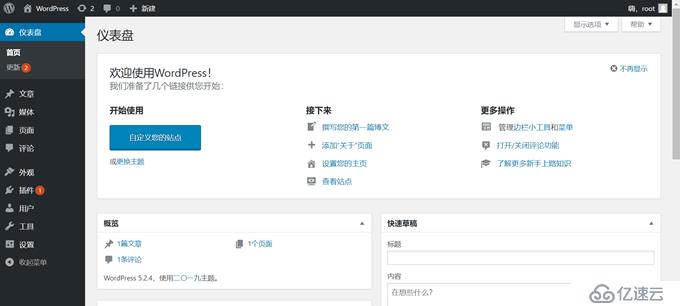
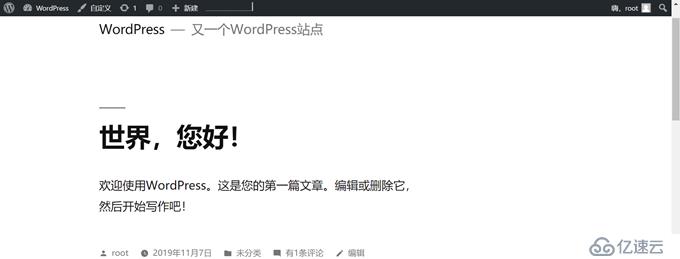
3、浏览器访问http://192.168.0.122/wordpress

六、安装配置Matomo:
1、解压Matomo:
# yum -y install unzip
# unzip -q matomo.zip
# mv matomo /usr/share/nginx/html/
# chown -R nginx.nginx /usr/share/nginx/html
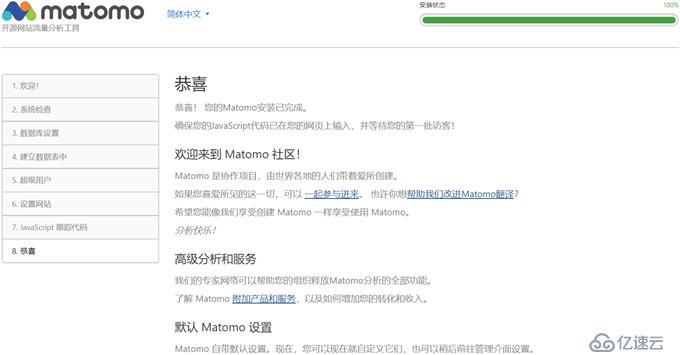
2、浏览器访问http://192.168.0.122/matomo
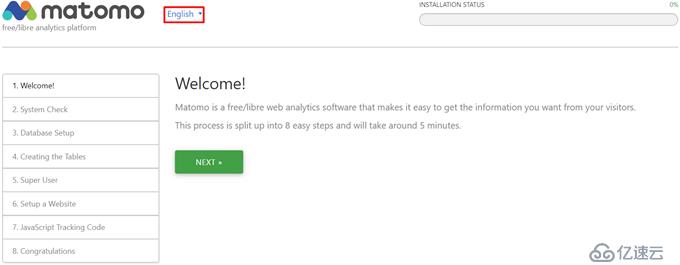

除了“强制SSL连接”,其它都要通过检查:


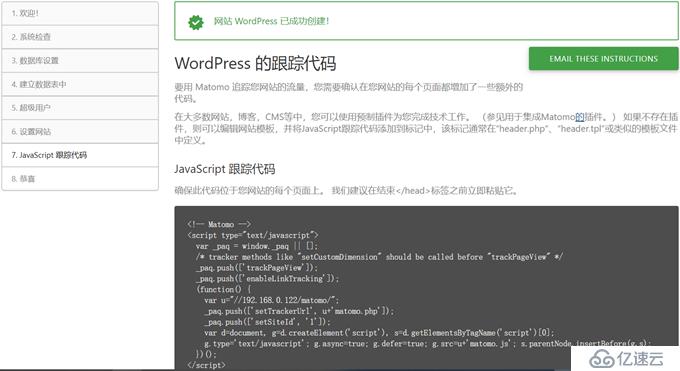
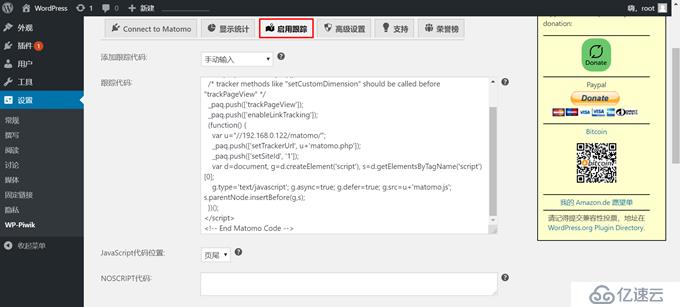
<!-- Matomo -->
<script type="text/javascript">
var _paq = window._paq || [];
/* tracker methods like "setCustomDimension" should be called before "trackPageView" */
_paq.push(['trackPageView']);
_paq.push(['enableLinkTracking']);
(function() {
var u="//192.168.0.122/matomo/";
_paq.push(['setTrackerUrl', u+'matomo.php']);
_paq.push(['setSiteId', '1']);
var d=document, g=d.createElement('script'), s=d.getElementsByTagName('script')[0];
g.type='text/javascript'; g.async=true; g.defer=true; g.src=u+'matomo.js'; s.parentNode.insertBefore(g,s);
})();
</script>
<!-- End Matomo Code -->
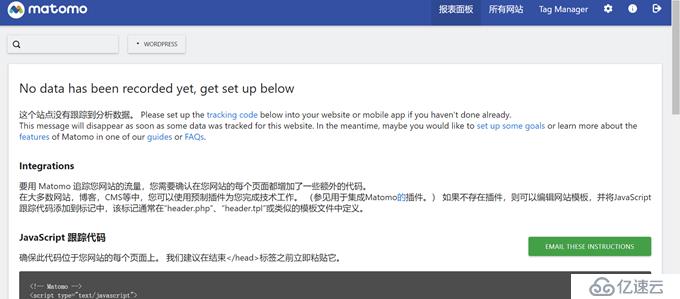
没有任何数据:
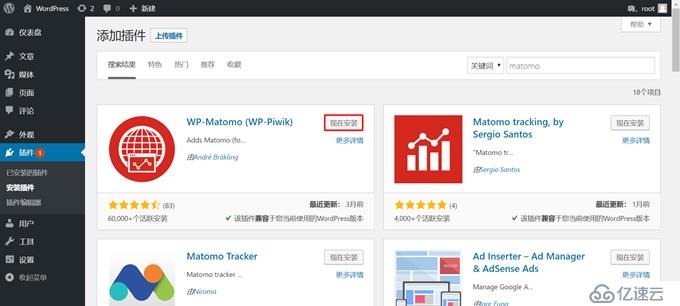
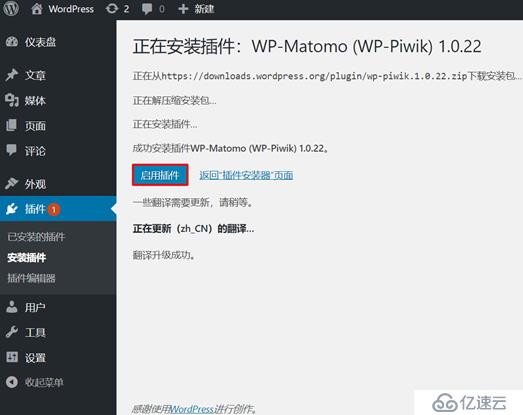
七、WordPress安装配置Matomo插件:
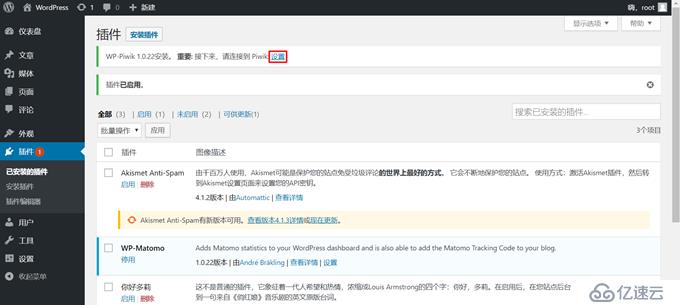
1、安装启用插件:
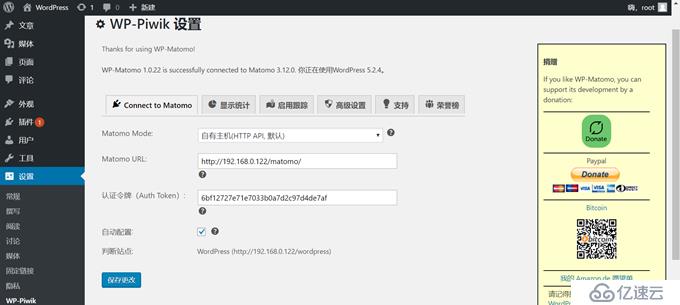
2、配置插件:
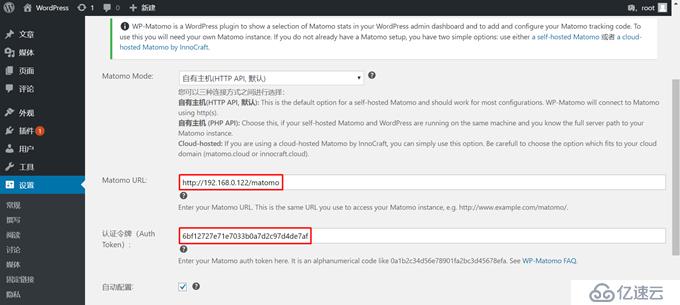
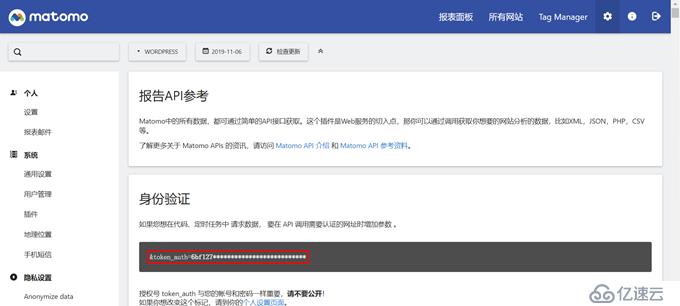
上述认证令牌(Auth Token)的值来源于:Matomo网站 --> 右上角管理 --> 左侧API

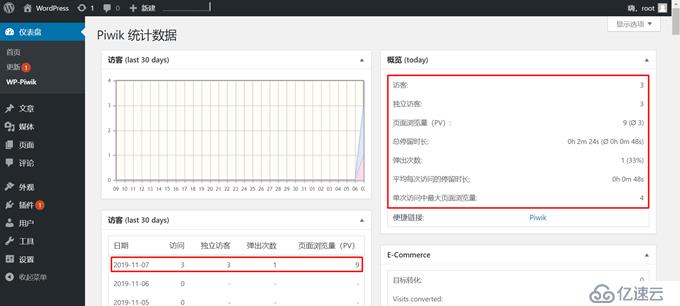
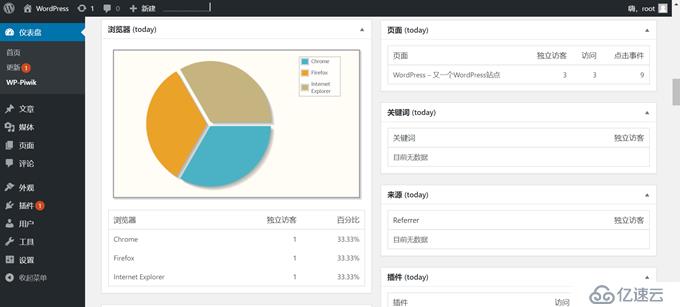
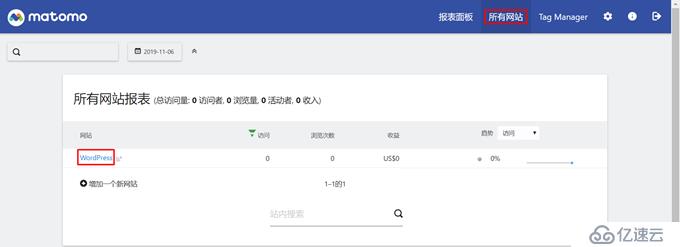
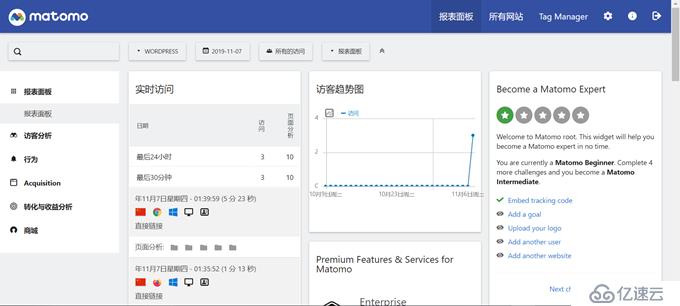
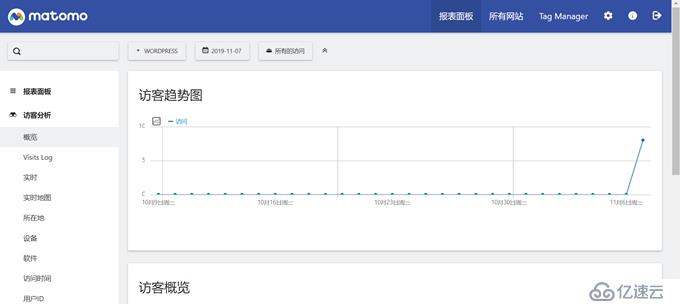
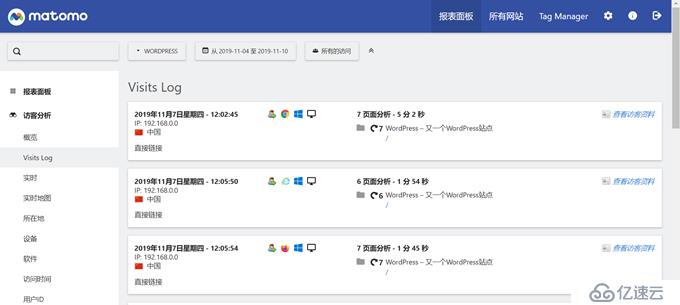
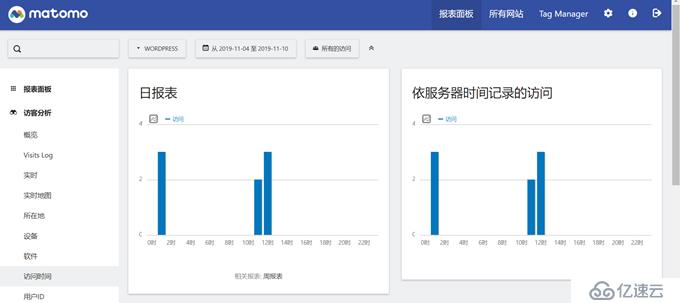
3、查看统计数据:
同时多开几个浏览器访问http://192.168.0.122/wordpress/,并刷新


免责声明:本站发布的内容(图片、视频和文字)以原创、转载和分享为主,文章观点不代表本网站立场,如果涉及侵权请联系站长邮箱:is@yisu.com进行举报,并提供相关证据,一经查实,将立刻删除涉嫌侵权内容。


