最近搭建了两次nagios,第一次工作忙碌没有记录下过程;这次抽了时间简单的记录了搭建过程。
系统版本:centos 6.3 64位
软件版本:nagios-3.4.3.tar.gz
nagios-plugins-1.4.16.tar.gz
nrpe.tar.gz
httpd-2.2.23.tar.gz
php-5.4.10.tar.gz
这次尝试了利用yum安装的http,php;可惜到最后没有成功,鉴于老大那里急着要只有编译安装了httpd和php(nagios3.0版本需要php的支持)。
开始:
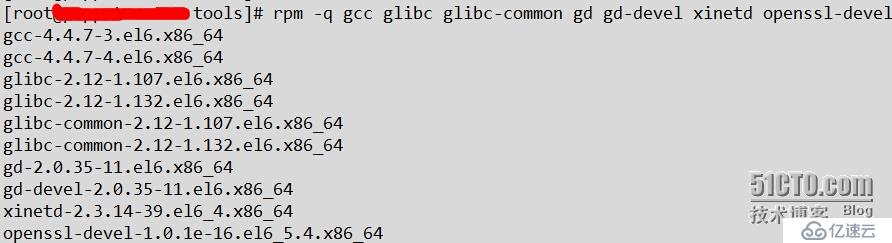
1:检查依赖安装
rpm -q gcc glibc glibc-common gd gd-devel xinetd openssl-devel
如果没有安装请执行:
yum -y install gcc glibc glibc-common gd gd-devel xinetd openssl-devel
 2:安装httpd和php
HHTPD:
cd /opt
tar zxvf  httpd-2.2.23.tar.gz
cd httpd-2.2.23
./configure --prefix=/usr/local/services/apache2
make
make install

PHP:
cd ../
tar  zxvf php-5.4.10.tar.gz
cd php-5.4.10
./configure --prefix=/usr/local/services/php --with-apxs2=/usr/local/services/apache2/bin/apxs
make
make install
3:安装 nagios-plugins和nrpe
cd /opt

创建nagios账号
groupadd  nagios
useradd   nagios  -s /sbin/nologin -g nagios
cat  /etc/passwd  | grep "nagios"

nrpe的启动脚本:
mv  nrpe    /etc/init.d/
chmod 755 /etc/init.d/nrpe

安装nagios-plugins
tar xf nagios-plugins-1.4.16.tar.gz
cd ./nagios-plugins
./configure --prefix=/usr/local/services/nagios --with-nagios-group=nagios --with-nagios-user=nagios
make && make install

安装nrpe
cd  /opt
tar xf nrpe.tar.gz
cd ./nrpe
./configure --prefix=/usr/local/services/nagios
 make all
 make install && make install-plugin && make install-daemon && make install-daemon-config
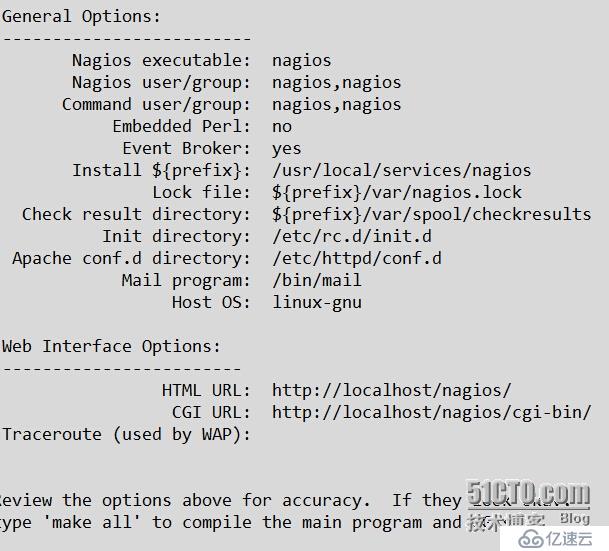
4:安装nagios
cd /opt/
tar zxvf nagios-3.4.3.tar.gz
cd nagios
./configure --prefix=/usr/local/services/nagios
make all
make install

make install-init

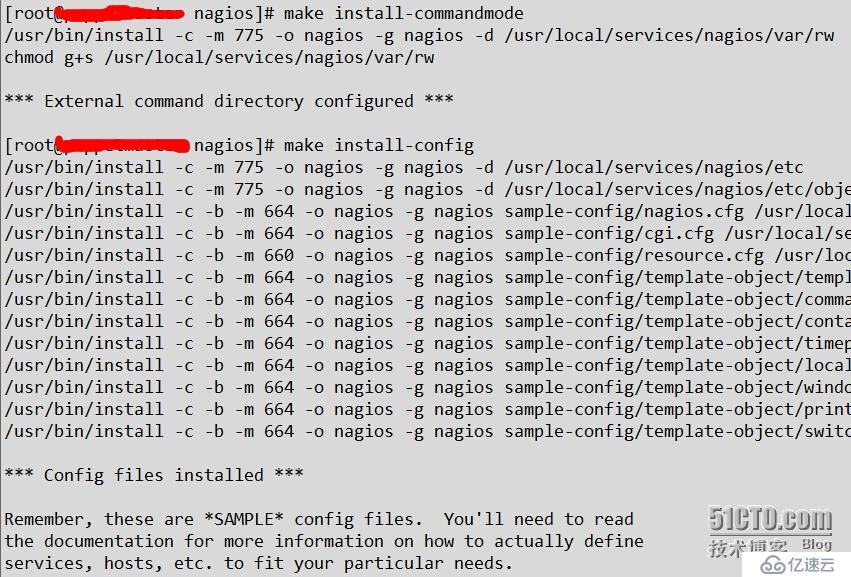
make install-commandmode
make install-config
chkconfig --add nagios
chkconfig --level 35 nagios on
chkconfig --list nagios
5:设置登陆web控制台账号密码
/usr/local/services/apache2/bin/htpasswd -c /usr/local/services/nagios/etc/htpasswd user
 5:配置httpd.conf
修改1:

Listen 80 (不是必须要修改)
User nagios
Group nagios

修改2:

ServerName  1.1.1.1:80 (端口不是必须要修改)

修改3:

<IfModule dir_module>
    DirectoryIndex index.html index.php
    AddType application/x-httpd-php .php
</IfModule>

在httpd.conf最后添加:

ScriptAlias /nagios/cgi-bin "/usr/local/services/nagios/sbin"
<Directory "/usr/local/services/nagios/sbin">
     AuthType Basic
     Options ExecCGI
     AllowOverride None
     Order allow,deny
     Allow from all
     AuthName "Nagios Access"
     AuthUserFile /usr/local/services/nagios/etc/htpasswd
     Require valid-user
</Directory>
Alias /nagios "/usr/local/services/nagios/share"
<Directory "/usr/local/services/nagios/share">
     AuthType Basic
     Options None
     AllowOverride None
     Order allow,deny
     Allow from all
     AuthName "nagios Access"
     AuthUserFile /usr/local/services/nagios/etc/htpasswd
     Require valid-user
</Directory>

启动httpd

/usr/local/services/apache2/bin/apachectl start
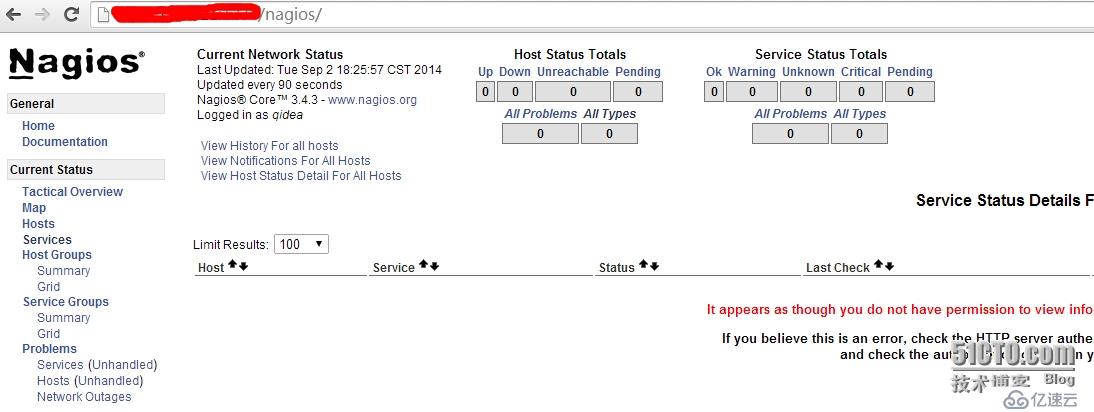
6:访问配置好的URL
所有软件都可以在我的百度云盘下载:
链接:http://pan.baidu.com/s/1ntogYIP 密码:m5dq
免责声明:本站发布的内容(图片、视频和文字)以原创、转载和分享为主,文章观点不代表本网站立场,如果涉及侵权请联系站长邮箱:is@yisu.com进行举报,并提供相关证据,一经查实,将立刻删除涉嫌侵权内容。


