这篇文章主要介绍Python如何通过Pygame绘制移动的矩形,文中介绍的非常详细,具有一定的参考价值,感兴趣的小伙伴们一定要看完!
Pygame是一个多用于游戏开发的模块。
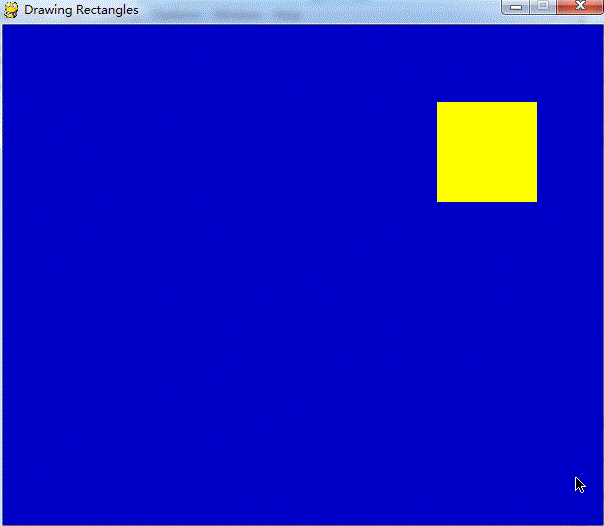
本文实例主要是在演示框里实现一个移动的矩形实例代码,完整代码如下:
#moving rectangle project

import pygame

from pygame.locals import *

pygame.init()

screen = pygame.display.set_mode((600,500))

pygame.display.set_caption("Drawing Rectangles")

pos_x = 300

pos_y = 250

vel_x = 2

vel_y = 1

while True:

  for event in pygame.event.get():

    if event.type in (QUIT,KEYDOWN):

      pygame.quit()

  screen.fill((0,0,200))


  # move the rectangle

  pos_x += vel_x

  pos_y += vel_y

  # keep rectangle on the screen

  if pos_x > 500 or pos_x < 0:

    vel_x = -vel_x

  if pos_y > 400 or pos_y < 0:

    vel_y = -vel_y

  # draw the rectangle

  color = 255,255,0

  width = 0 #solid fill

  pos = pos_x,pos_y,100,100

  pygame.draw.rect(screen,color,pos,width)

  pygame.display.update()
演示如下:
以上是“Python如何通过Pygame绘制移动的矩形”这篇文章的所有内容,感谢各位的阅读!希望分享的内容对大家有帮助,更多相关知识,欢迎关注亿速云行业资讯频道!
免责声明:本站发布的内容(图片、视频和文字)以原创、转载和分享为主,文章观点不代表本网站立场,如果涉及侵权请联系站长邮箱:is@yisu.com进行举报,并提供相关证据,一经查实,将立刻删除涉嫌侵权内容。


