yum install gem -y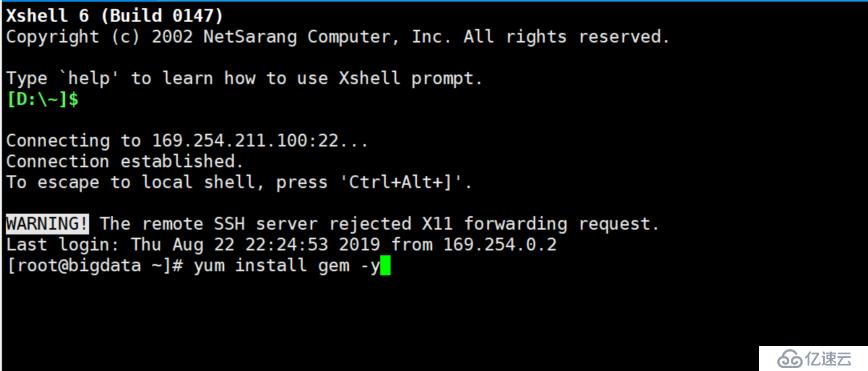
gem sources --add https://gems.ruby-china.com/ --remove https://rubygems.org/
gem sources -l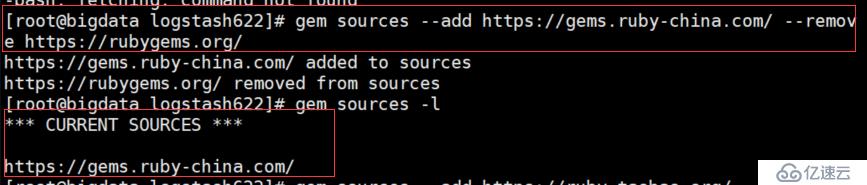
cd /opt/inst/logstash722/
vi Gemfile
#修改Gemfile文件
#source https://rubygems.org/
httpsvi Gemfile.lockgems.ruby-china.com/
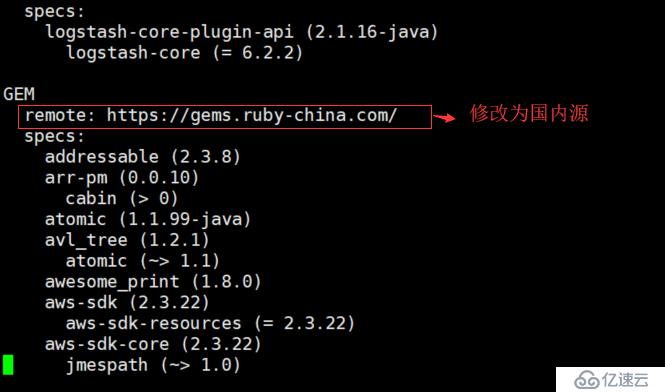
vi Gemfile.lock
#remote: https://rubygems.org/
https://gems.ruby-china.com/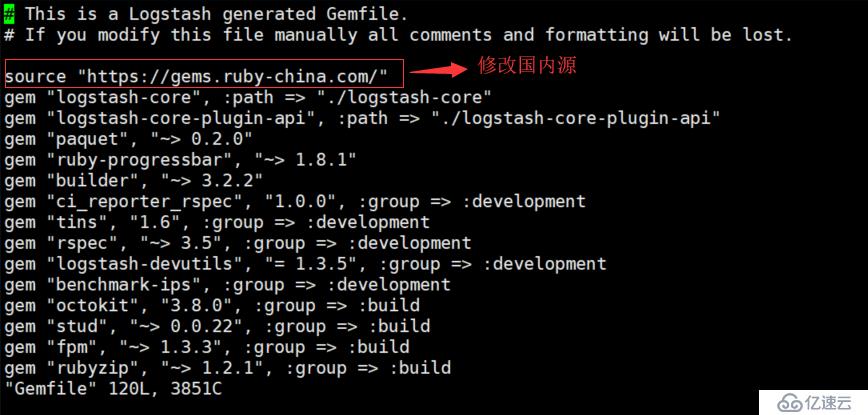
gem sources --add https://ruby.taobao.org/ --remove https://rubygems.org/
gem sources -l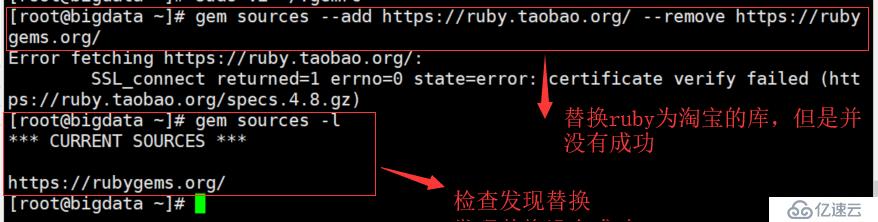
由于修改ruby镜像库为淘宝库并没有成功,这里就需要修改Gemfile文件里面的数据源:
cd /opt/inst/logstash722/
vi Gemfile
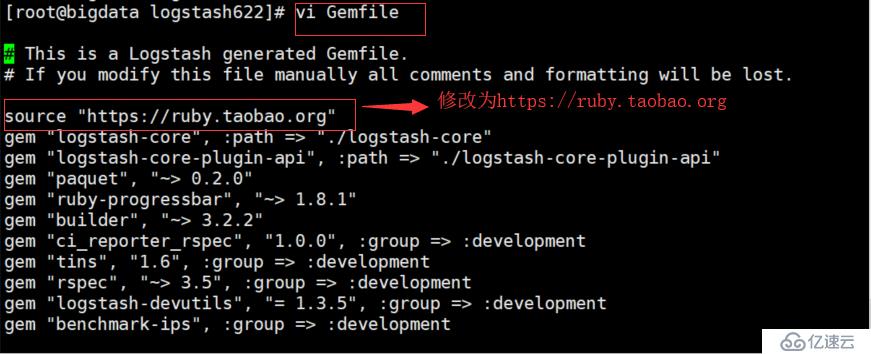
#修改Gemfile文件
#source https://rubygems.org/
source "https://ruby.taobao.org"
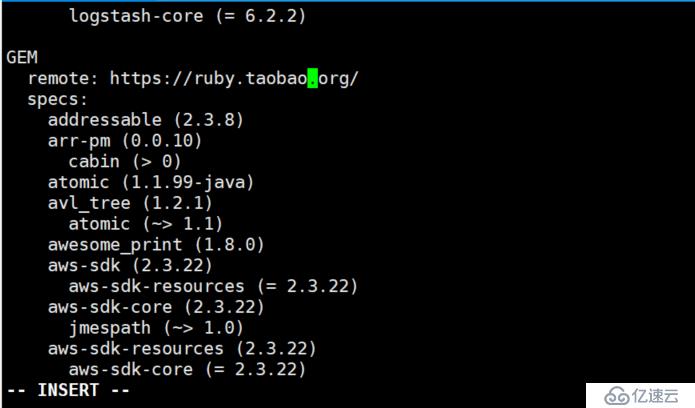
#remote: https://rubygems.org/
remote: https://ruby.taobao.org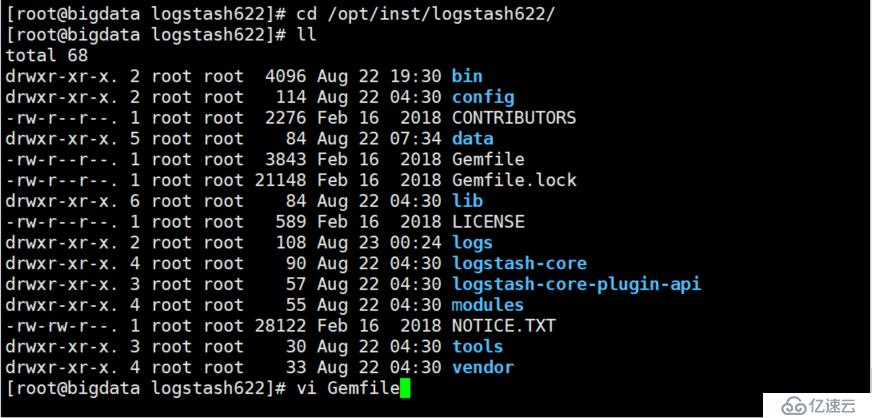
cd bin
./logstash-plugin list --verbose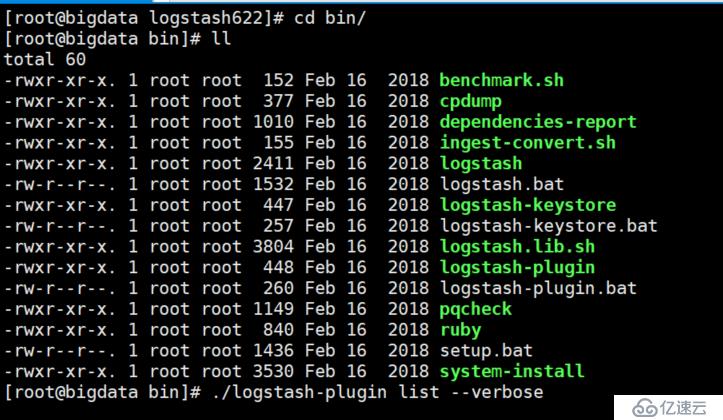

unzip logstash-input-jdbc-4.3.3.zip
mv logstash-input-jdbc-4.3.3 /opt/inst/log_jdbc433
cd log_jdbc433/
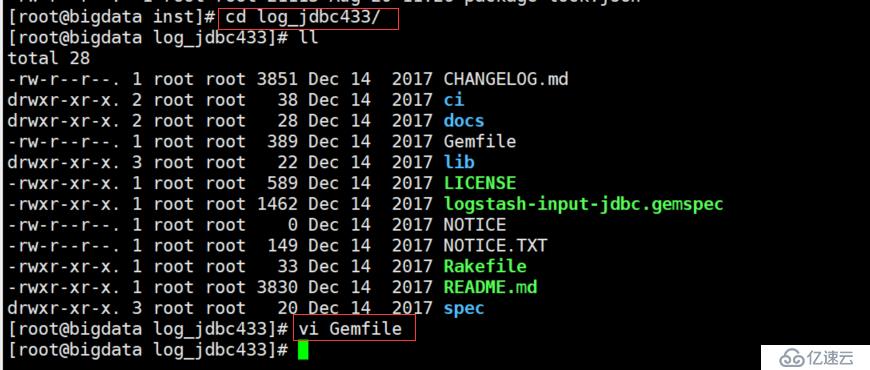
vi Gemfile
source 'https://gems.ruby-china.com/'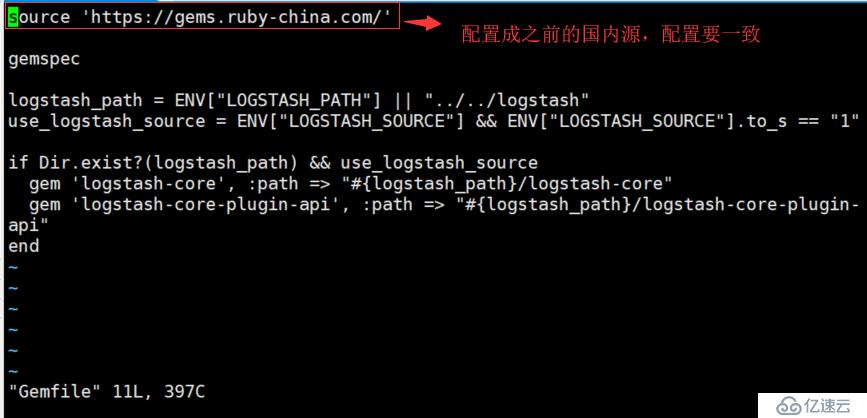
需要一个mysql驱动包,sql文件,以及conf配置文件


input {

    jdbc {
      # mysql jdbc connection string to our backup databse
      jdbc_connection_string => "jdbc:mysql://169.254.211.100:3306/test"
      # the user we wish to excute our statement as
      jdbc_user => "root"
      jdbc_password => "root"
      # the path to our downloaded jdbc driver
      jdbc_driver_library => "/opt/inst/logstash722/sql/mysql-connector-java-5.1.40-bin.jar"
      # the name of the driver class for mysql
      jdbc_driver_class => "com.mysql.jdbc.Driver"
      jdbc_paging_enabled => "true"
      jdbc_page_size => "50000"
      statement_filepath => "/opt/inst/logstash722/sql/logs_20171206.sql"
      schedule => "*/1 * * * *"
      type => "jdbc"
    }
}

filter {
    json {
        source => "message"
        remove_field => ["message"]
    }
}

output {
    elasticsearch {
        hosts => "169.254.211.100:9200"
        index => "logs_20171206"
        document_id => "%{id}"
    }
    stdout {
        codec => json_lines
    }
}
cd /opt/inst/logstash722/bin
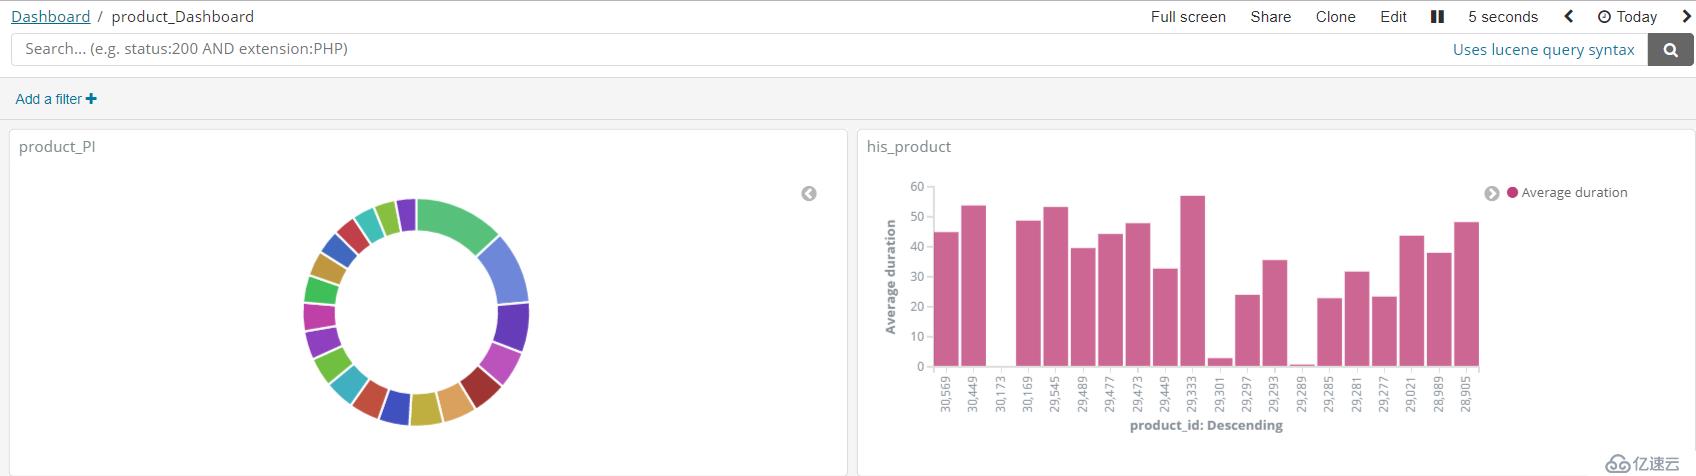
./logstash -f /opt/logfiter/mysql.conf http://169.254.211.100:5601/app/kibana#/dashboard/1e4f4310-c638-11e9-9ea7-f9ef9537f0f4?_g=(refreshInterval%3A(display%3AOff%2Cpause%3A!f%2Cvalue%3A0)%2Ctime%3A(from%3Anow-1y%2Cmode%3Aquick%2Cto%3Anow))
1566580763148
免责声明:本站发布的内容(图片、视频和文字)以原创、转载和分享为主,文章观点不代表本网站立场,如果涉及侵权请联系站长邮箱:is@yisu.com进行举报,并提供相关证据,一经查实,将立刻删除涉嫌侵权内容。


