本篇内容介绍了“怎么实现Spring Cloud的断路器监控”的有关知识,在实际案例的操作过程中,不少人都会遇到这样的困境,接下来就让小编带领大家学习一下如何处理这些情况吧!希望大家仔细阅读,能够学有所成!
一、准备工作
启动以前的项目 erurekaserver,config-server,eurekaclient1
二、修改项目service-ribbon
1、修改ServiceRibbonApplication.java
package wg;

import org.springframework.boot.SpringApplication;
import org.springframework.boot.autoconfigure.SpringBootApplication;
import org.springframework.boot.web.servlet.ServletRegistrationBean;
import org.springframework.cloud.client.circuitbreaker.EnableCircuitBreaker;
import org.springframework.cloud.client.discovery.EnableDiscoveryClient;
import org.springframework.cloud.client.loadbalancer.LoadBalanced;
import org.springframework.cloud.netflix.eureka.EnableEurekaClient;
import org.springframework.cloud.netflix.hystrix.EnableHystrix;
import org.springframework.cloud.netflix.hystrix.dashboard.EnableHystrixDashboard;
import org.springframework.context.annotation.Bean;
import org.springframework.web.client.RestTemplate;

import com.netflix.hystrix.contrib.metrics.eventstream.HystrixMetricsStreamServlet;

@SpringBootApplication
@EnableEurekaClient
@EnableDiscoveryClient
@EnableHystrix
@EnableCircuitBreaker
@EnableHystrixDashboard
public class ServiceRibbonApplication {
	public static void main(String[] args) {
        SpringApplication.run( ServiceRibbonApplication.class, args );
    }

    @Bean
    @LoadBalanced
    RestTemplate restTemplate() {
        return new RestTemplate();
    }

    @Bean
    public ServletRegistrationBean getServlet(){

       HystrixMetricsStreamServlet streamServlet = new HystrixMetricsStreamServlet();

       ServletRegistrationBean registrationBean = new ServletRegistrationBean(streamServlet);

       registrationBean.setLoadOnStartup(1);

       registrationBean.addUrlMappings("/actuator/hystrix.stream");

       registrationBean.setName("HystrixMetricsStreamServlet");


       return registrationBean;
    }
}
2、修改pom.xml
<project xmlns="http://maven.apache.org/POM/4.0.0" xmlns:xsi="http://www.w3.org/2001/XMLSchema-instance"
xsi:schemaLocation="http://maven.apache.org/POM/4.0.0 http://maven.apache.org/xsd/maven-4.0.0.xsd">
<modelVersion>4.0.0</modelVersion>
<groupId>wg</groupId>
<artifactId>service-ribbon</artifactId>
<version>0.0.1-SNAPSHOT</version>
<packaging>jar</packaging>
<name>service-ribbon</name>
<url>http://maven.apache.org</url>
<properties>
<project.build.sourceEncoding>UTF-8</project.build.sourceEncoding>
<project.reporting.outputEncoding>UTF-8</project.reporting.outputEncoding>
<spring-cloud.version>Greenwich.RELEASE</spring-cloud.version>
<java.version>1.8</java.version>
</properties>
<parent>
<groupId>org.springframework.boot</groupId>
<artifactId>spring-boot-starter-parent</artifactId>
<version>2.1.1.RELEASE</version>
<relativePath/> <!-- lookup parent from repository -->
</parent>
<dependencies>
<dependency>
<groupId>org.springframework.cloud</groupId>
<artifactId>spring-cloud-starter-zipkin</artifactId>
</dependency>
<dependency>
<groupId>org.springframework.boot</groupId>
<artifactId>spring-boot-starter-actuator</artifactId>
</dependency>
<dependency>
<groupId>org.springframework.cloud</groupId>
<artifactId>spring-cloud-starter-netflix-hystrix</artifactId>
</dependency>
<dependency>
<groupId>org.springframework.cloud</groupId>
<artifactId>spring-cloud-starter-netflix-hystrix-dashboard</artifactId>
</dependency>
<dependency>
<groupId>org.springframework.cloud</groupId>
<artifactId>spring-cloud-starter-netflix-eureka-client</artifactId>
</dependency>
<dependency>
<groupId>org.springframework.boot</groupId>
<artifactId>spring-boot-starter-web</artifactId>
</dependency>
<dependency>
<groupId>org.springframework.cloud</groupId>
<artifactId>spring-cloud-starter-netflix-ribbon</artifactId>
</dependency>
<dependency>
<groupId>junit</groupId>
<artifactId>junit</artifactId>
<scope>test</scope>
</dependency>
</dependencies>
<dependencyManagement>
<dependencies>
<dependency>
<groupId>org.springframework.cloud</groupId>
<artifactId>spring-cloud-dependencies</artifactId>
<version>${spring-cloud.version}</version>
<type>pom</type>
<scope>import</scope>
</dependency>
</dependencies>
</dependencyManagement>
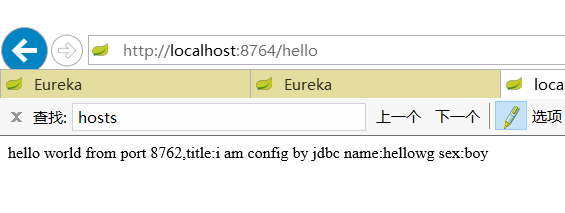
</project>3、启动项目,访问:http://localhost:8764/hello
4、访问:http://localhost:8764/hystrix
输入: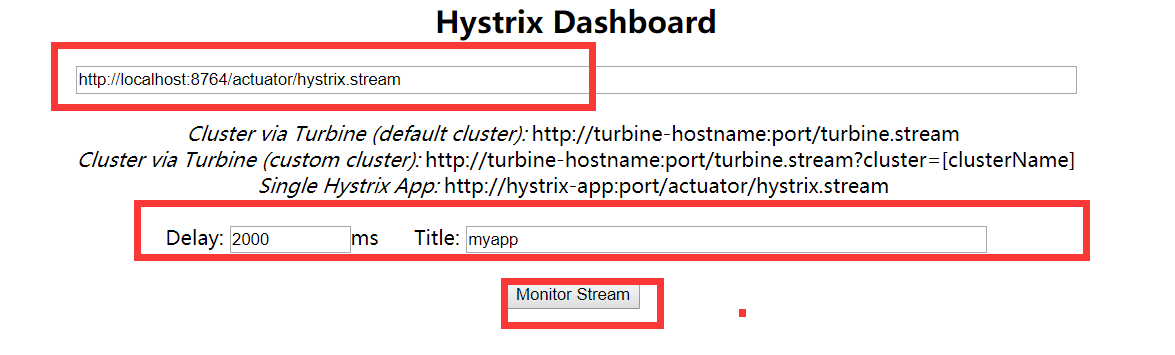
确定,留着这个页面打开状态。
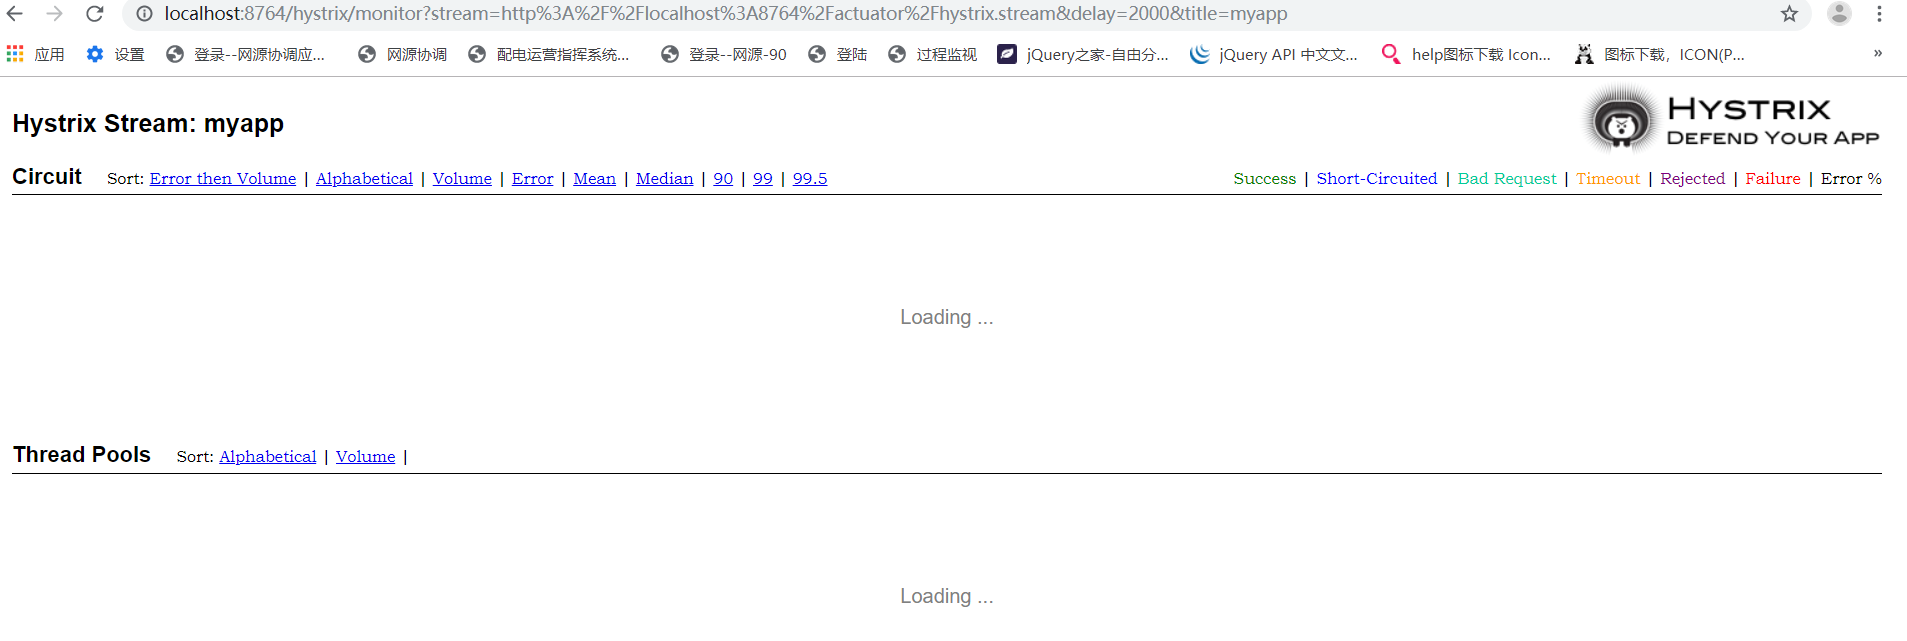
5、 访问:http://localhost:8764/hello,回来查看监控页:

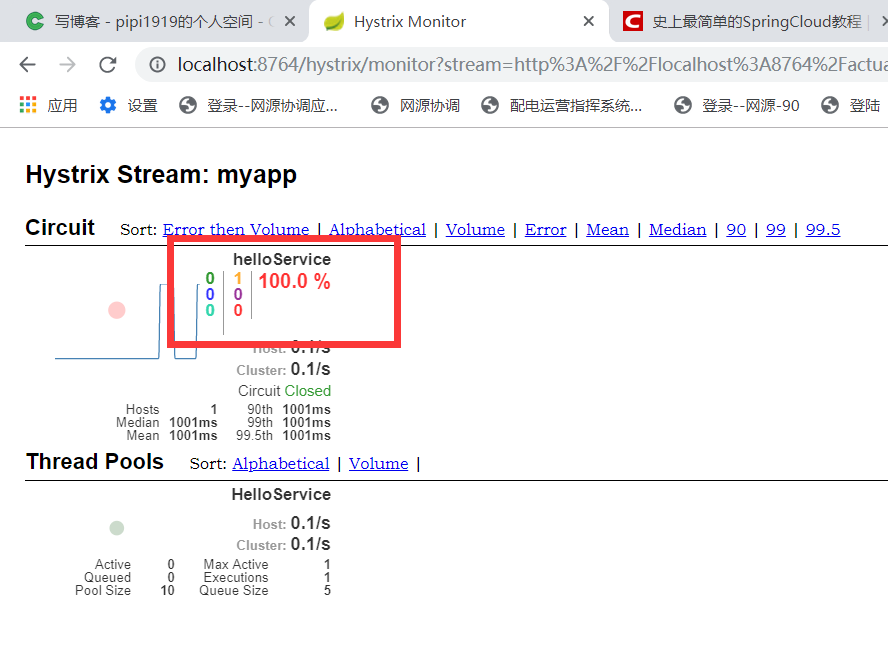
6、关闭 eurekaclient1 ,访问 :http://localhost:8764/hello
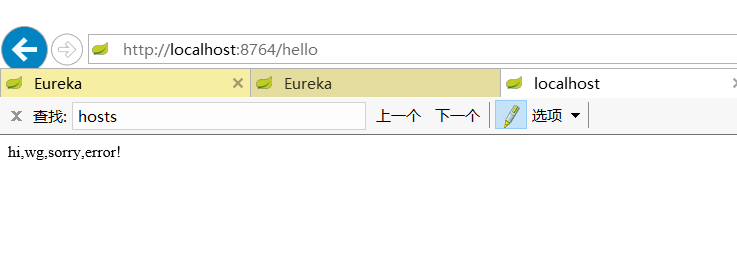
查看监控页面:
“怎么实现Spring Cloud的断路器监控”的内容就介绍到这里了,感谢大家的阅读。如果想了解更多行业相关的知识可以关注亿速云网站,小编将为大家输出更多高质量的实用文章!
免责声明:本站发布的内容(图片、视频和文字)以原创、转载和分享为主,文章观点不代表本网站立场,如果涉及侵权请联系站长邮箱:is@yisu.com进行举报,并提供相关证据,一经查实,将立刻删除涉嫌侵权内容。


