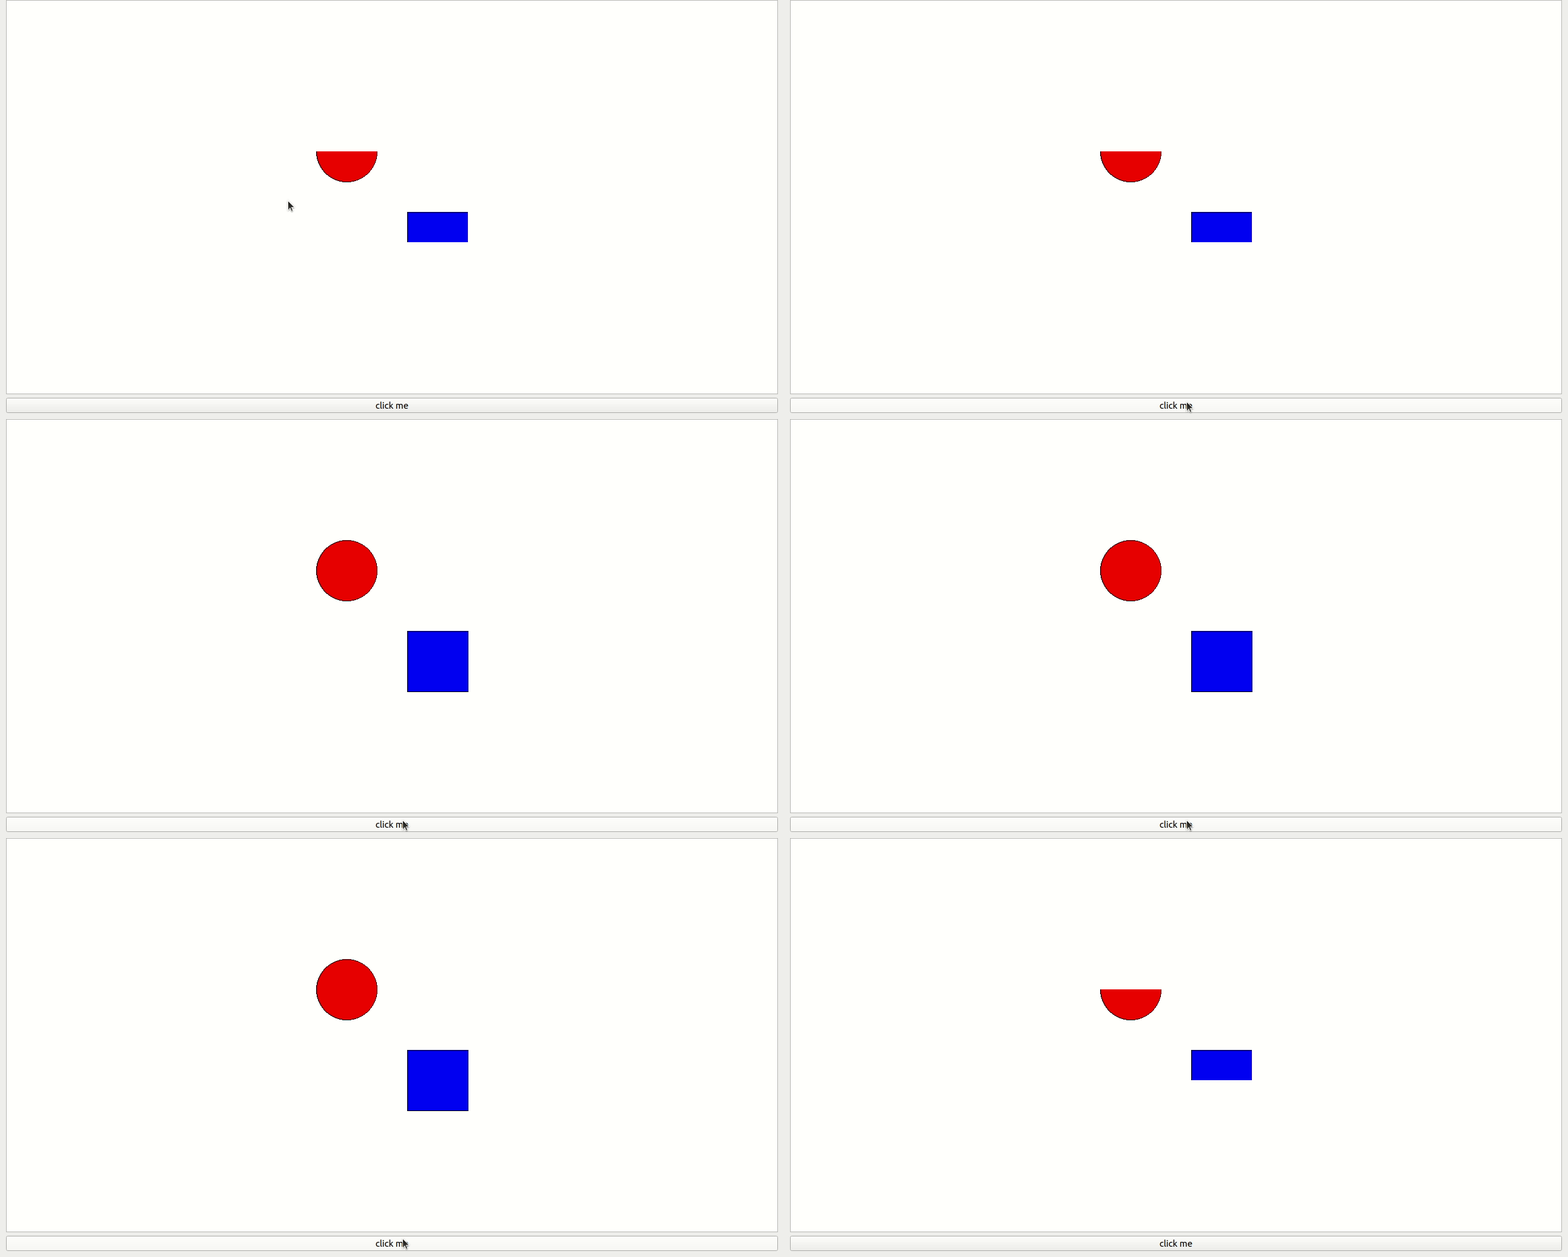
本文小编为大家详细介绍“Qt如何实现图形裁减”,内容详细,步骤清晰,细节处理妥当,希望这篇“Qt如何实现图形裁减”文章能帮助大家解决疑惑,下面跟着小编的思路慢慢深入,一起来学习新知识吧。
main.cpp
#include <QApplication>
#include <QGraphicsItemGroup>
#include <QGraphicsView>
#include <QPushButton>
#include <QVBoxLayout>

class GraphicsItemGroup : public QGraphicsItemGroup
{
public:
    GraphicsItemGroup(QGraphicsItem *parent = 0) : QGraphicsItemGroup(parent)
    {
        setFlag(QGraphicsItem::ItemClipsChildrenToShape, true);
    }
    QPainterPath shape() const
    {
        if (mShape.isEmpty())
            return QGraphicsItemGroup::shape();
        return mShape;
    }
    void setShape(const QPainterPath &shape)
    {
        mShape = shape;
        update();
    }

private:
    QPainterPath mShape;
};

int main(int argc, char *argv[])
{
    QApplication a(argc, argv);
    QWidget w;
    w.setLayout(new QVBoxLayout);

    QGraphicsView view;
    QPushButton button("click me");

    w.layout()->addWidget(&view);
    w.layout()->addWidget(&button);

    view.setScene(new QGraphicsScene);
    GraphicsItemGroup group;
    view.scene()->addItem(&group);
    auto ellipse = new QGraphicsEllipseItem(QRectF(0, 0, 100, 100));
    ellipse->setBrush(Qt::red);
    auto rect = new QGraphicsRectItem(QRect(150, 150, 100, 100));
    rect->setBrush(Qt::blue);
    group.addToGroup(ellipse);
    group.addToGroup(rect);

    QObject::connect(&button, &QPushButton::clicked, [&group]()
    {
        QPainterPath shape;
        if (group.shape().boundingRect() == group.boundingRect())
        {
            shape.addRect(0, 50, 250, 150);
        }
        group.setShape(shape);
    });

    w.show();
    return a.exec();
}
读到这里,这篇“Qt如何实现图形裁减”文章已经介绍完毕,想要掌握这篇文章的知识点还需要大家自己动手实践使用过才能领会,如果想了解更多相关内容的文章,欢迎关注亿速云行业资讯频道。
免责声明:本站发布的内容(图片、视频和文字)以原创、转载和分享为主,文章观点不代表本网站立场,如果涉及侵权请联系站长邮箱:is@yisu.com进行举报,并提供相关证据,一经查实,将立刻删除涉嫌侵权内容。